15
3
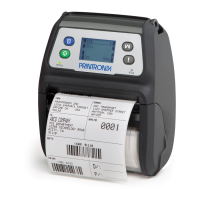
Printer Setup
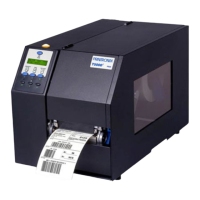
Installing the Belt Clip and Battery
Insert the Belt Clip first
Insert the left side to install the battery on the underside of the printer, and then push the right side
of the battery down until the clasp locks down in place.
Charging the Battery
IMPORTANT - Before using the printer, make sure the battery is fully charged. It takes ~ 5 hours
to charge the battery using the Single Unit Charger (battery installed in printer) or ~ 1 hour using
an External Charging Station (4 bay or single bay). The lifetime of the battery is ~ 300
charge/discharge cycles.
.
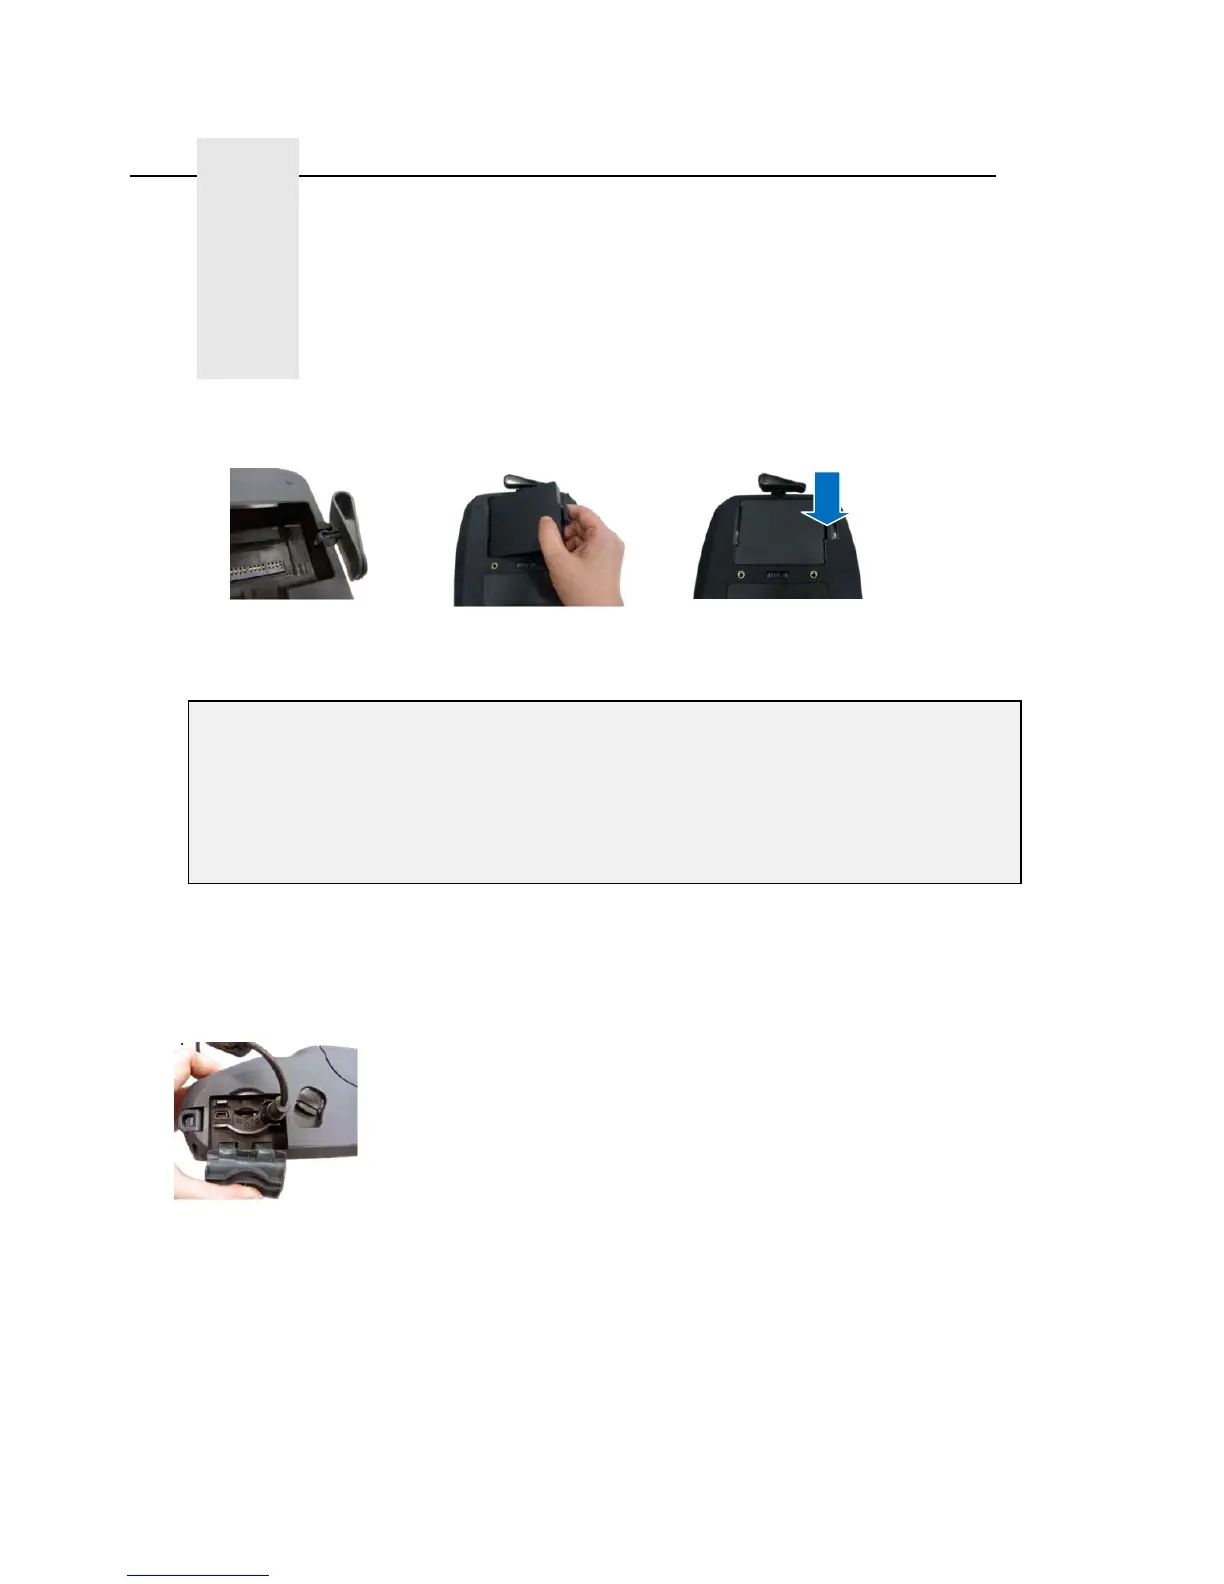
Single Unit Charger only: After installing the battery into the printer, open the interface cover and
plug the Single Unit Charger power cord into the printer power jack
Plug the Charger into a compatible AC power outlet
Note: Switch OFF printer power prior to plugging the Single Unit Charger power cord into the
printer power jack
Do not remove the battery from the printer while it is charging or you will need to re-plug the
charger into the power outlet.
When the battery is charging, the color of the Power LED Indicator is solid amber.
Battery Safety Warning:
DO NOT throw the battery in fire. DO NOT short circuit the contacts.
DO NOT disassemble the battery. DO NOT throw the battery in municipal waste
CAUTION: Danger of explosion if battery is incorrectly replaced. Replace only
with the same or equivalent type recommended by the manufacturer. Dispose of
used batteries according to the manufacturer’s instructions