Powering On and Image Setting
1.
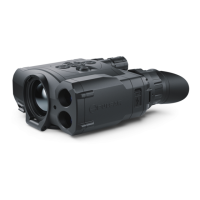
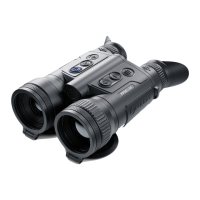
Open the lens cover (13).
2.
Turn the device on with a short press of the ON/OFF (1) button.
3.
Adjust the interpupillary distance with the rings (6) by moving the eyepieces farther or
closer to each other.
4.
To obtain a crisp image of the icons on the display, rotate the diopter adjustment ring (7).
Once adjusted, there is no need to rotate the diopter adjustment ring for distance or any
other conditions.
5.
To focus on the object being observed rotate the lens focusing ring (8).
6.
To set up display brightness and contrast and continuous zoom, please refer to the
Quick Menu Functions section.
7.
After use, press and hold down the ON/OFF button to turn the device off.
Warning! Never point the lens at intensive energy sources such as laser radiation emitting
devices or the sun. It can damage electronic components in the device. The warranty does not
cover damage arising from failure to comply with operating instructions.
Warning!The radiator cooling system (12) becomes warm during operation: this is normal and
allows an increase in the sensitivity of the device.
To see the Components and Controls scheme click here.