78
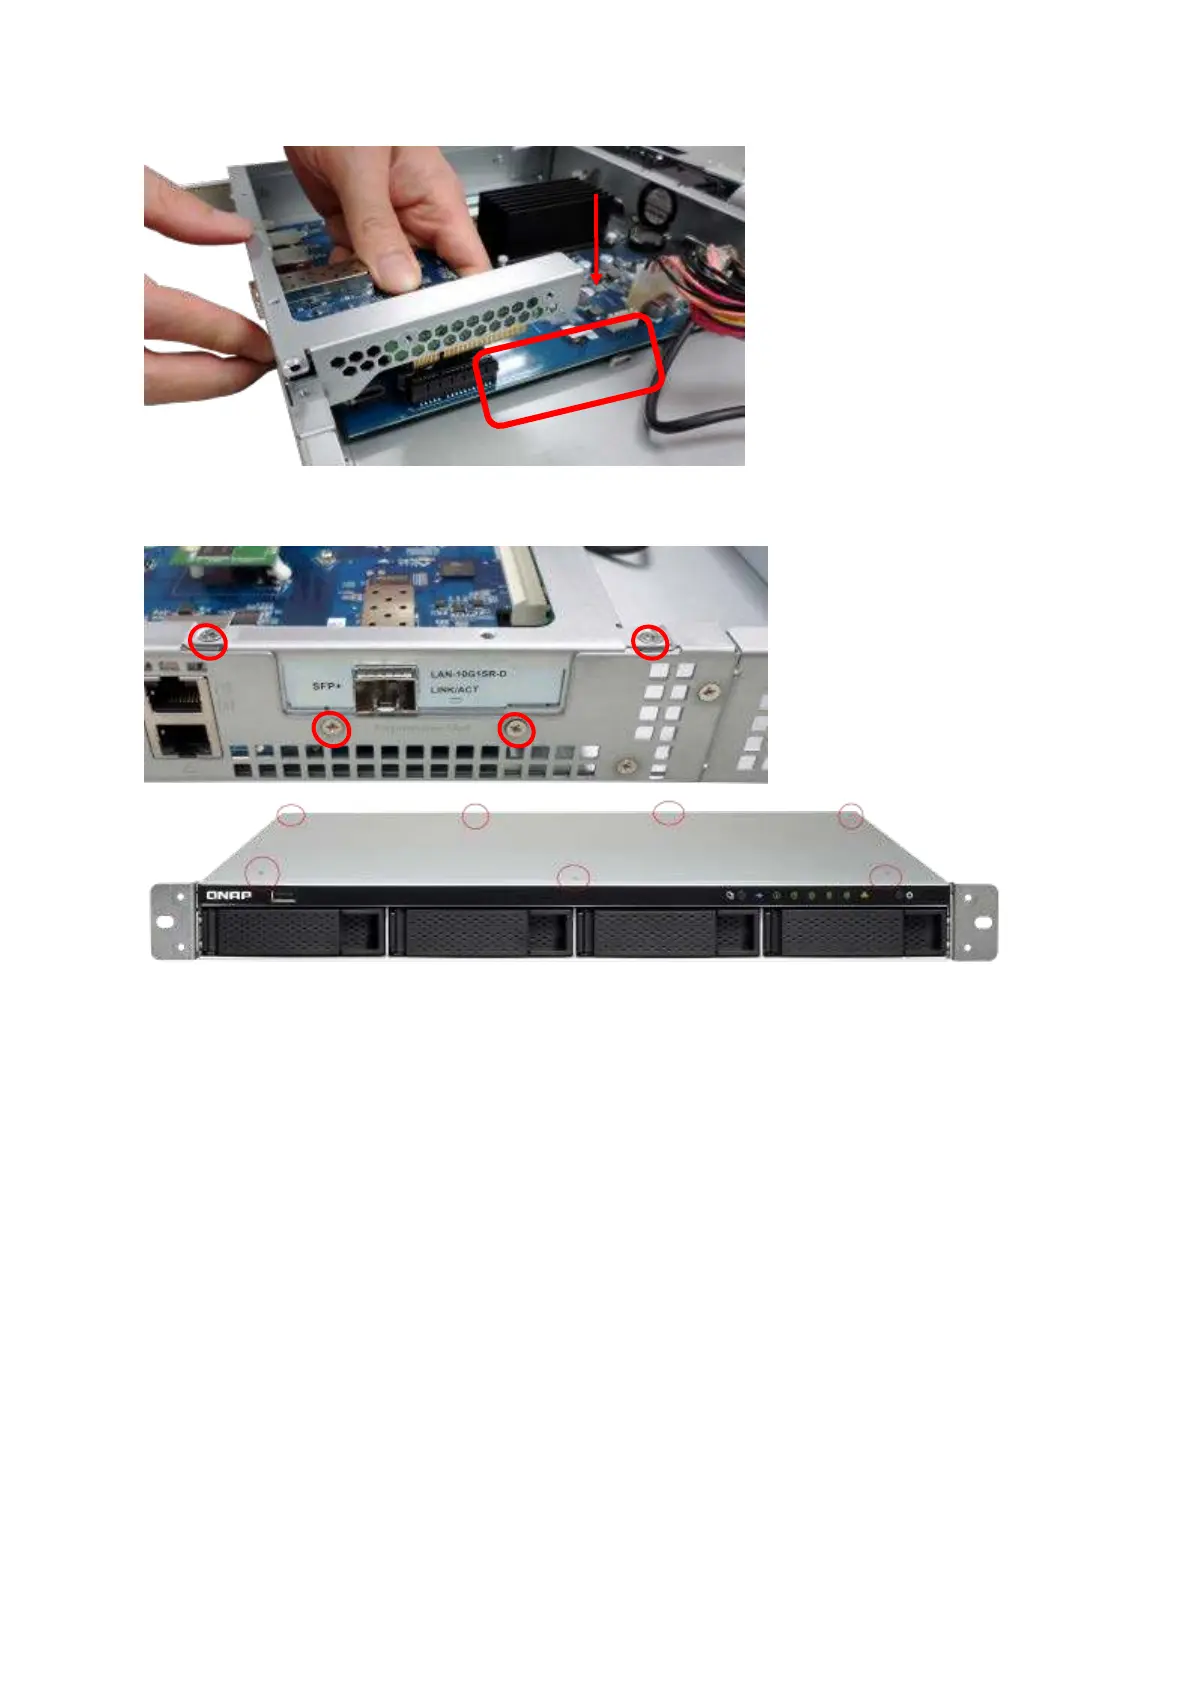
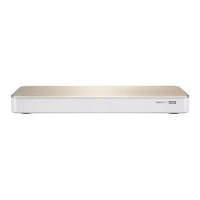
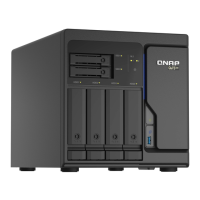
10. Fasten t he screws. Close t he case cover and fasten the screws.
11. Connect t he pow er adapt or and cables t o t he NAS.
12. To check t hat t he net work expansion is recognized by t he NAS, power up the NAS and
login t he web int erface as an adm inistrat or. Go to “ System Adm inistrat ion” > “ Network”
> “ TCP/ I P” and check the t otal num ber of net work int erfaces.
6 .5 TS- 8 3 1 XU, TS- 8 6 3 U, TS- 8 6 3 U- RP, TS- 1 2 3 1 XU, TS- 1 2 6 3 U, TS- 1 2 6 3 U- RP
Serie s
1. Turn off the NAS. Disconnect t he power adapt or, net work cable(s) , and any ot her
connectors or cables from the NAS.
2. Before installing t he network expansion card, put on an antist at ic wrist strap to