© 2021 Radiodetection Ltd 22
Surveying a
pipeline
This section describes how in practice surveys
should be performed.
6.1 Pinpointing a target line
using Peak+ Mode
If the PCMx transmitter is connected and switched on,
locate using the ELF, ELCD, LFCD or 8kHz if using the
Tx-25. If no transmitter is connected use CPS to locate
100/120Hz from CP system.
Pinpointing defines the exact position and direction of a
pipeline after its position is approximately known.
Pinpointing is important as the depth and current
readings are affected by misalignment errors.
If you wish to capture GPS data, ensure the internal
GPS is switched on.
1. With the magnetometer foot attached, switch on the
PCMx locator.
2. Use the key to match the frequency mode of
the locator to the operating frequency of the
transmitter. If you intend to conduct a survey of the
pipeline, ensure both transmitter and locator are set
to one of the mapping frequencies, (ELF, ELCD or
LFCD).
3. Set the antenna mode to Peak+ by pressing the
antenna key. Once in Peak+, holding down the
antenna key alternates between Guide or Null
arrows to the Peak reading. Set to Guide arrows
by holding down the antenna key; Guide
momentarily appears in the lower left corner of
the display.
4. Use map information or pipeline markers to
determine an approximate location for the pipe.
Holding the PCMx locator upright at your side,
follow the Guide arrows to cross the path of the
pipe. Proximity to the pipe is indicated by a rising
bar graph and an increase in tone when volume is
switched on.
5. Adjust the locator sensitivity to approximately
50% by pressing the up and down keys.
This enables changes in the bar graph to be more
readily seen.
6. Hold the PCMx upright and near to the ground.
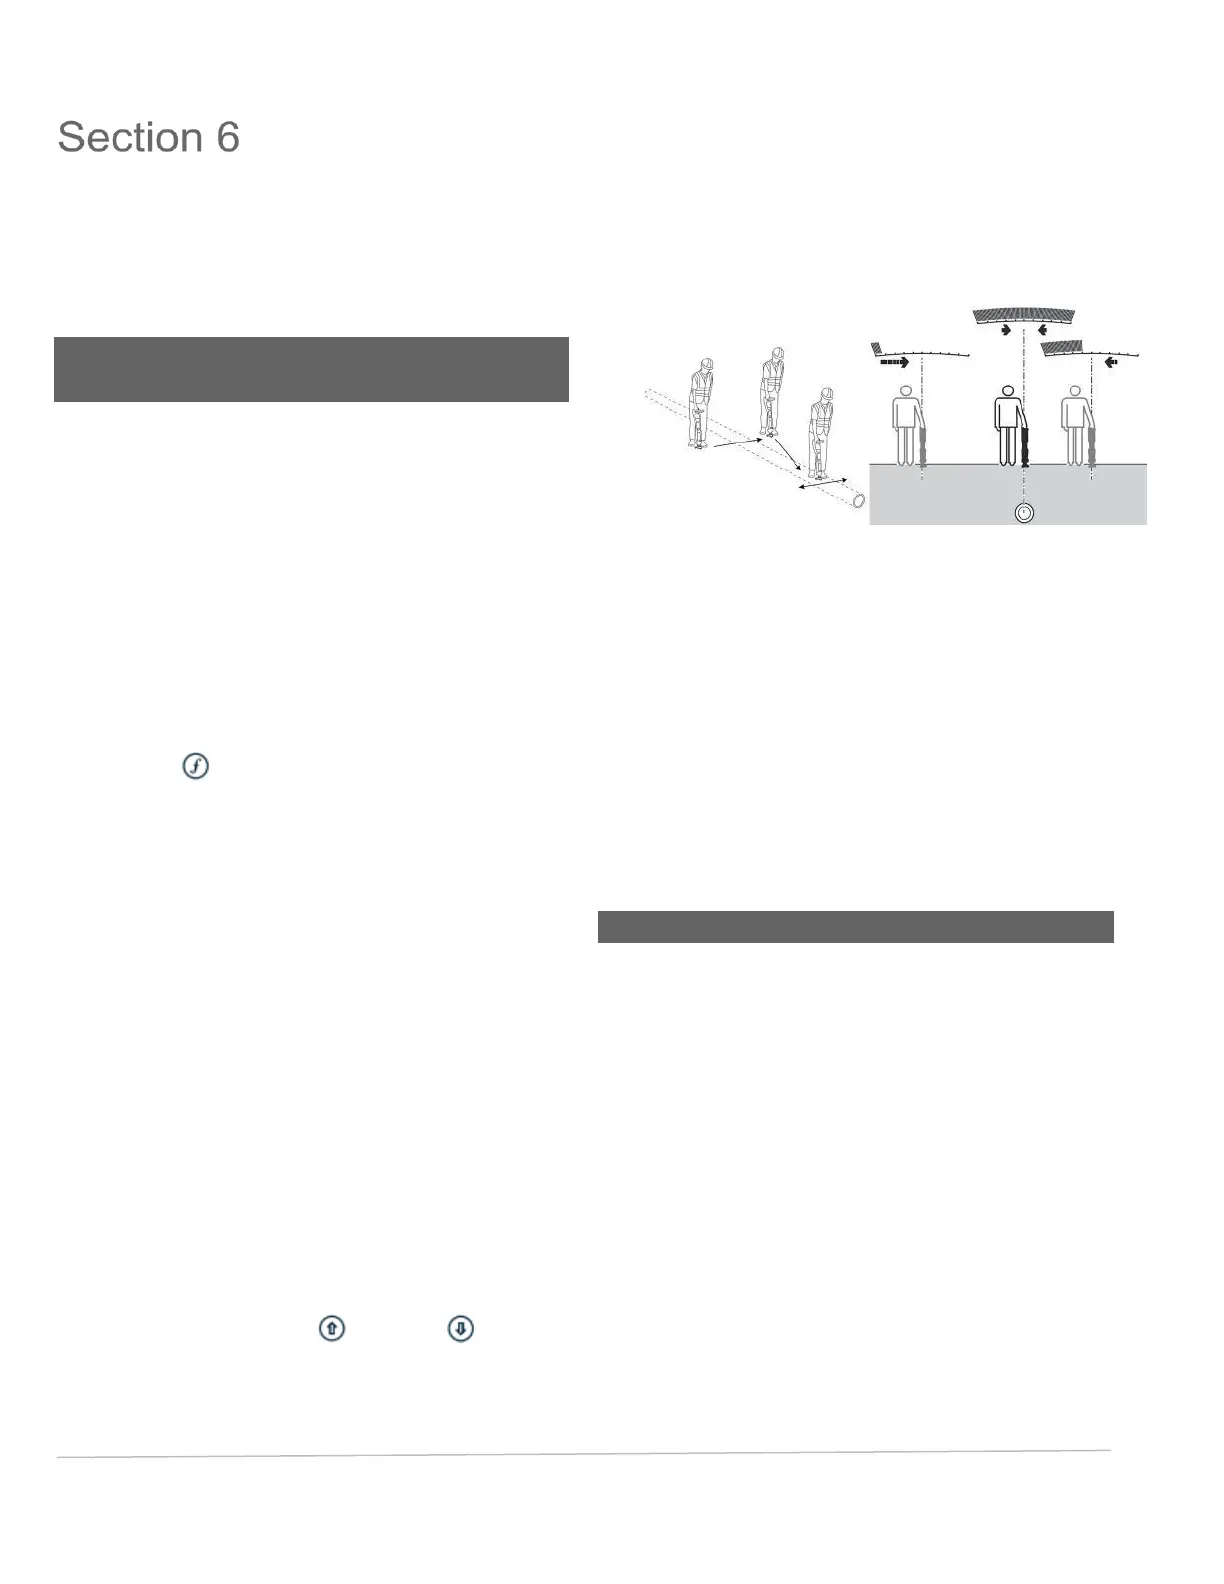
7. Move it slowly from side to side and define the point
of maximum bar graph response. When directly
over pipe, the Guide arrows should be at minimum
length with both left and right arrow heads lit.
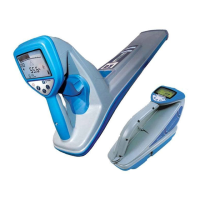
8. To fully align the PCMx with the pipeline, rotate the
locator until the compass is in the 6 O’clock position.
Fig. 6.1: Pinpointing a target line
Having pinpointed the pipe, the PCMx will display the
depth of the pipe, (measured to the center of the
pipe), and the locate signal current.
9. If you wish to take a 4Hz PCM reading at this stage,
you can momentarily press the Survey key to
initialize a measurement. The 4Hz PCM
measurement will be displayed on the screen and
this result can either be saved into the PCMx
memory or rejected using either the Up or Down
arrow.
6.2 Peak+ Null
You can check the validity of the pinpoint position and be
alerted to possible variations in locate accuracy due to
signal distortion by comparing the peak bar graph
response with the Null arrows.
1. Using Peak+ Null antenna mode locate the pipe and
mark the position with the maximum bar graph
response.
2. Using the left and right arrows, locate and mark the
position where both the left and right arrows are lit.
If the locate positions in 1. and 2. above correspond, it
can be assumed that the pinpoint is precise. If the
positions do not correspond, the pinpoint is not precise.
Accurate PCMx results are only obtained when the peak
bar graph response and Null arrows are within 15cm (6
inches) of each other.