PCMx Operation Manual
© 2021 Radiodetection Ltd 13
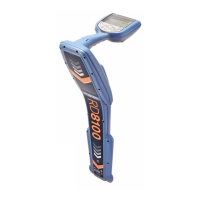
4.4 Locator information
The current software revision can be accessed on the
PCMx locator. To do this hold down the frequency key
while switching on the PCMx. The screen will
momentarily display the following:
Software revision number
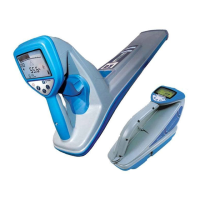
4.5 Menu settings
The PCMx contains a menu structure that allows the user
to access certain menu options and to set up personal
preferences.
When the locator is switched on, a momentary press of
the on/off key will provide access to the menu options.
Navigating the locator menu
1 Press the key to enter the menu
2 Use the or keys to scroll through the menu
options
3 Press the key to enter the option's submenu
4 Use the or arrows to scroll through the submenu
options
5 Press the key to make a selection and return to the
previous menu
6 Press the key to return to the main operation
screen
Selectable Options:
VOL – 4 levels. VOL 0 mutes the speaker and
VOL 3 sets the volume to its loudest setting.
WARNING: To avoid possible injury, always test the
audio level prior to using earphones.
DATA – Delete, Send, Enable or disable the Bluetooth®
communication channel.
BT – Enable, disable, reset or pair Bluetooth
®
connections. Also defines the protocol used
when sending data out via Bluetooth.
GPS – Enable, disable or reset the internal GPS
module.
UNITS – Select metric or imperial units.
INFO – Run a Self-Test; display the date of the most
recent service recalibration (M CAL) or the
most recent eCert calibration.
LANG – Select menu language.
POWER – Select local power network frequency: 50 or
60Hz.
ANT – Enable or disable any antenna mode with the
exception of Peak.
FREQ – Enable or disable individual frequencies.
ALERT – Enable or disable StrikeAlert™
BATT – Set battery type (Li-Ion auto-selects when
connected).
ARROW – Select Null or proportional Guidance arrows in
Peak+ mode.
COMPA – Enable or disable display of the Compass
feature.
TIME – Set a time to turn locator off after a period of
inactivity.
VIEW – Review survey measurements.
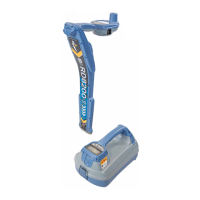
4.6 Batteries
The LCD provides a battery level indicator to indicate
when the rechargeable pack requires charging or if the
alkaline batteries need replacing, by showing a flashing
battery symbol.
The PCMx is supplied with a lithium-ion rechargeable
battery pack.
To recharge the battery
1. Connect the battery charger to a 100-240VAC
mains supply.
2. Connect the battery charger to the connector on the
battery pack (note, it is not necessary to disconnect
the battery.
3. Switch on the power supply and disconnect it
when the charge LED turns green.
The locator can also be powered by alkaline, nickel-metal
hydride types. The 'Li-Ion' option will automatically be
selected when the battery pack is connected to the
locator. However, the battery type must be changed in
the PCMx locator menu if other battery types are to be
used.