Raisecom
ISCOM2600 (B) Series Product Description
Raisecom Proprietary and Confidential
Copyright © Raisecom Technology Co., Ltd.
4.1.2 Installing device
Rack installation
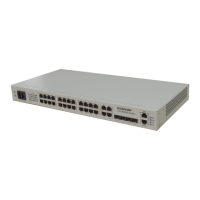
The installation modes of the SCOM2600-28X, ISCOM2600-28X-24F, and
ISCOM2600-28X-PWR/PWH are identical. The ISCOM2600-12X has a small chassis,
so it does not need to be installed with brackets. The following installation takes the
ISCOM2600-28X for example.
The brackets, which are only for positioning, cannot bear the weight of the device.
Therefore, you have to install the device to a guide rail or a tray. Prepare the guide
rail or tray by yourself.
The ISCOM2600 series switch supports being installed in the rack, with steps as below:
Step 1 Ensure that the rack is stable.
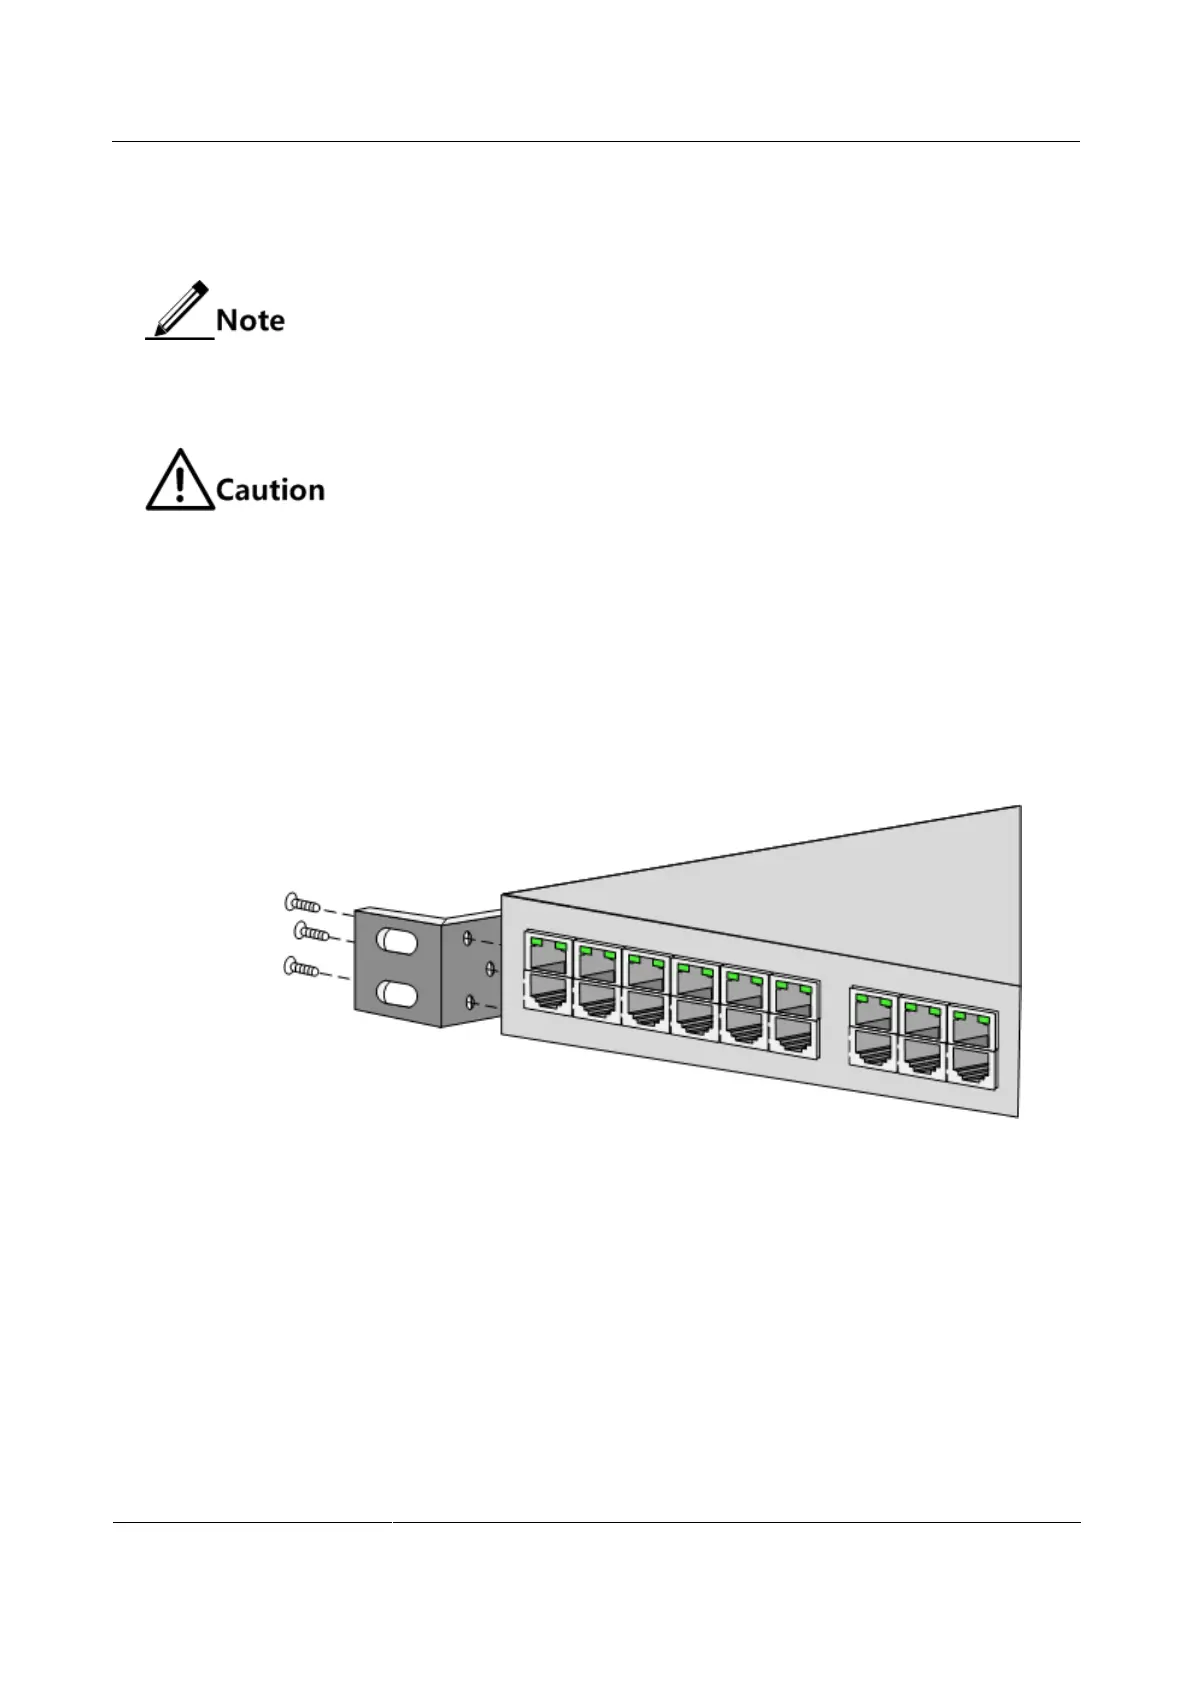
Step 2 Install two customized brackets on the two sides of the ISCOM2600 series switch
respectively, and fix them with screws, as shown in Figure 4-1.
Figure 4-1 Installing brackets
Step 3 Install cage nuts in the rack, as shown in Figure 4-2.
 Loading...