Amongst other targets, we have now built:
•
serial/hello_serial.elf, which is used by the debugger
•
serial/hello_serial.uf2, which can be dragged onto the RP2040 USB Mass Storage Device (UART serial binary)
•
usb/hello_usb.elf, which is used by the debugger
•
usb/hello_usb.uf2, which can be dragged onto the RP2040 USB Mass Storage Device (USB serial binary)
Where hello_serial directs stdio to UART0 on pins GP0 and GP1, and hello_usb directs stdio to USB CDC serial.
WARNING
If you have not initialised the tinyusb submodule in your pico-sdk checkout then the USB CDC serial example will not
work as the SDK will contain no USB functionality.
4.3. Flash and Run "Hello World"
Connect the Raspberry Pi Pico to your Raspberry Pi using a micro-USB cable, making sure that you hold down the
BOOTSEL button to force it into USB Mass Storage Mode. Once it is connected release the BOOTSEL button and if you are
running the Raspberry Pi Desktop it should automatically mount as a USB Mass Storage Device. From here, you can
Drag-and-drop either the hello_serial.uf2 or hello_usb.uf2 onto the Mass Storage Device.
RP2040 will reboot, unmounting itself as a Mass Storage Device, and start to run the flashed code.
However, although the "Hello World" example is now running, we cannot yet see the text. We need to connect our host
computer to the appropriate stdio interface on the Raspberry Pi Pico to see the output.
4.4. See "Hello World" USB output
If you have dragged and dropped the hello_usb.uf2 binary, then the "Hello World" text will be directed to USB serial.
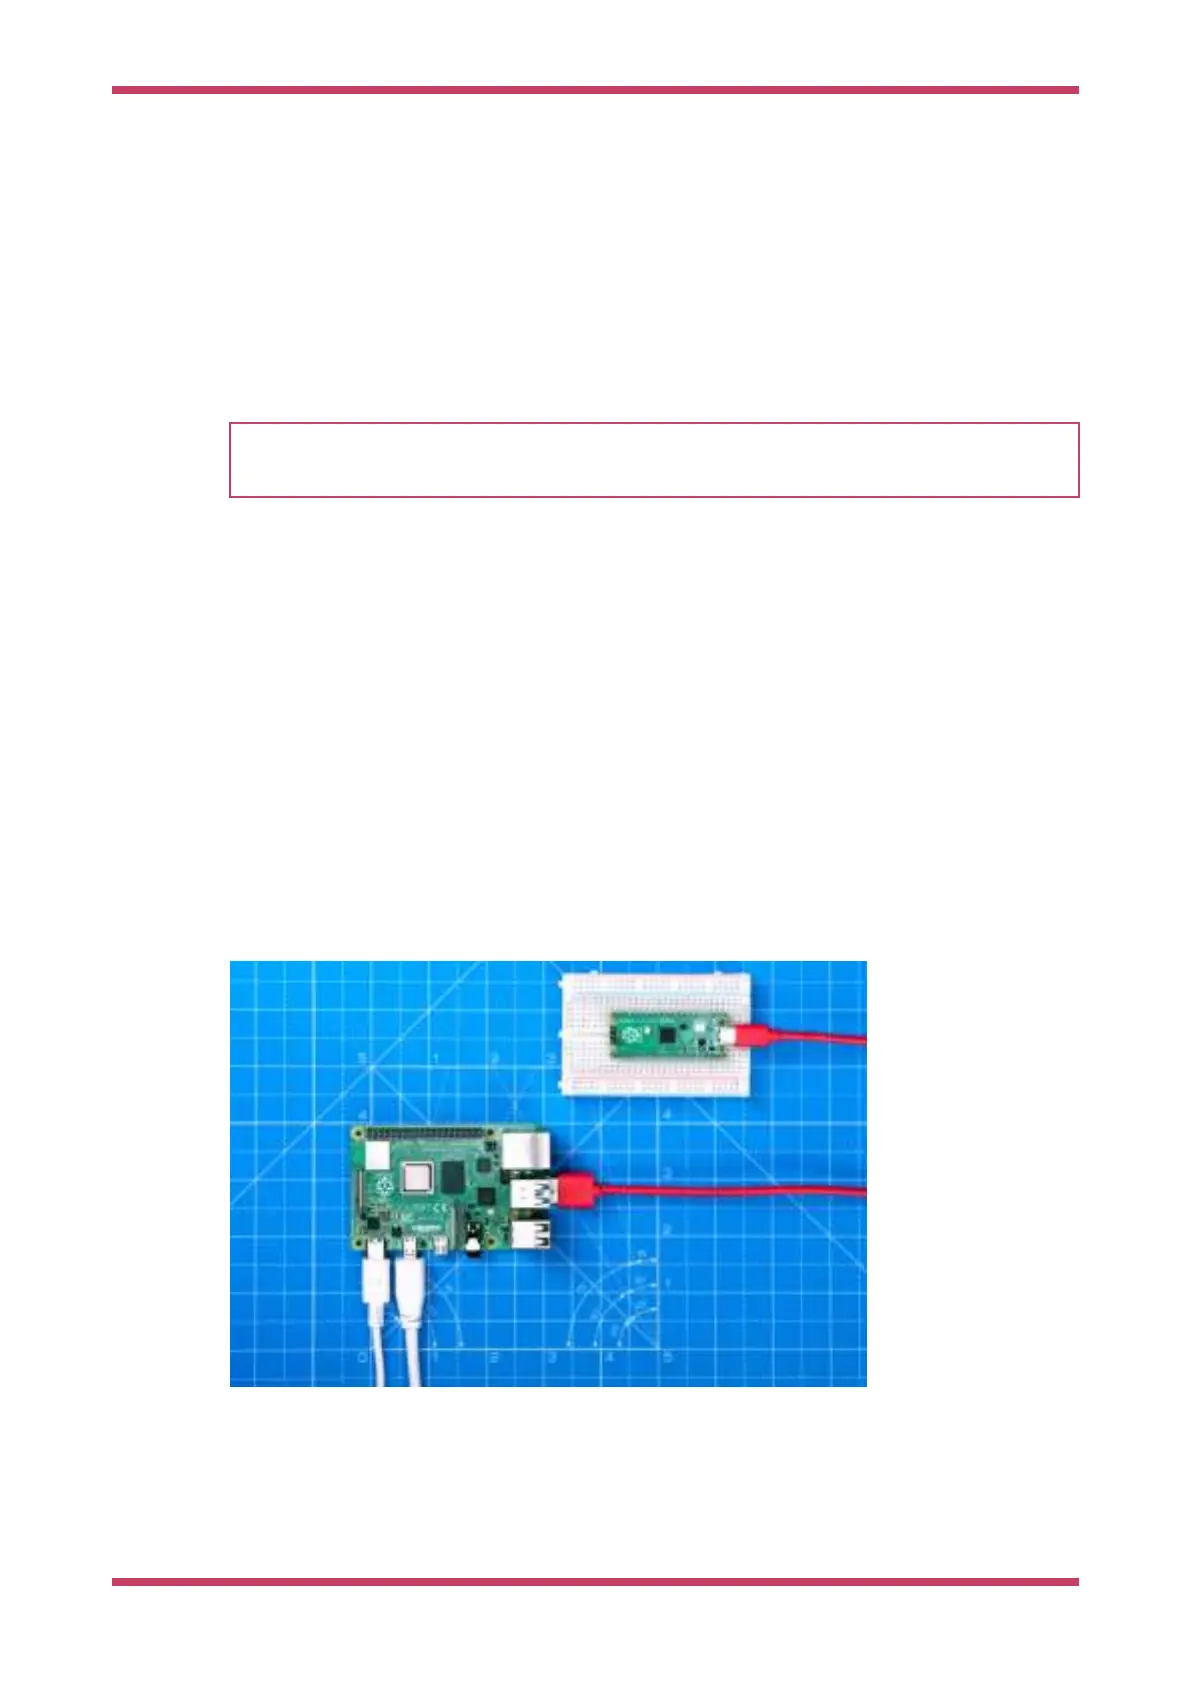
Figure 2. Connecting
the Raspberry Pi to
Raspberry Pi Pico via
USB.
With your Raspberry Pi Pico connected directly to your Raspberry Pi via USB, see Figure 2, you can see the text by
installing minicom:
Getting started with Raspberry Pi Pico
4.3. Flash and Run "Hello World" 14