10.2. Using CLion
CLion is a multiplatform Integrated Development environment (IDE) from JetBrains, available for Linux, Windows and
Mac. This is a commercial IDE often the choice of professional developers (or those who love JetBrains IDEs) although
there are free or reduce price licenses available. It will run on a Raspberry Pi, however the performance is not ideal, so it
is expected you would be using CLion on your desktop or laptop.
Whilst setting up projects, development and building are a breeze, setting up debug is still not very mainstream at the
moment, so be warned.
10.2.1. Setting up CLion
If you are planning to use CLion we assume you either have it installed or can install it from https://www.jetbrains.com/
clion/
10.2.1.1. Setting up a project
Here we are using pico-examples as the example project.
To open the pico-examples project, select Open… from the File menu, and then navigate to and select the pico-examples
directory you checked out, and press OK.
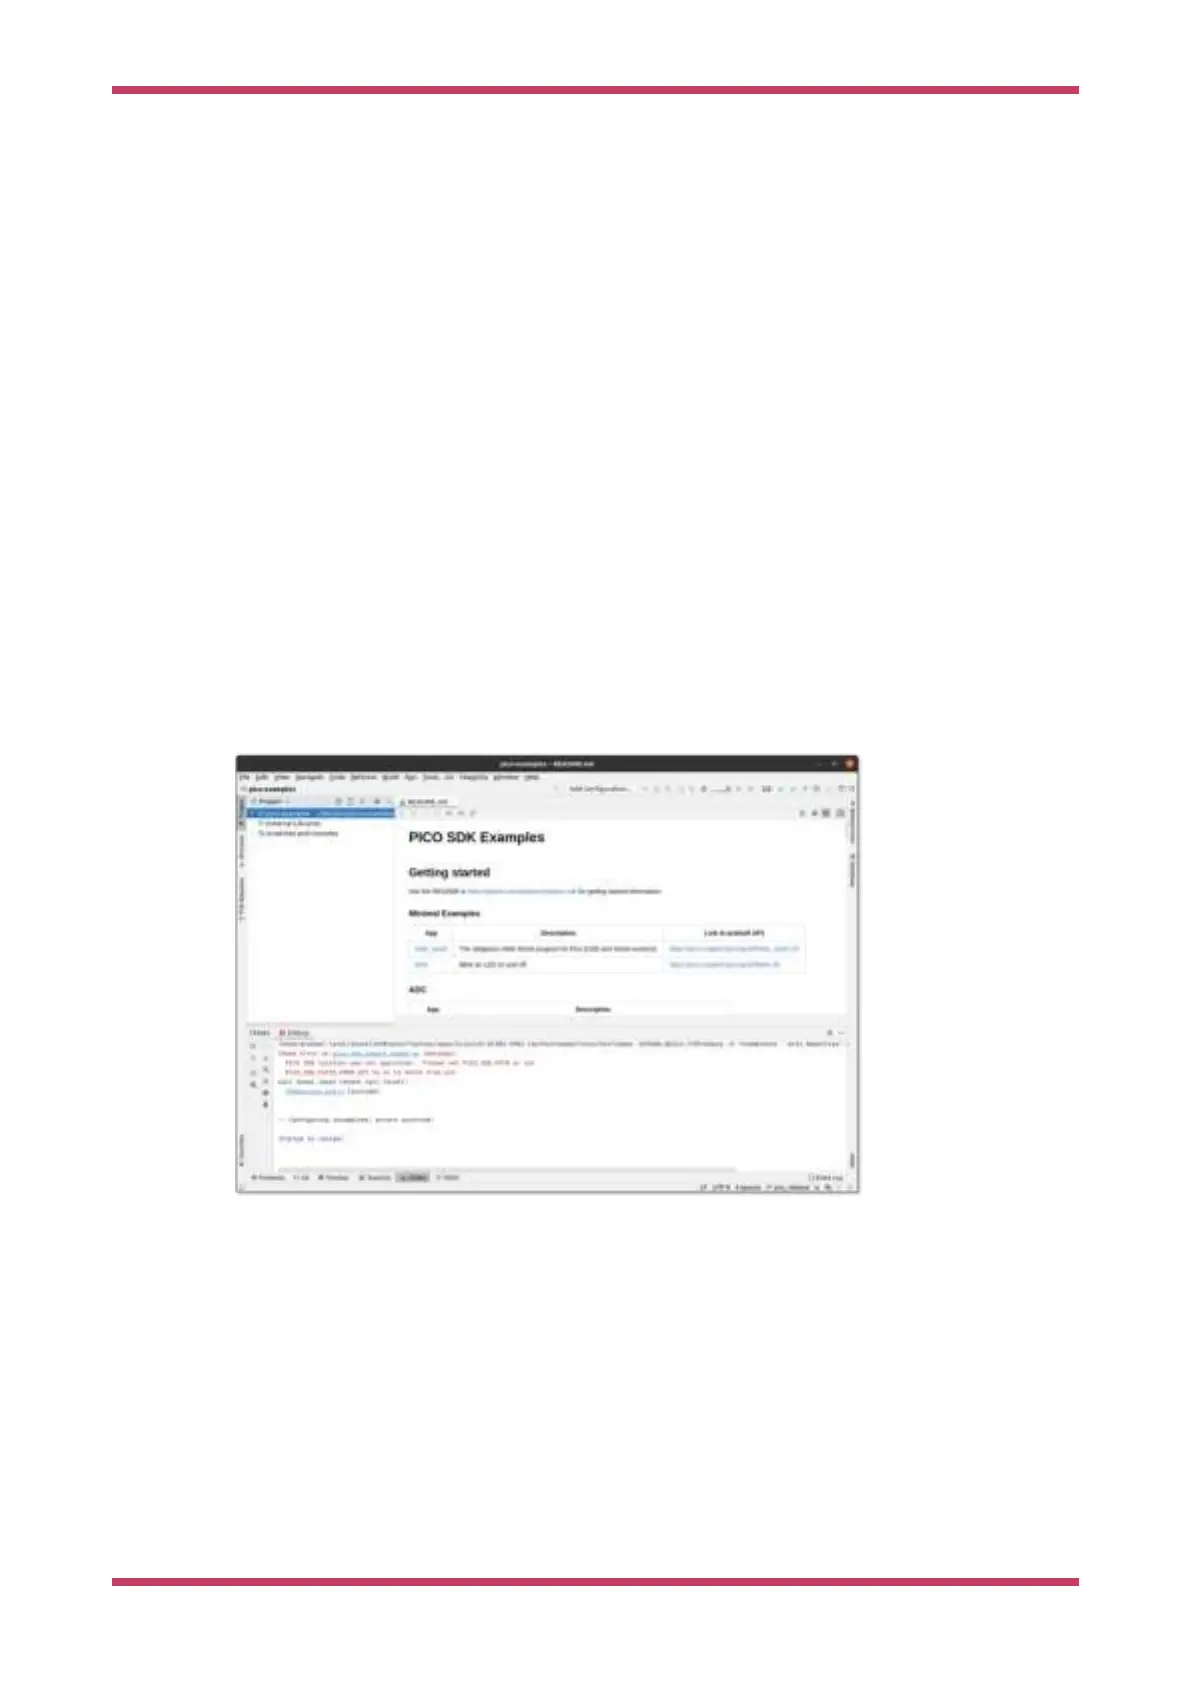
Once open you’ll see something like Figure 28.
Figure 28. A newly
opened CLion pico-
examples project.
Notice at the bottom that CLion attempted to load the CMake project, but there was an error; namely that we hadn’t
specified PICO_SDK_PATH
10.2.1.1.1. Configuring CMake Profiles
Select Settings… from the File menu, and then navigate to and select 'CMake' under Build, Execution, Deployment.
You can set the environment variable PICO_SDK_PATH under Environment: as in Figure 29, or you can set it as
-DPICO_SDK_PATH=xxx under CMake options:. These are just like the environment variables or command line args when
calling cmake from the command line, so this is where you’d specify CMake settings such as PICO_BOARD,
PICO_TOOLCHAIN_PATH etc.
Getting started with Raspberry Pi Pico
10.2. Using CLion 51