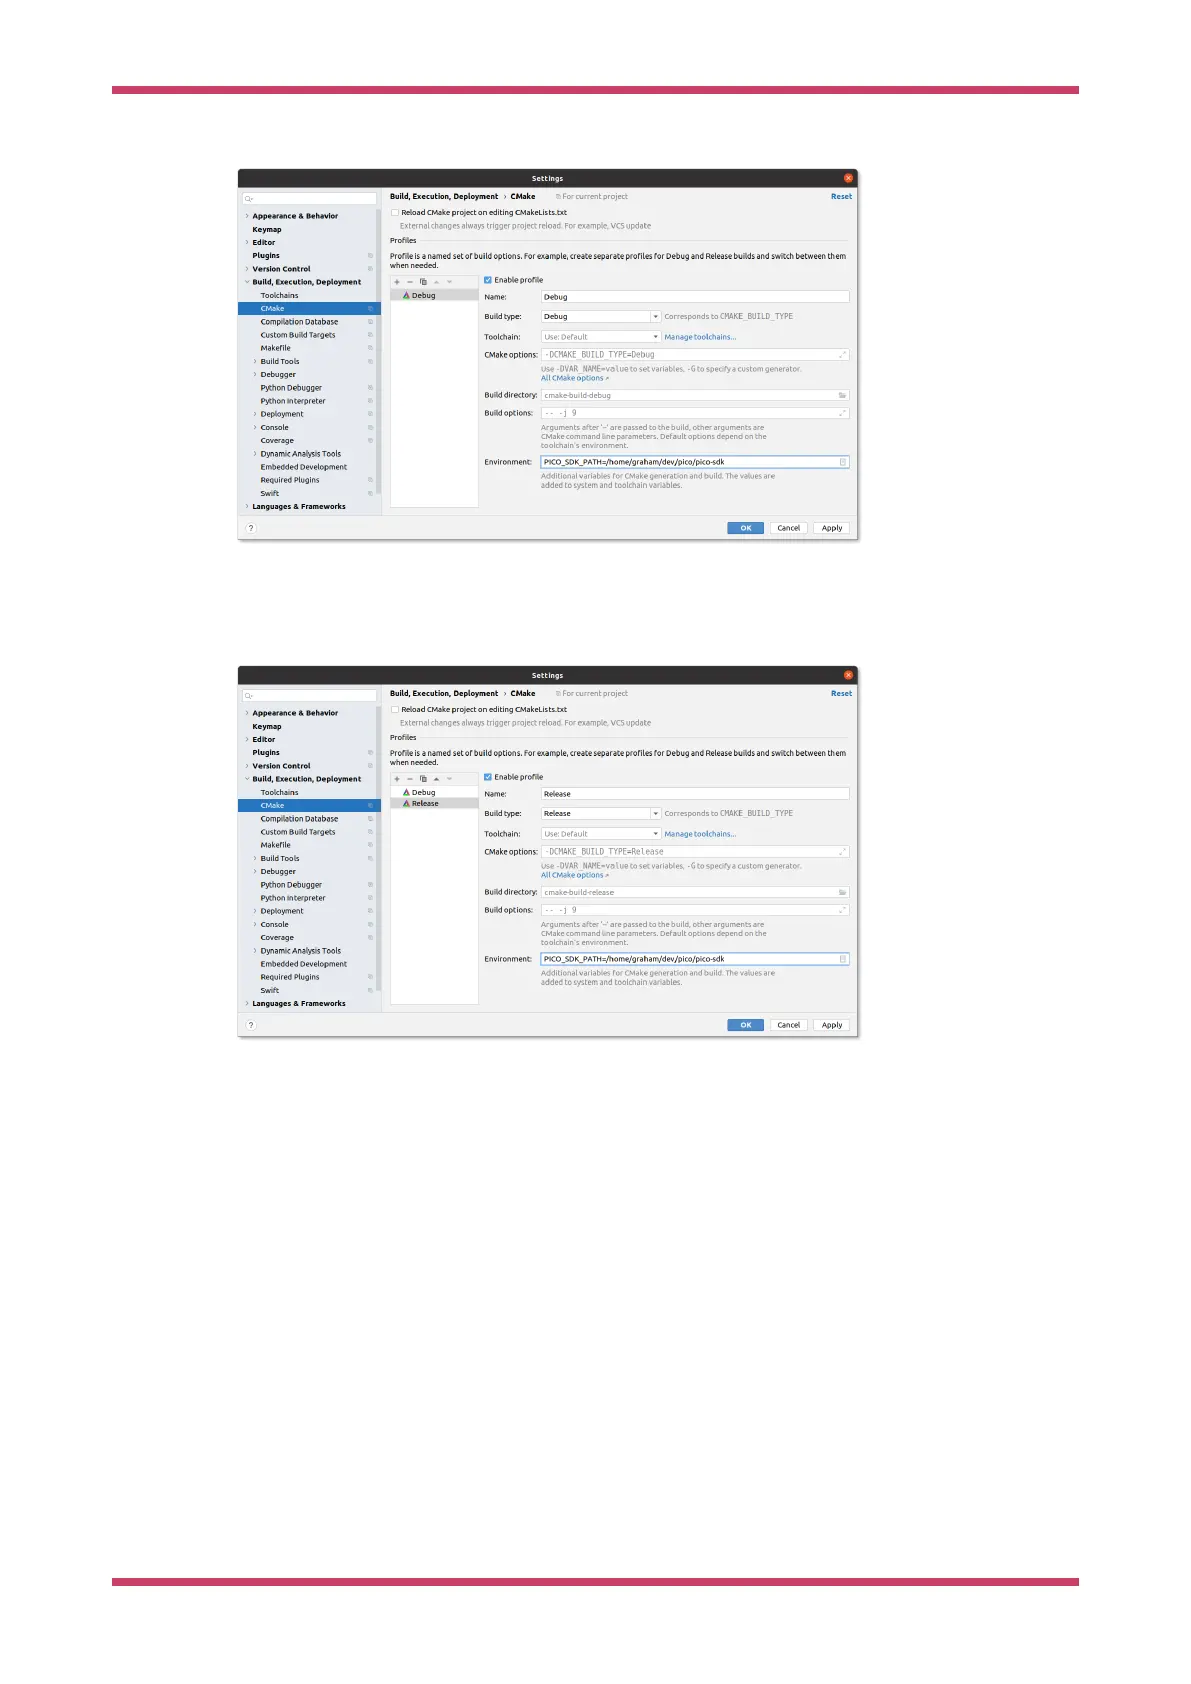
Figure 29. Configuring
a CMake profile in
CLion.
You can have as many CMake profiles as you like with different settings. You probably want to add a Release build by
hitting the + button, and then filling in the PICO_SDK_PATH again, or by hitting the copy button two to the right, and
fixing the name and settings (see Figure 30)
Figure 30. Configuring
a second CMake
Profile in CLion.
After pressing OK, you’ll see something like Figure 31. Note that there are two tabs for the two profiles (Debug and
Release) at the bottom of the window. In this case Release is selected, and you can see that the CMake setup was
successful.
Getting started with Raspberry Pi Pico
10.2. Using CLion 52