Ê "PICO_SDK_PATH":"../../pico-sdk"
Ê },
}
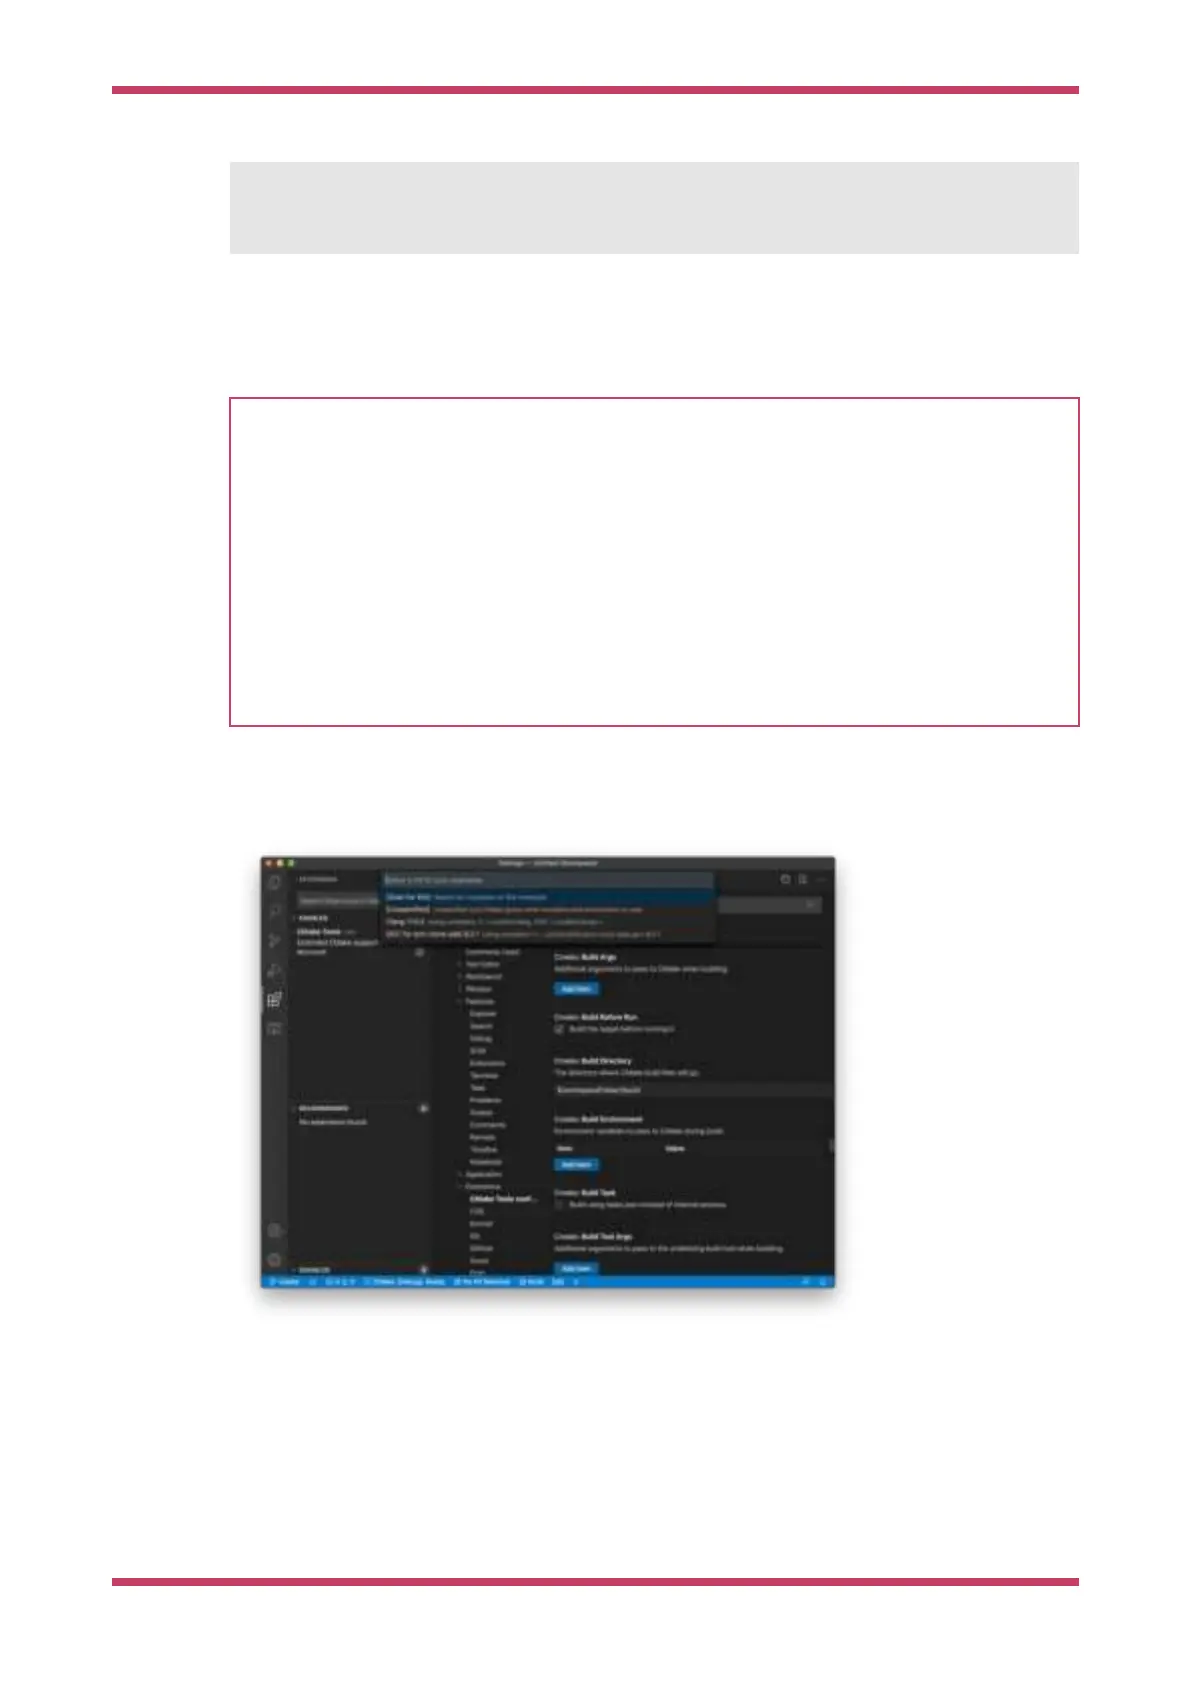
Now click on the Cog Wheel at the bottom of the navigation bar on the left-hand side of the interface and select
"Settings". Then in the Settings pane click on "Extensions" and the "CMake Tools configuration". Then scroll down to
"Cmake: Generator" and enter "Unix Makefiles" into the box.
NOTE
Depending on your local setup you may not need to set the CMake generator manually to "Unix Makefiles". However
if you do not do so in some cases Visual Studio will default to ninja rather than make and the build might fail as GCC
outputs dependency-information in a slightly-incorrect format that ninja can’t understand.
If you do find yourself having to configure this variable manually it is also possible that you may need to point Visual
Studio at the CMake Tools extension explicitly by adding the an additional line to your settings.json file,
{
Ê "cmake.environment": {
Ê "PICO_SDK_PATH": "../../pico-sdk"
Ê },
Ê "C_Cpp.default.configurationProvider": "ms-vscode.cmake-tools"
}
Then go to the File menu and click on "Add Folder to Workspace…" and navigate to pico-examples repo and hit "Okay".
The project will load and you’ll (probably) be prompted to choose a compiler, see Figure 13. Select "GCC for arm-none-
eabi" for your compiler.
Figure 13. Prompt to
choose the correct
compiler for the
project.
Finally go ahead and click on the "Build" button (with a cog wheel) in the blue bottom bar of the window. This will create
the build directory and run CMake as we did by hand in Section 3.1, before starting the build itself, see Figure 9.
This will produce ELF, bin, and uf2 targets, you can find these in the hello_world/serial and hello_world/usb directories
inside the newly created build directory. The UF2 binaries can be dragged-and-dropped directly onto a RP2040 board
attached to your computer using USB.
Getting started with Raspberry Pi Pico
9.1. Building on Apple macOS 37