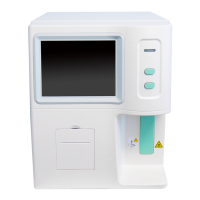
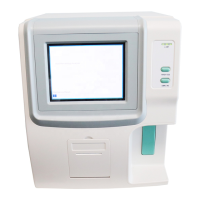
RT-7200 Auto Hematology Analyzer User’s Manual
2.4 Reagent
The instrument needs to use Lyse, cleanser, diluents for measurement and maintenance. To
ensure accuracy of test result, please use reagents accompanied with instrument.
2.4.1 Connection of Lyse and cleanser
1) From reagent packing carton, take out lyse and cleanser respectively, open the
bottle lids, and place them in instrument reagent booth horizontally.
2) Insert plastic tube marked Lyse into the Lyse bottle and tighten the bottle cap.
3) Insert plastic tube marked cleanser into the cleanser bottle and tighten the bottle
cap.
2.4.2 Connection of diluent
1) Take out diluent catheter from the accessories bag.
2) Connect diluent catheter end to “Diluent” route adapter on rear panel of instrument.
3) Insert the other end of catheter into diluent bottle, and tighten the bottle cap.
2.4.3 Connection of waste
1) Take out waste catheter from accessories bag.
2) Connect waste catheter end to “Waste” route adapter on rear panel of instrument.
3) Clockwise rotate the bottle cap with waste catheter to tighten it on the waste bottle.
Note: (1) Reagent tubing must not be twisted, folded or rotated by
force.
(2) Please do not use expired reagent.
(3) The waste must be treated in accordance with related
national regulations, wear rubber gloves when disposing of
waste.
2.5 Connection of keyboard, mouse
1) Carefully take out keyboard and mouse from packing carton.
2) Carefully insert keyboard cable plug into socket marked “Keyboard” on instrument
rear panel.
3) Carefully insert mouse cable plug into socket marked “Mouse” on instrument rear
panel.
2.6 Connection of external printer
1) Insert one end of printer cable into printer USB or parallel interface socket.
2) Insert another end of printer cable into instrument USB or parallel interface socket.
3) Connect printer and AC power supply with power line accompanied to printer.
4) Switch on printer and the instrument.
13