en
4 Startup
4.1 Unpacking
⇒ Remove the equipment and accessories from the package�
⇒ Checkthedeliveryforcompleteness(comparewiththescopeofdelivery).
Necessary batteries 2x AA are not included in the scope of delivery.
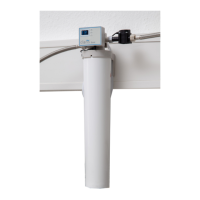
4.2 Installation
Before you begin installation:
A shut-o valve, e.g., a water faucet, must be installed upstream of the lter system.
⇒ Determineasuitablelocationforinstallingtheltersystem:
The location of the system must be frost-proof and protected against direct sunlight�
⇒ Determinethecarbonatehardnessandsetthecorrespondingblendlevel(seeChap.4.3and4.4).
⇒ Beforetheltersystemisputintooperation,theconsumerunitsuppliedmustbefreefromlimescale.
⇒ Checktheltersystemandaccessoriesfordamagebeforeassembly.Thisappliesinparticulartothe
O-rings and seals�
⇒ Ifstoredbelow0°C,theltercartridgemustbestoredforatleast24hoursatambienttemperatureat
the installation site before installation�
4.3 Blend level / capacity of the lter cartridge
Therequiredblendlevelandthecapacityoftheltercartridgedependsonthecarbonatehardnessofthe
local tap water�
Use the test strips provided for determining the carbonate hardness�
4.3.1 Using the test strips
⇒ Brieyimmersetheteststrips(1sec.).
⇒ Gentlyshakeoexcessliquidfromtheteststrip.
⇒ Read the result after 1 minute:
♦ 4 green
♦ 1 red
♦ 2 red
♦ 3 red
♦ 4 red
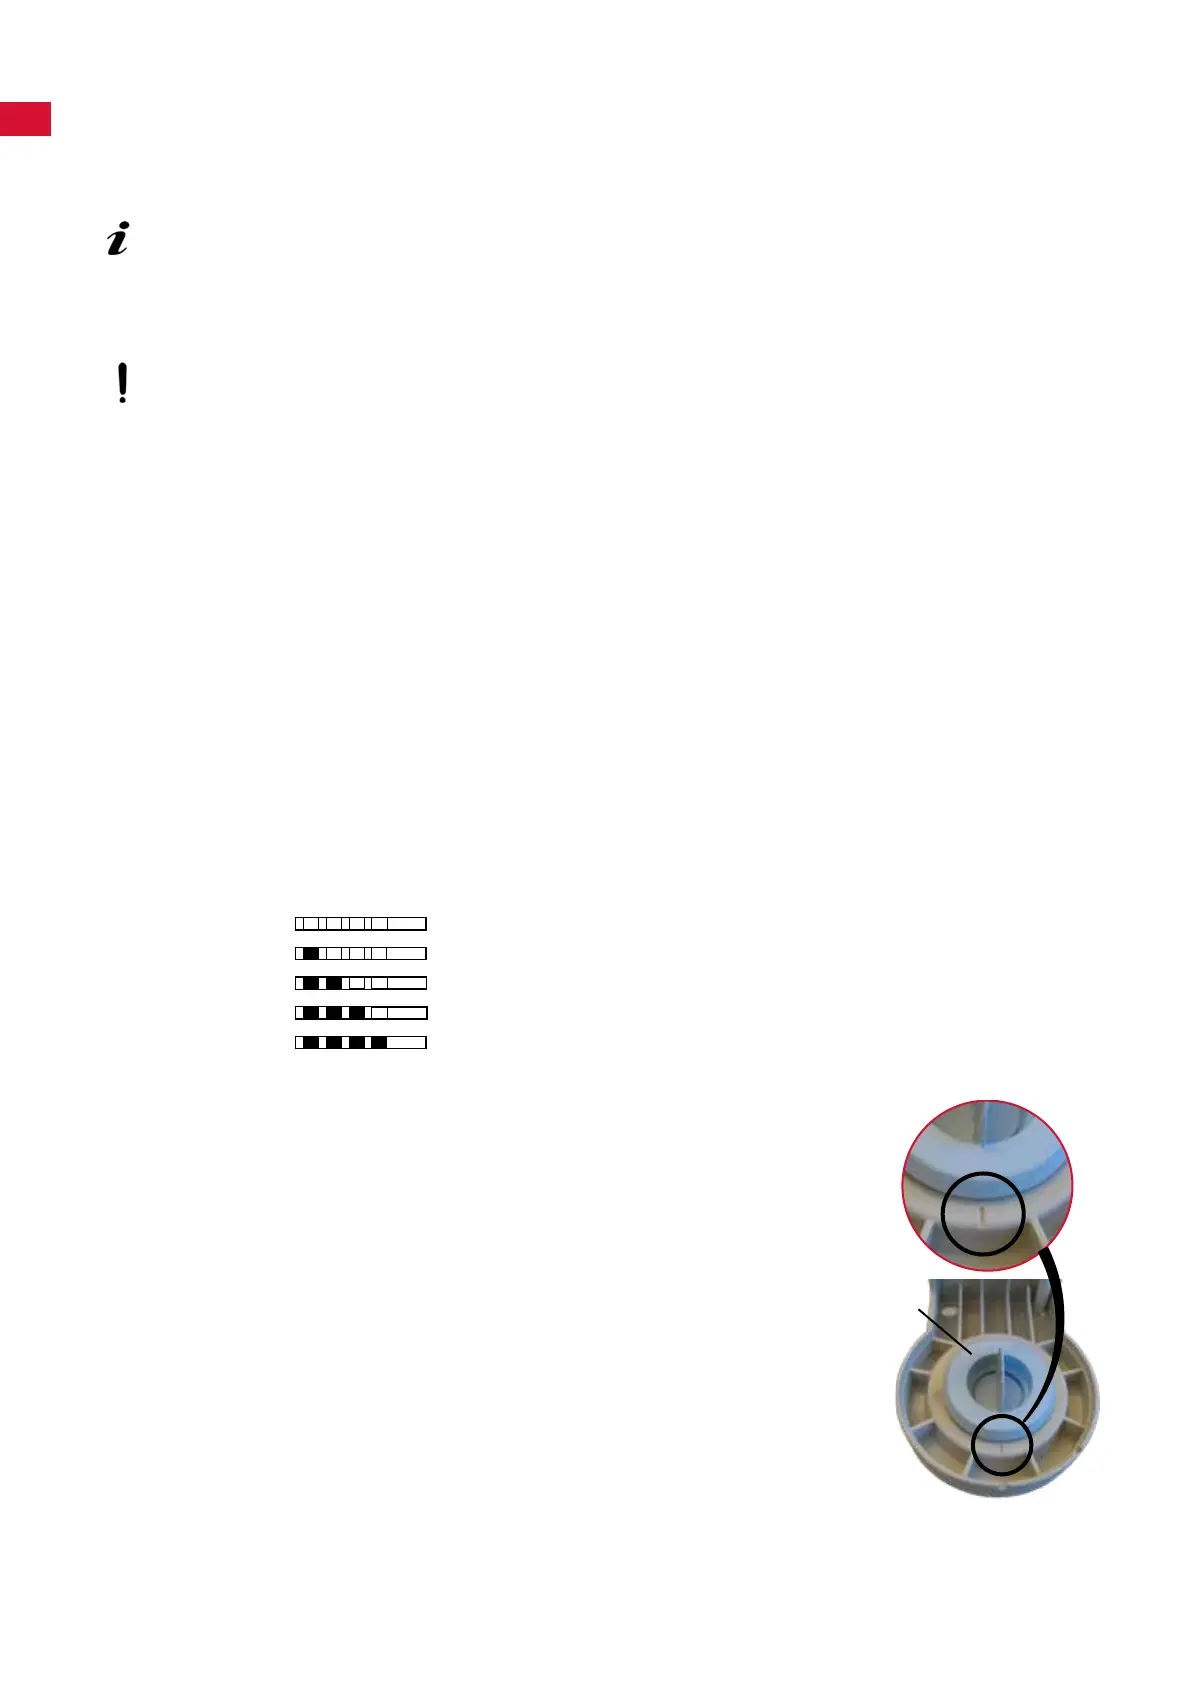
4.3.2 Setting the blend level
Theblendvalveinthelterheadofthesystemenablespreciseadjustment
ofthecarbonatehardnessinthelteredwater.Asaresult,therequired
blend level for the POWER steamer 2 can be set individually and the per-
formanceoftheltercartridgescanbeoptimallyutilized.
To set the blend level, proceed as follows:
⇒ From the table, take the blend level value that corresponds to the carbon-
ate hardness that has been determined�
⇒ Pressthekey(9)forblendingadjustmentandturntheblendingadjust-
ment dial to the corresponding level�
⇒ Remove the blending adjustment key after setting has been completed
and store the key in a safe place for possible future adjustments to the
settings�
9
- 6 -
 Loading...