2.3
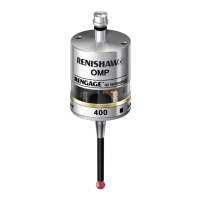
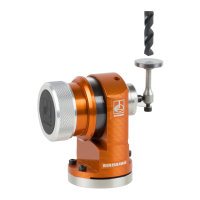
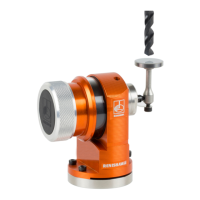
OMP400 basics
or
Current probe settings can be reviewed by simply removing the batteries for a minimum of 5seconds,
and then replacing them to activate the Trigger Logic™ review sequence
Modes of operation
The OMP400 probe can be in one of three modes.
Stand-by mode: where the probe is awaiting a switch-on signal;
Operational mode: activated by one of the switch-on methods described later in this section. In this
mode the OMP400 is ready for use.
Configuration mode: where Trigger Logic™ may be used to configure the following probe settings.
Configurable settings
Switch-on delay
When the standard switch-on is selected, the probe will be operational in less than 0.8 seconds. After
being switched on, the OMP400 must remain operational for a minimum of 1 second before being
switched off.
A second switch-on mode is available where a 3 second delay is invoked after the probe start signal
is received. This feature is aimed at machines where 'Auto-start' is required, i.e. it will ensure that
when the probe receives a start signal during a tool change, it will switch-on correctly in the spindle.
To ensure that the probe activates correctly, it is important to make sure that it is stationary when it is
switched on. If the probe is not stationary during a start sequence, there is a possibility that the strain
gauges could auto-zero in the incorrect position and produce a permanently triggered output. The
3 second delay ensures that the start sequence only occurs when the probe is safely located in the
machine spindle (this assumes that the tool change process is completed in less than 3 seconds).
NOTES:
The probing program on the machine will need to take account of this delay.
When used in conjunction with an OMI-2T, the OMP400 switch on method must be set to optical on
(standard).