OMP400 installation guide
ii
Contents
System installation
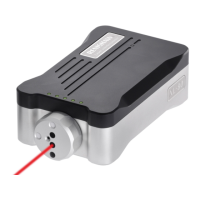
Installing the OMP400 with an OMI-2T / OMI-2 / OMI-2H / OMI ........................3.1
Performance envelope with an OMI-2T / OMI-2H / OMI-2 (modulated transmission) .....3.2
Performance envelope when using the OMP400 with the OMI (legacy transmission) .....3.3
Installing the OMP400 with an OMM and MI 12 ....................................3.4
Performance envelope with an OMM (legacy transmission) ........................3.5
Preparing the OMP400 for use .................................................3.6
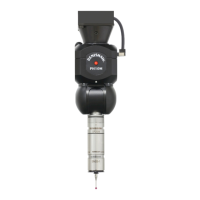
Fitting the stylus ..........................................................3.6
Installing the batteries .....................................................3.7
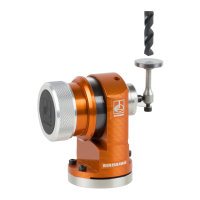
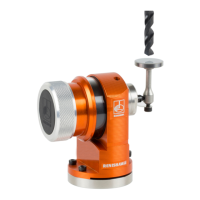
Mounting the probe on a shank (or machine table) ...............................3.8
Stylus on-centre adjustment ................................................. 3.9
Calibrating the OMP400 .....................................................3.10
Why calibrate a probe? ...................................................3.10
Calibrating in a bored hole or on a turned diameter .............................. 3.10
Calibrating in a ring gauge or on a datum sphere ...............................3.10
Calibrating the probe length ................................................3.11
Trigger Logic™
Reviewing the current probe settings ............................................4.1
Probe settings record ........................................................4.2
Changing the probe settings ...................................................4.3
Changing the probe settings (continued) .........................................4.4
Operating mode ............................................................. 4.5
Maintenance
Maintenance ...............................................................5.1
Cleaning the probe ..........................................................5.1
Changing the batteries .......................................................5.2
Fault finding
Parts list