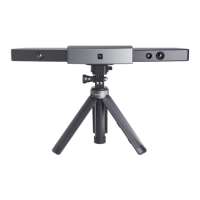
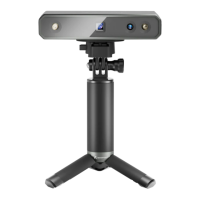
POP 3D Scanner User Manual
9 COPYRIGHT ©2021 REVOPOINT 3D ALL RIGHTS RESERVED
Installed Software
Windows Android iOS/iPad Mac
Handy Studio YES NO NO Coming Soon…
Scan Software: Handy Scan
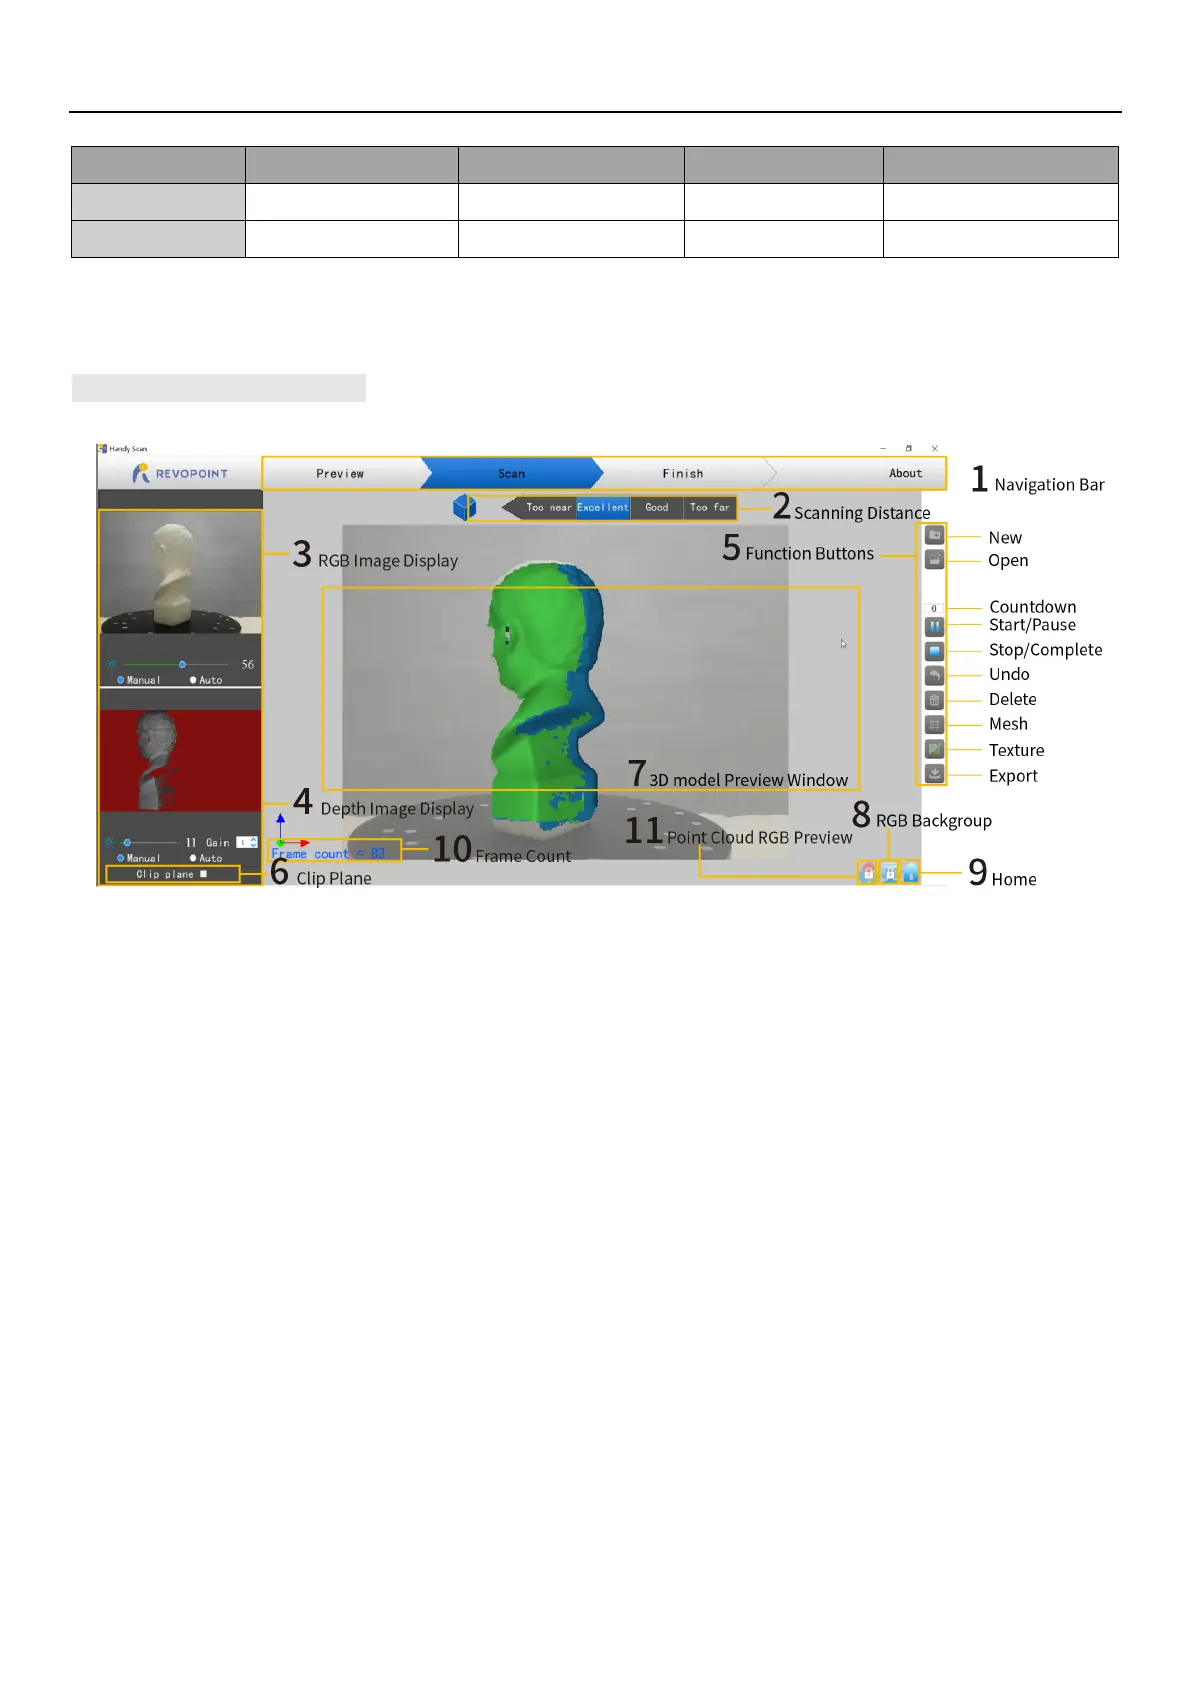
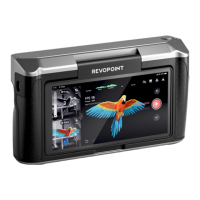
User Interface
1. Navigation Bar: Presents scanner status (Preview/Scan/Finish) and About (version information).
The POP must be connected for all of the information to be displayed.
2. Scanning Distance: Too near, Excellent, Good, Too Far.
Placing the POP so that it is in the Excellent zone will have the best balance of coverage and resolution. Adjust the
optimal distance according to the prompt.
3. RGB Image Display: Display the image captured by the RGB Texture camera.
4. Depth Image Display: Present the 3D point cloud data that can be captured.
Brightness and Gain can be manually adjusted for best results (the areas not displayed in red will return point cloud
data while scanning). Some Scan Modes allow for Automatic adjustment to find the best setting, but it is
normally best to switch to Manual before scanning to prevent exposure variations that interfere with data capture).
5. Function Buttons:
New: Define a new project. Specify the Scan Mode (Feature, Marker, Face, Body or Dark and whether to capture color
data or only the shape of the scanned object.
Open: Input a previously-scanned 3D model.
Start/Pause: Start or pause scanning.
Stop/Complete: Stop the current scanning project. A popup will allow choosing between completing the scan (fusing the Point