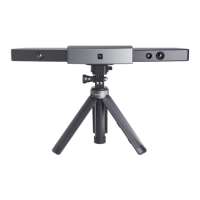
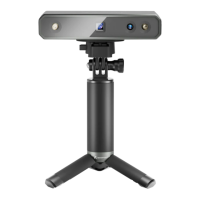
POP 3D Scanner User Manual
11 COPYRIGHT ©2021 REVOPOINT 3D ALL RIGHTS RESERVED
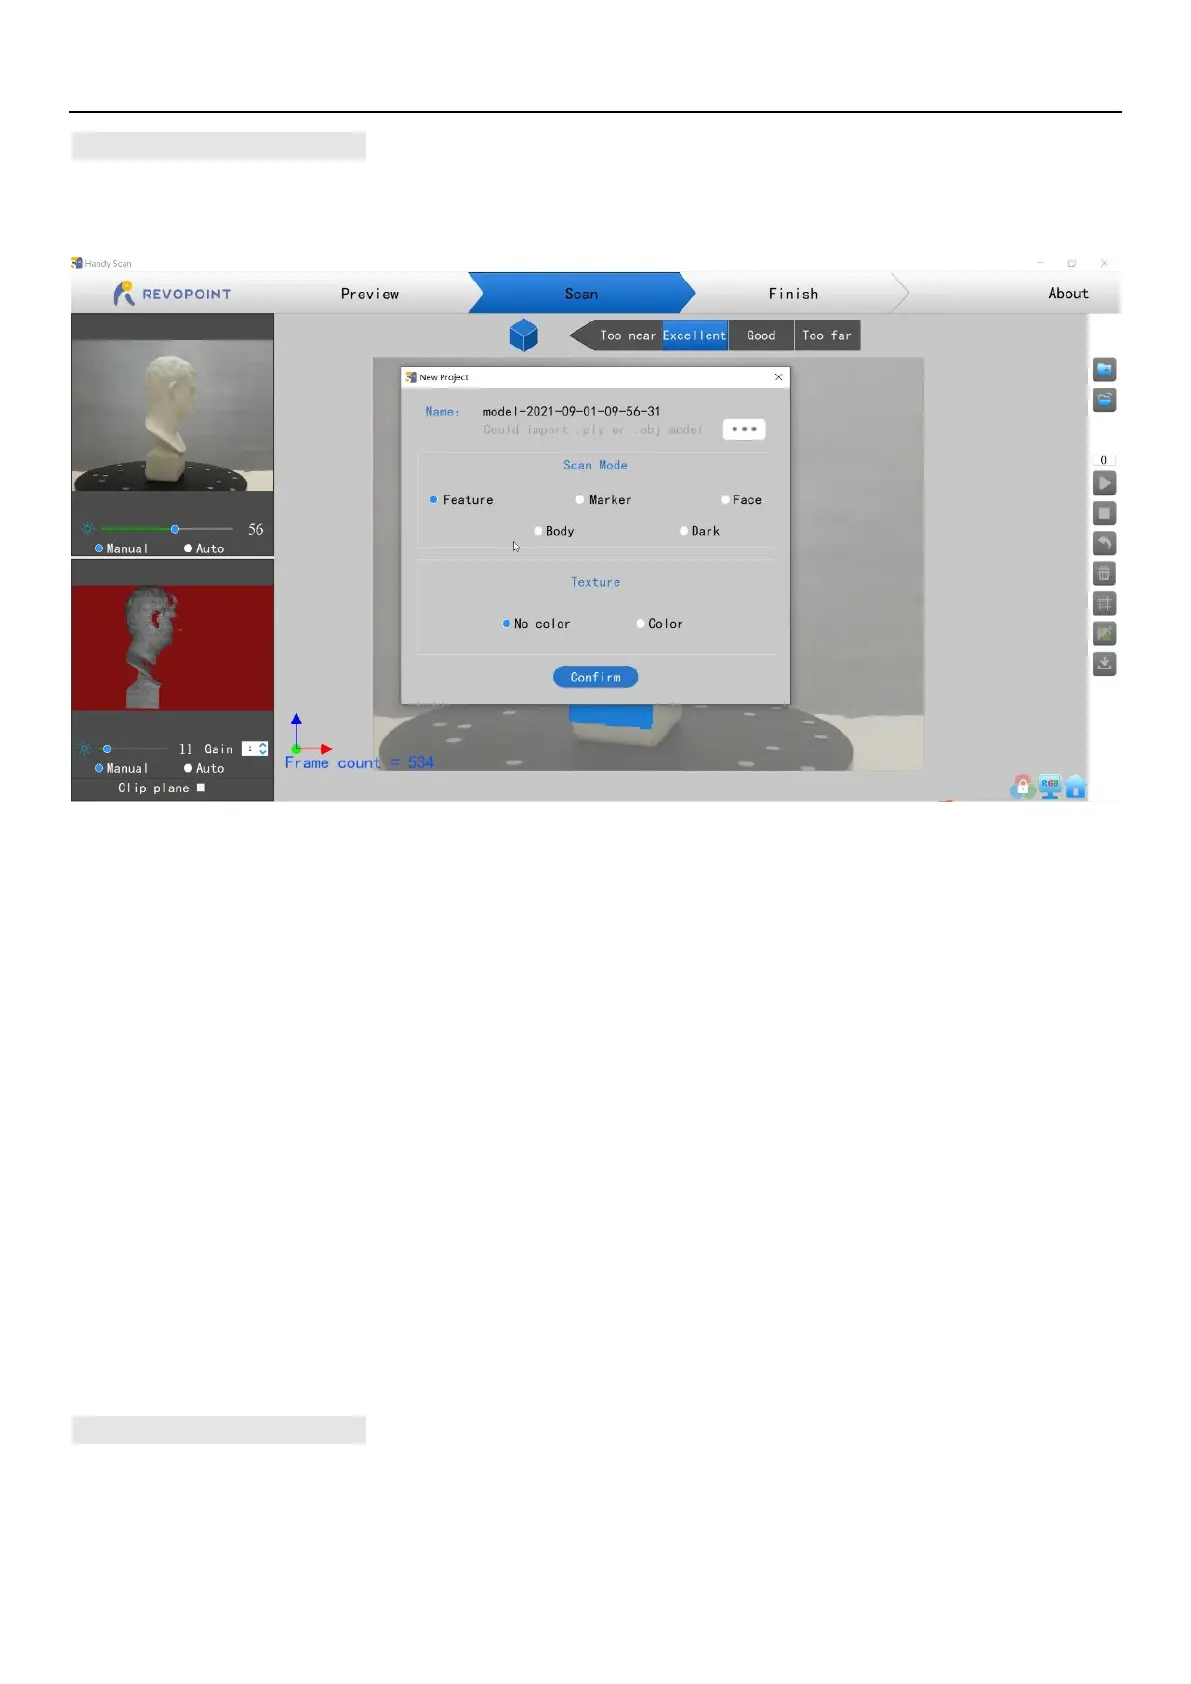
Scan Mode Introduction
The differences among these 5 modes are mainly exposure and gain settings:
·Feature mode: Designed to scan objects with unique shapes such as sculptures and easily-identifiable features.
·Marker mode: Designed to scan objects that have large, smooth areas or regularly-repeating features that could fool the POP’s internal pattern
recognition capabilities. Flat planes like a board or symmetrical objects like balls or bowls are usually suitable to scan with this
mode. Place tracking markers irregularly on or around the objects. Remember to distribute the markers so they do not have
repeating patterns because the scanner determines the relative location of each frame of point cloud data by identifying the
unique patterns formed by the markers. Plan ahead to keep six or more markers in view for each frame during the scanning
process.
NOTE: *Marker mode is not available with the Wi-Fi (Hotspot) connection (the data link is too slow for the interactive
procedure used by this mode to track the patterns).
·Face mode: Designed to scan the human face. The exposure and gain are set according to typical skin reflectivity (no Automatic exposure
adjustment).
·Body mode: Designed to scan a human body or larger objects from a greater distance than is used for the other modes. The exposure and
gain are set accordingly (no Automatic exposure adjustment).
·Dark mode: Designed to scan objects with darker surfaces, such as black or dark gray clothes, black boxes, dark hair, etc. However, not all
dark objects can be successfully scanned. One example would be black leather shoes because leather absorbs light (or they are
so shiny that they reflect too much light). The exposure and gain are set accordingly (no Automatic exposure adjustment).
Scan Parameters
Adjust Camera Parameters
·Color Camera: (Upper left preview window) Select "Auto" first, then "Manual" to obtain a decent image quality, avoiding over or