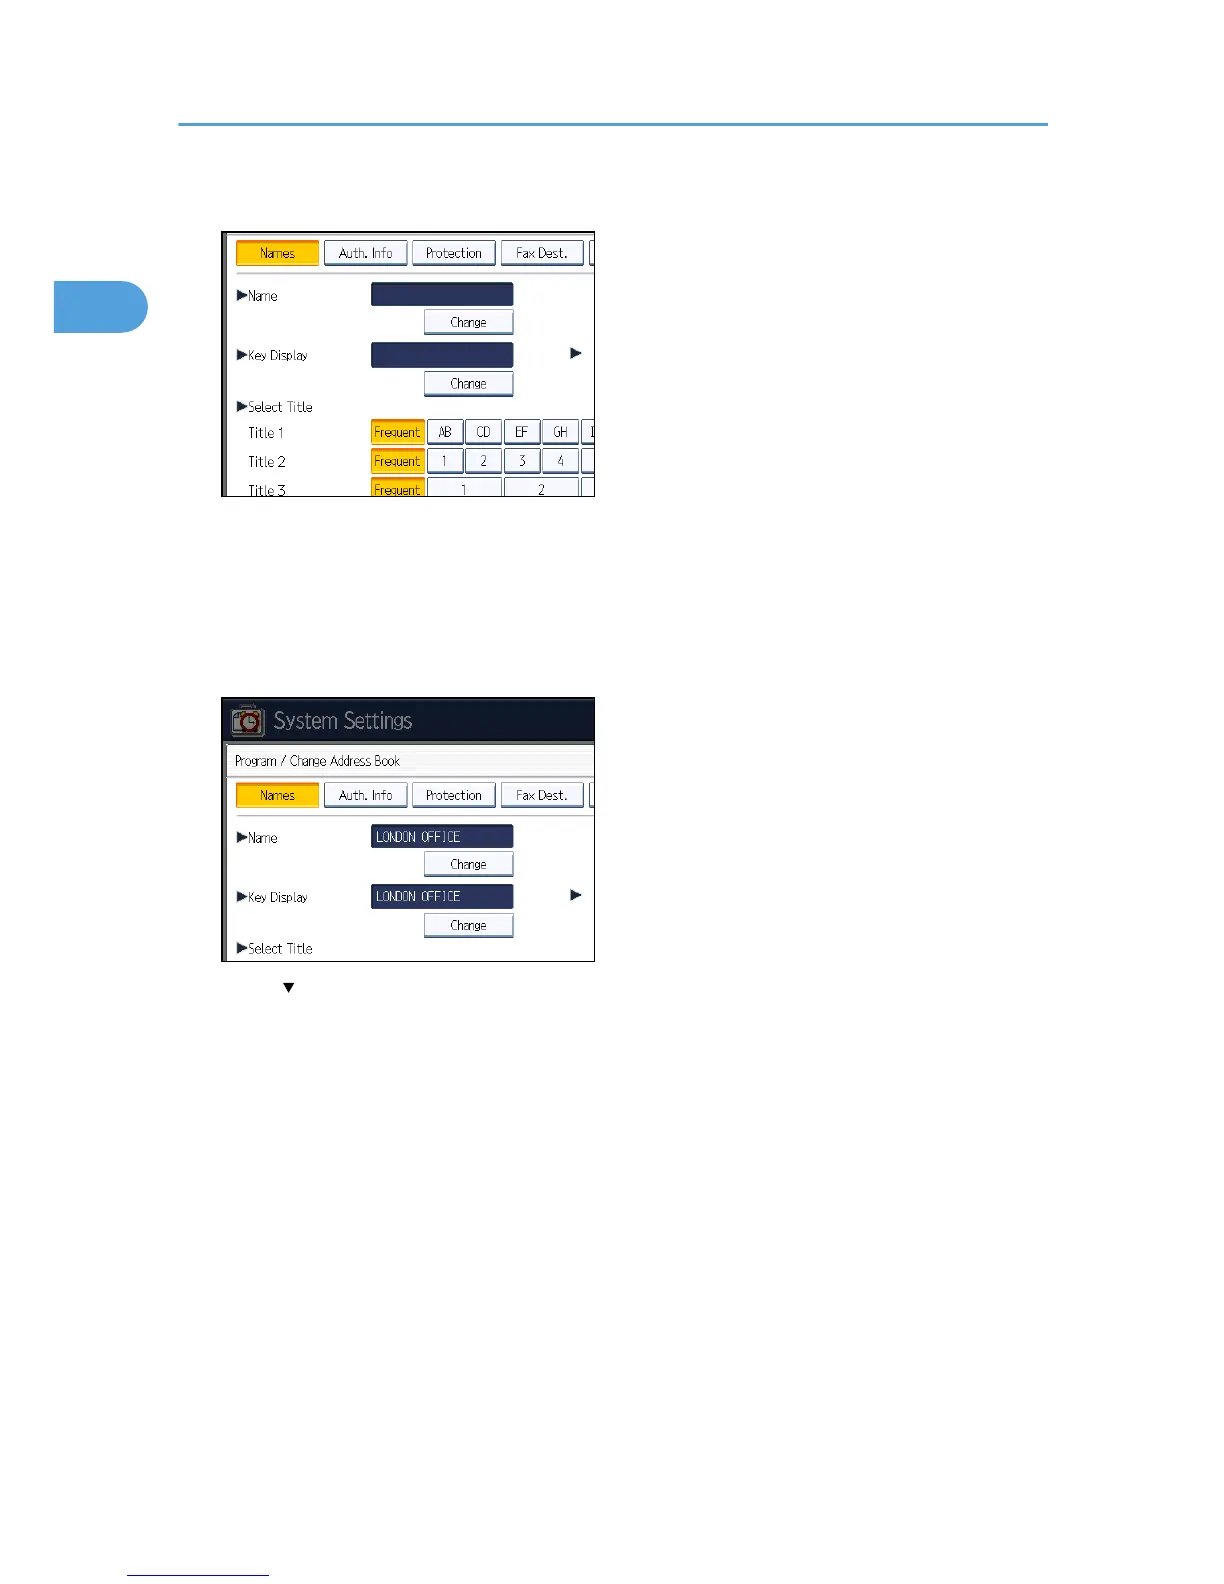
7. Press [Change] under “Name”.
8. Enter the name, and then press [OK].
If necessary, press [Change] under “Key Display”, and then enter the name of the key to which the
destination is assigned.
9. Press the key for the classification you want to use under “Select Title”.
10. Press [Auth. Info].
11. Press [ Next].
12. Press [Specify Other Auth. Info] on the right side of “Folder Authentication”.
13. Press [Change] under “Login User Name”.
14. Enter the login user name of the destination computer (item (B) in the list of required
information), and then press [OK].
15. Press [Change] under “Login Password”.
16. Enter the password of the destination computer (item (C) in the list of required
information), and then press [OK].
17. Enter the password again to confirm it, and then press [OK].
18. Press [Folder].
19. Check that [SMB] is selected.
To specify a folder, you can either enter the path manually or locate the folder by browsing the
network.
1. Using the Scanner Function
18

 Loading...


