118
3
Taking Pictures
Select the quality (data compression ratio) for still images according
to how the images will be used.
The more stars (E), the higher the quality of the image, but the file size
increases. The selected Recorded Pixels setting also affects the size
of the image file (1p.116).
Quality Level
1
Press the 3 button in A mode.
The [A Rec. Mode] menu appears.
2
Use the four-way controller (23) to select [Quality Level].
3
Press the four-way controller (5).
The pull-down menu appears.
4
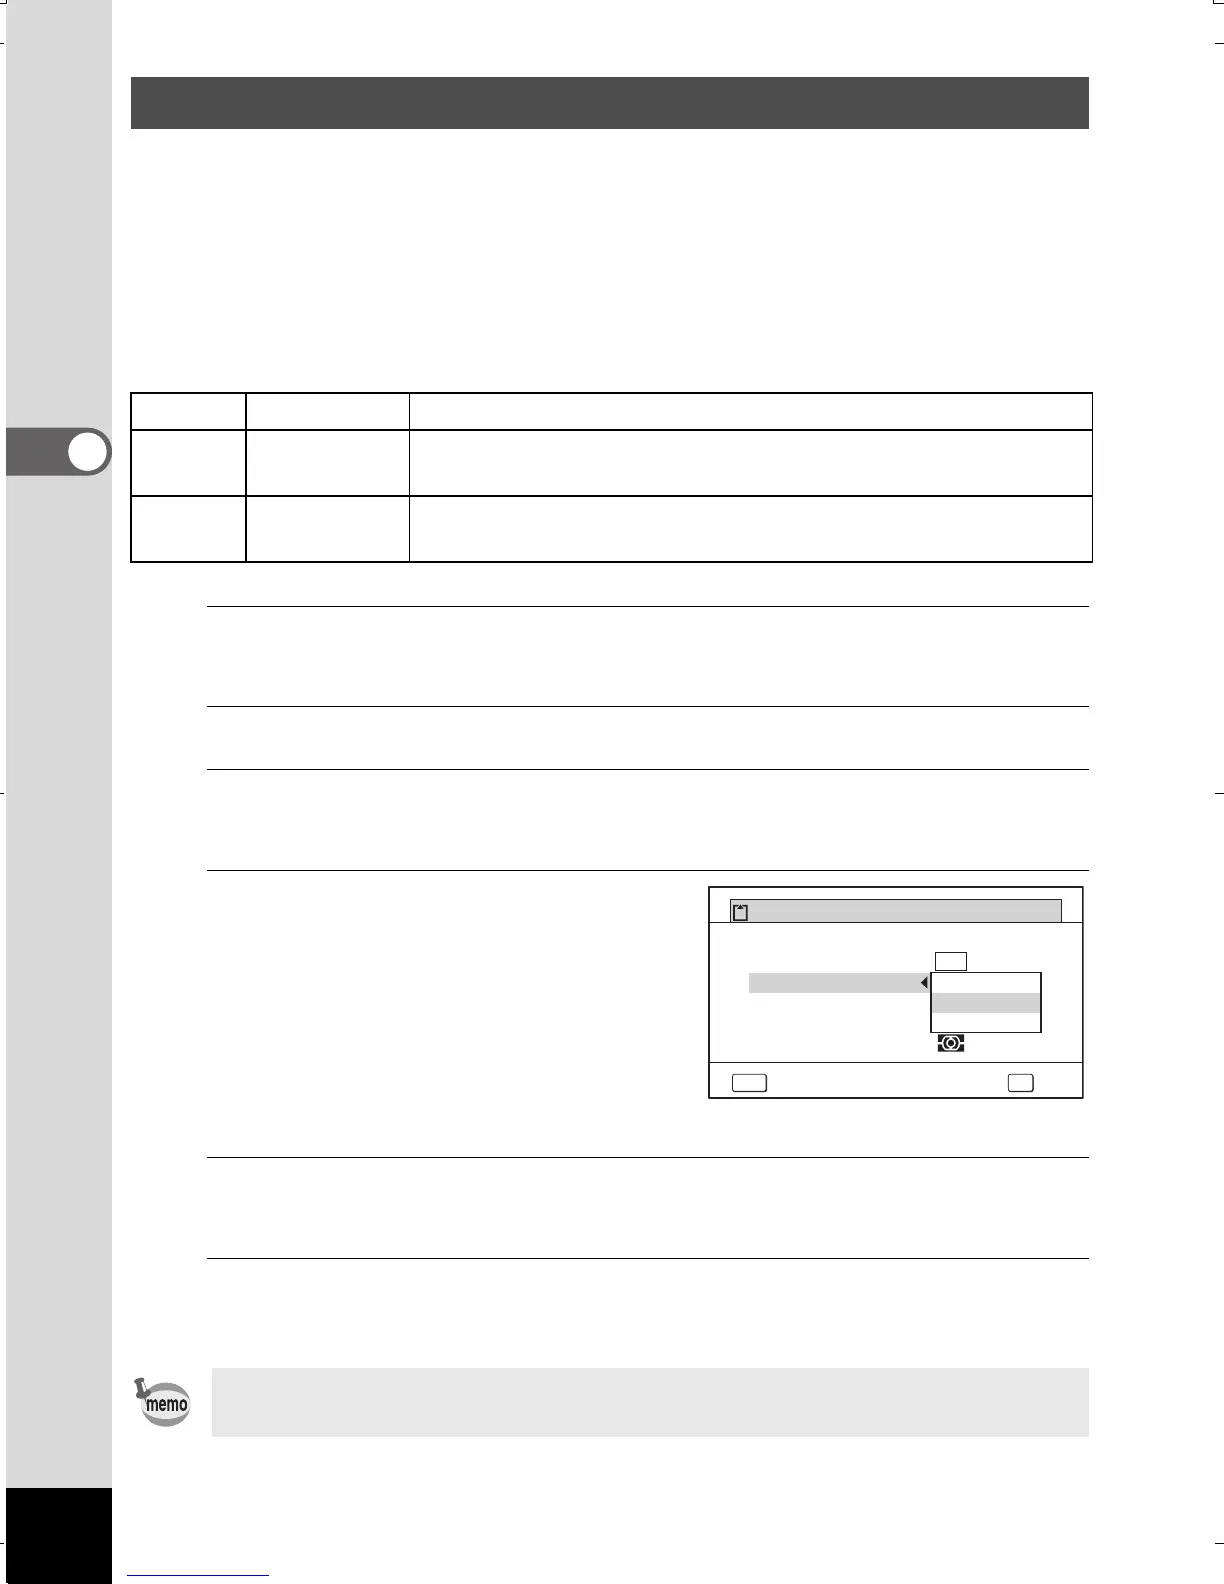
Use the four-way controller
(23) to change the quality
level.
The maximum number of pictures
you can take is displayed at the top
of the screen when you select
a quality level.
5
Press the 4 button.
The setting is saved.
6
Press the 3 button.
The camera is ready for taking pictures.
Selecting the Quality Level of Still Pictures
C
Best Lowest compression ratio. Suitable for photo prints.
D
Better
Standard compression ratio. Suitable for viewing the image
on a computer screen. (default setting)
E
Good
Highest compression ratio. Suitable for attaching to e-mails
or creating websites.
In 9 (Green) mode, the quality level is fixed at D (Better).
Image Tone
AE Metering
Recorded Pixels
White Balance
Quality Level
Bright
ڎڎڎ
ڎڎ
ڎ
AF Setting
MENU
Cancel
OK
OK
Recordable Image No.
12
14
M
WG20_OPM_ENG.book Page 118 Wednesday, February 5, 2014 2:20 PM
 Loading...