27
Workpiece Support
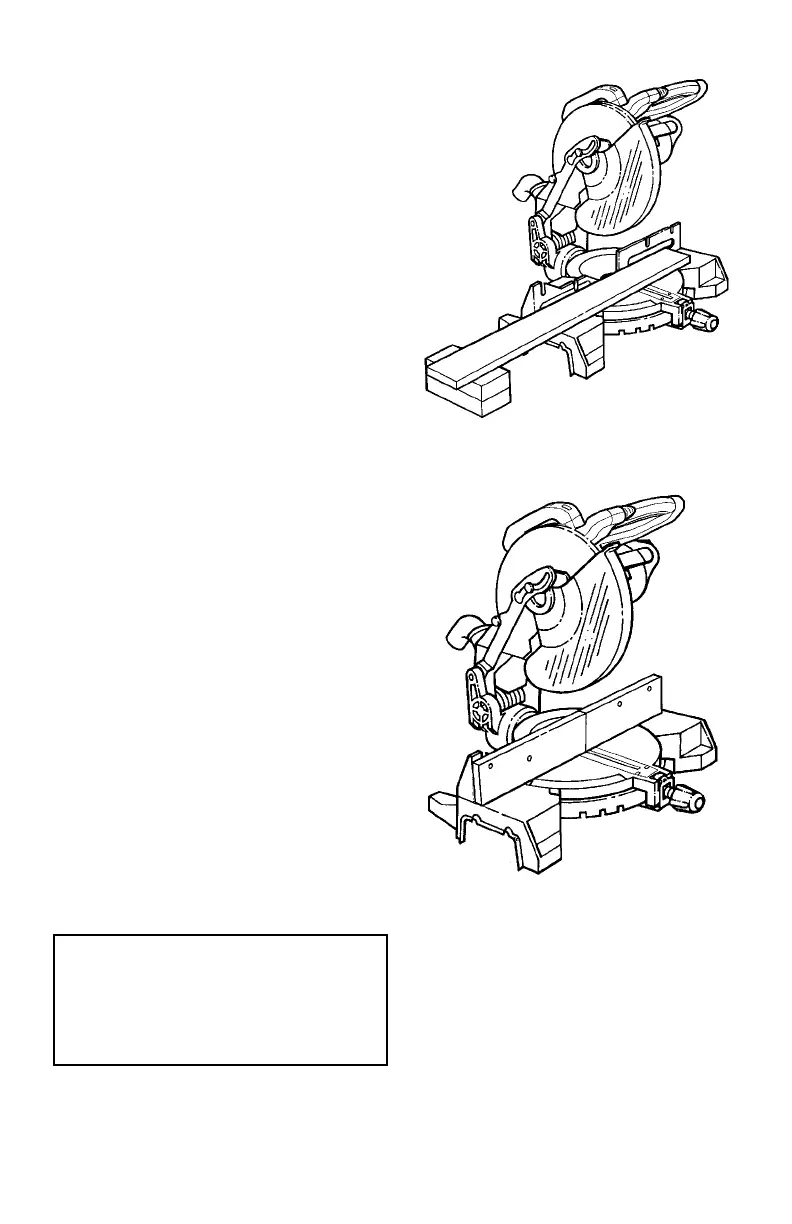
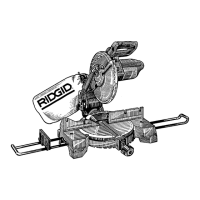
Long pieces need extra supports. The
table extensions provided will support
many pieces. If long supports are required
they should be placed along the work-
piece so the workpiece does not sag and
your hand holding the workpiece is posi-
tioned 4" or more from the blade path.
The support should let the workpiece lay
flat on the base and work table during the
cutting operation.
NOTE: When mounted on a large flat sur-
face, the miter saw table is 3" high. Two
finished 2x4’s on their sides can be used
as work support extension.
Auxiliary Fence
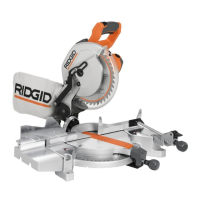
Depending on the size and position of the
workpiece a fence face extension may be
required. Slots are provided in the fence
to attach an auxiliary fence. Get a straight
piece of wood, typically 1/2 inch thick by
3-1/4 inches high by 19-1/4 inches long.
To attach auxiliary fence, place the piece
of wood on the miter saw fence. Mark the
locations from the backside of the miter
saw fence. Drill .200"-.250" holes, then
countersink the holes on front of wood to
receive #10 flat head machine screws.
Position the auxiliary fence in place and
secure with appropriate nut(s). Make a full
depth cut. This will create the blade slot.
Check for interference between the auxil-
iary fence and lower blade guard. Correct
any interference before proceeding. The
auxiliary fence is used with the saw in the
0° bevel position. If a bevel cut is desired,
the auxiliary fence must be removed.
WARNING: To avoid contact of
the lower guard with the auxil-
iary fence, do not make bevel
cuts with auxiliary fence
installed.


 To Next Page