19
Mounting The Miter Saw
WARNING: To reduce the risk of
injury from unexpected saw
movement:
a. Before moving the saw, lock
the miter (and bevel if applica-
ble) lock knob, and lock the
power head in the lower posi-
tion using the stop shaft.
Unplug electric cord.
b.To reduce the risk of back
injury, hold the tool close to
your body. Bend your knees
so you can lift with your legs,
not your back. Lift by using
the hand-hold areas at the bot-
tom of the base or the carry
handle.
c. Never carry the miter saw by
the power cord or by the trig-
ger grip of the plastic handle.
Carrying the tool by the power
cord could cause damage to
the insulation or the wire con-
nections resulting in electric
shock or fire.
d.Place the saw so other people
cannot stand behind it.
Thrown debris could injure
people in its path.
e. Place the saw on a firm, level
surface where there is plenty
of room for handling and
properly supporting the work-
piece.
f. Support the saw so the table
is level and the saw does not
rock.
g.Bolt or clamp the saw to its
support.
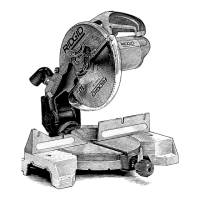
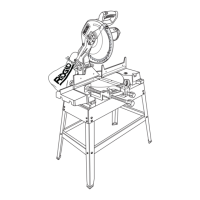
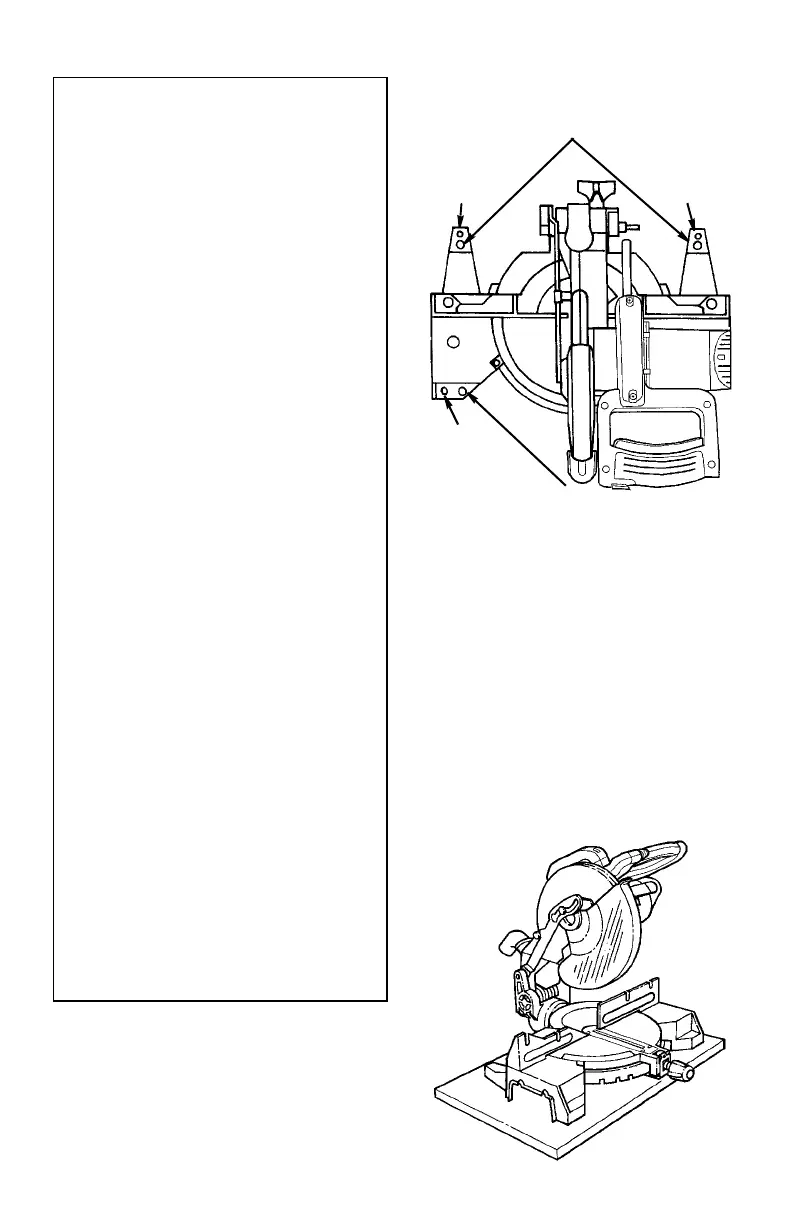
Place the saw in the desired location on a
stable work surface. The base of the saw
has two sets of four holes to mount the
miter saw: four smaller holes for drywall
screws and four larger holes for 5/16
bolts, (see illustration). If the saw is to be
used in one location, permanently fasten
it to the work surface.
Portable Applications
To mount the saw to a 3/4” piece of ply-
wood, use the 5/16" bolt holes or the 4
drywall screw holes. The mounting board
can then be clamped down to prevent it
from tipping. The plywood mount also
helps protect saw from damage during the
rough handling associated with portable
miter saw usage.
Work Bench Applications
Mount as specified in portable applica-
tions. Check for workpiece clearances to
left and right of saw.
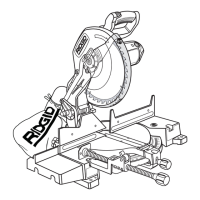
Smaller Holes
For Drywall
Screws
Larger Holes
For 5/16" Bolts
Smaller Holes
For Drywall
Screws
Smaller Holes
For Drywall
Screws
Larger Holes
For 5/16" Bolts
 Loading...