www.cel-robox.com
3.0 Getting Started
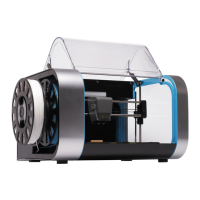
3.6 Attaching the USB Cable
Robox® comes supplied with a 2 metre USB Type A-Type B cable for connecting
to your PC. Please connect as shown.
• DO NOT connect your Robox® until you have been through the soware
installation steps on the previous page and started AutoMaker™.
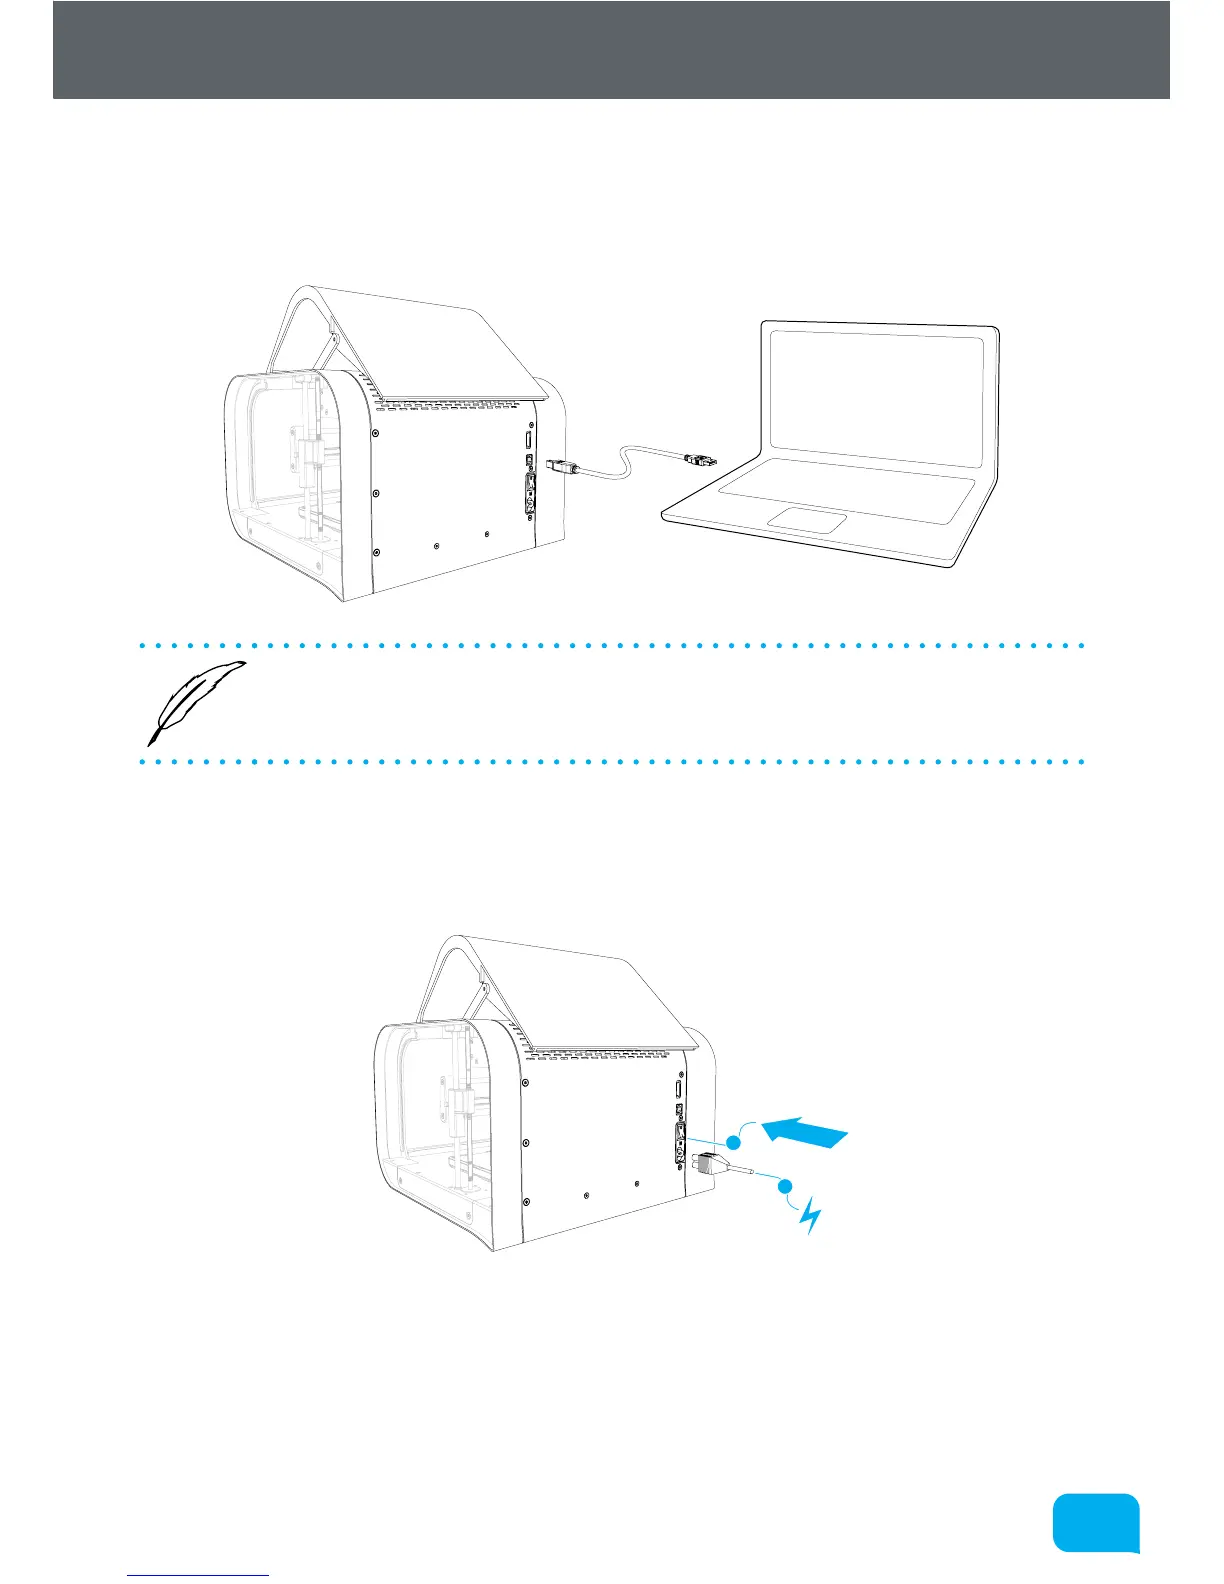
3.7 Attaching the Power Cable and Powering On
Connect the supplied AC power lead to Robox® and switch on using the rear
power switch.
1
2
This will install the necessary drivers for connecting your Robox® and could take
a few minutes. When correctly installed and switched on, it should appear in
Device Manager as a COM port called “Robox v1.0 (COM3)” (COM number may
vary). It should also appear on the Status Page of AutoMaker™, along with what
reel and head are installed.