42
Accessing the MENU Screen
1. Press the [MENU] (WRITE) button.
2. Use the [ÇSELECTÉ] knob to select the parameter you wish to set, and then press the [ENTER] (INIT) button.
3. Use the [ÇSELECTÉ] knob to select the parameter, and use the [- VALUE +] knob to change the value.
Settings for the Entire Unit
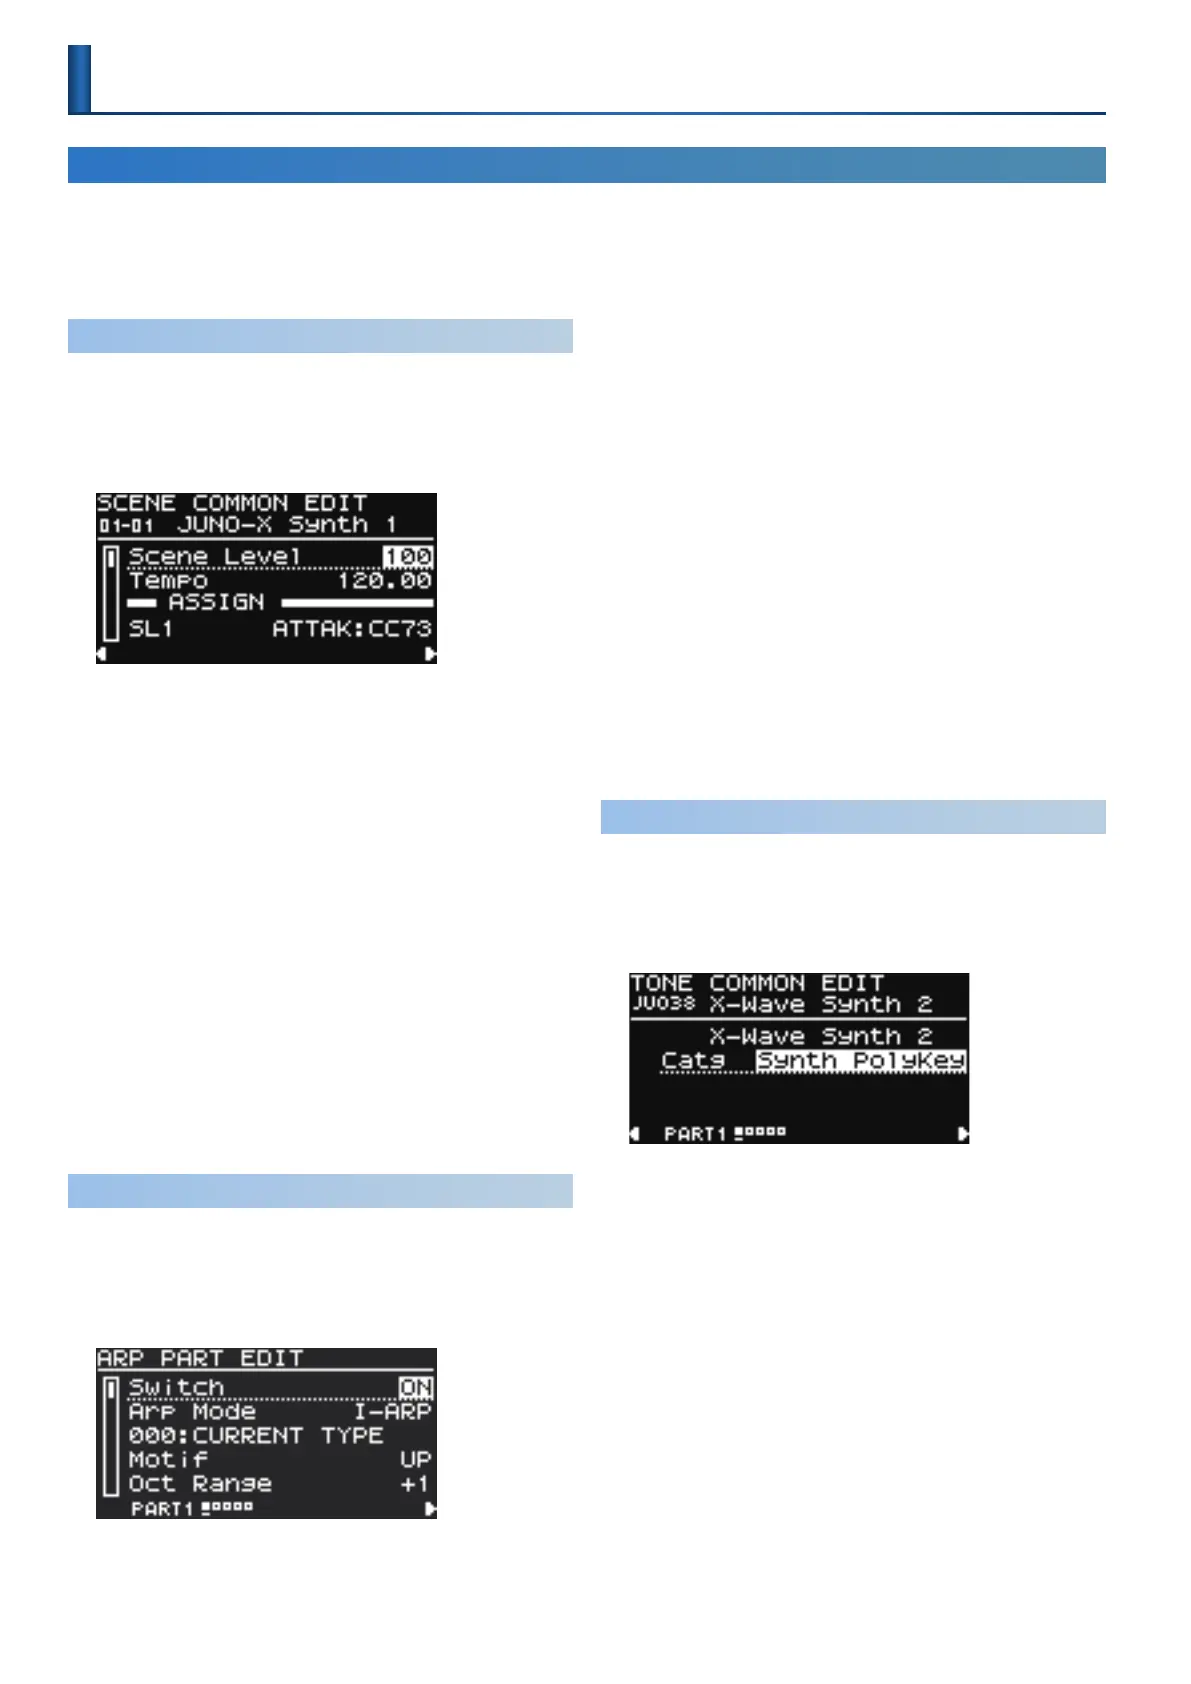
Editing the Scene Settings (SCENE EDIT)
1. Press the [MENU] (WRITE) button.
2. Use the [ÇSELECTÉ] knob to select “SCENE EDIT,”
and then press the [ENTER] (INIT) button.
The SCENE COMMON EDIT screen appears.
This is the same screen as when you press the [Ë] button once
from the SCENE TOP screen.
To edit other scene settings, press the [Ë] button several times.
3. Use the [ÇSELECTÉ] knob to select the parameter,
and use the [- VALUE +] knob to change the value.
4. If you want to save the setting, execute the Scene
Write operation.
4-1.
Hold down the [SHIFT] button and press the [MENU] (WRITE)
button.
The WRITE MENU screen appears.
4-2.
Use the [ÇSELECTÉ] knob to select “SCENE,” and then press
the [ENTER] (INIT) button.
4-3.
Use the [ÇSELECTÉ] knob and the [- VALUE +] knob to select
the save-destination, and then press the [ENTER] (INIT) button.
If you want to rename the scene that’s being saved, use the [Í] [Ë]
buttons to move the cursor and use the [- VALUE +] knob to specify
characters.
4-4.
Press the [ENTER] (INIT) button.
4-5.
To execute, press the [ENTER] (INIT) button.
Editing the I-ARPEGGIO Settings (ARPEGGIO EDIT)
1. Press the [MENU] (WRITE) button.
2. Use the [ÇSELECTÉ] knob to select “ARPEGGIO EDIT,”
and then press the [ENTER] (INIT) button.
The ARPEGGIO PART EDIT screen appears.
This is the same screen as when you press the [Í] button twice
from the SCENE TOP screen.
Use the [PART/FUNC] button to select the part whose arpeggio
parameters you want to edit, and then edit the parameters.
If you want to edit the ARPEGGIO COMMON EDIT settings, press
the [Ë] button once.
3. Use the [ÇSELECTÉ] knob to select the parameter,
and use the [- VALUE +] knob to change the value.
4. If you want to save the setting, execute the Scene
Write operation.
4-1.
Hold down the [SHIFT] button and press the [MENU] (WRITE)
button.
The WRITE MENU screen appears.
4-2.
Use the [ÇSELECTÉ] knob to select “SCENE,” and then press
the [ENTER] (INIT) button.
4-3.
Use the [ÇSELECTÉ] knob and the [- VALUE +] knob to select
the save-destination, and then press the [ENTER] (INIT) button.
If you want to rename the scene that’s being saved, use the [Í] [Ë]
buttons to move the cursor and use the [- VALUE +] knob to specify
characters.
4-4.
Press the [ENTER] (INIT) button.
4-5.
To execute, press the [ENTER] (INIT) button.
Editing the Tone Settings (TONE EDIT)
1. Press the [MENU] (WRITE) button.
2. Use the [ÇSELECTÉ] knob to select “TONE EDIT,” and
then press the [ENTER] (INIT) button.
The TONE COMMON EDIT screen appears.
This is the same screen as when you press the [Ë] button once
from the MODEL BANK screen.
To edit other tone settings, press the [Ë] button several times.
3. Use the [ÇSELECTÉ] knob to select the parameter,
and use the [- VALUE +] knob to change the value.
4. If you want to save the setting, execute the Tone Write
operation.
4-1.
Hold down the [SHIFT] button and press the [MENU] (WRITE)
button.
The WRITE MENU screen appears.
4-2.
Use the [ÇSELECTÉ] knob to select the part where the tone
you want to save is assigned, and then press the [ENTER] (INIT)
button.
4-3.
Use the [ÇSELECTÉ] knob and the [- VALUE +] knob to select
the save-destination, and then press the [ENTER] (INIT) button.
If you want to rename the tone that’s being saved, use the [Í] [Ë] buttons
to move the cursor and use the [- VALUE +] knob to specify characters.
4-4.
Press the [ENTER] (INIT) button.
4-5.
To execute, press the [ENTER] (INIT) button.

 Loading...


