19
Getting Ready
Connecting the CD Drive
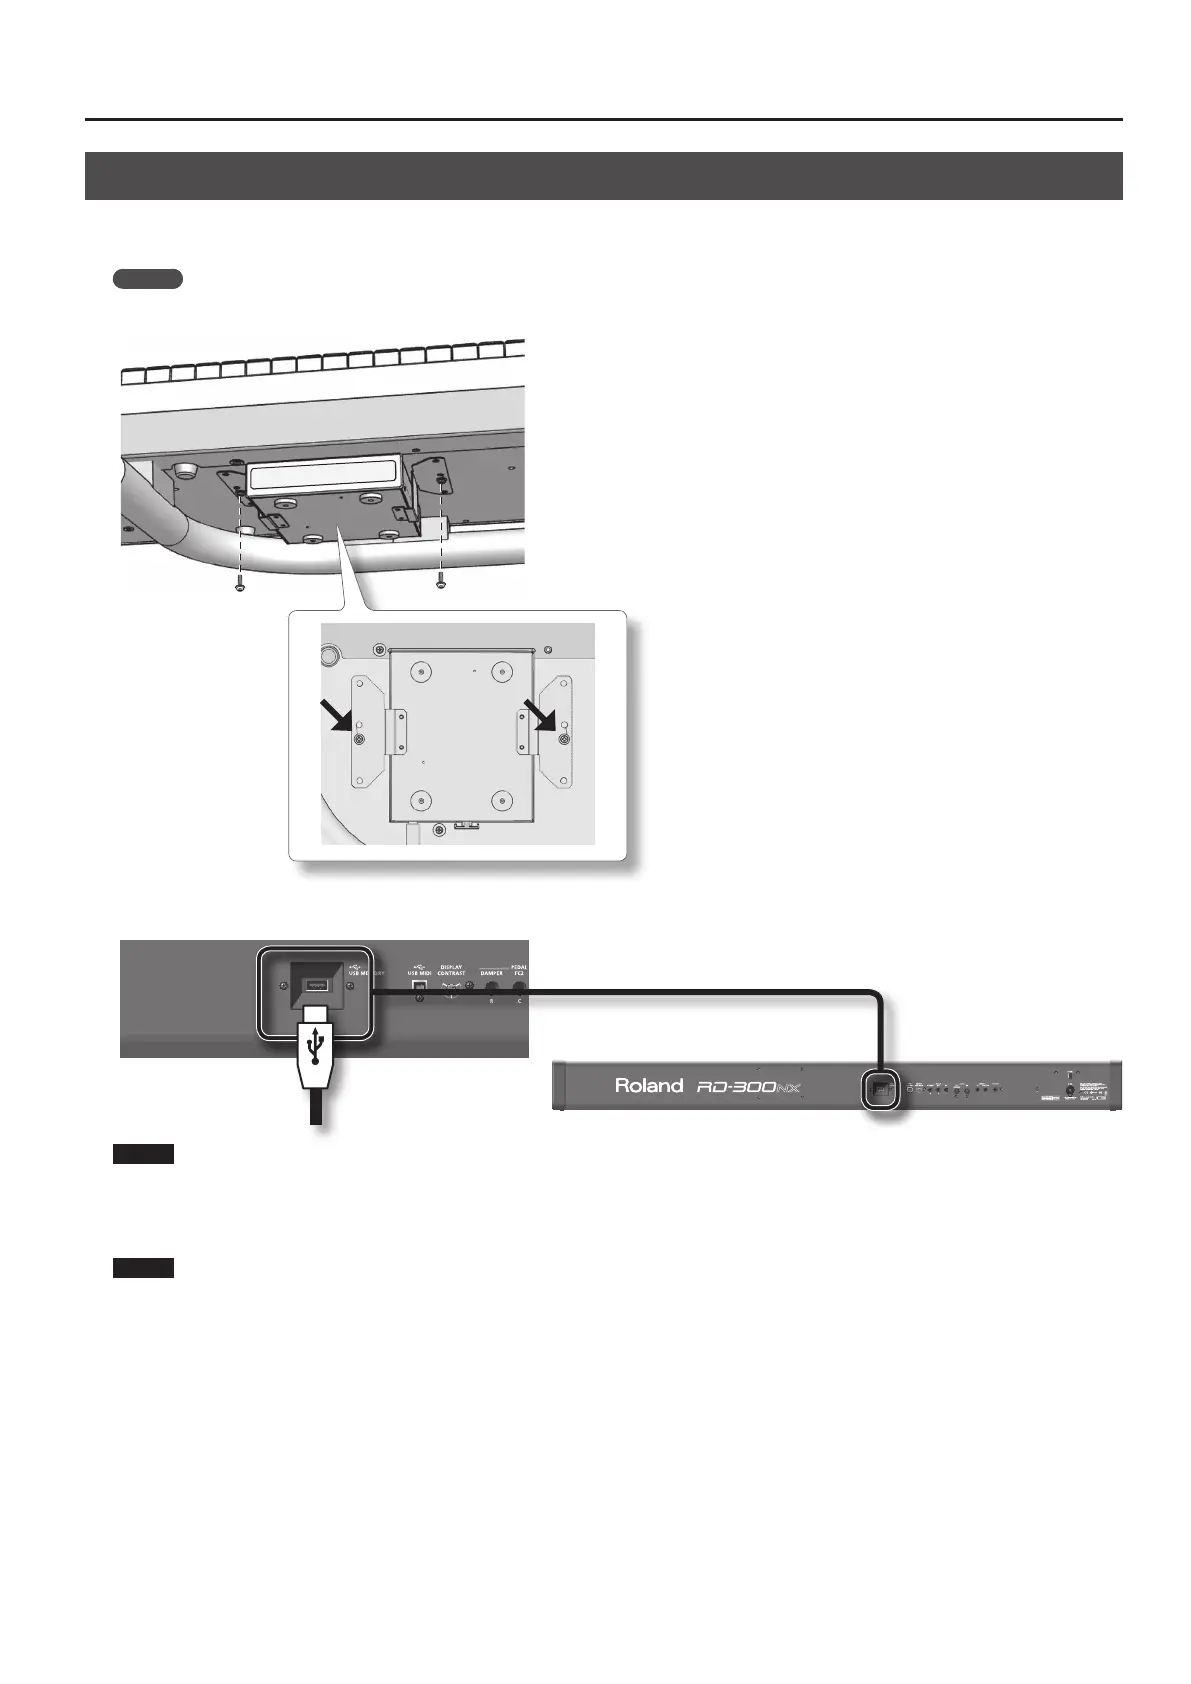
If you’re using a stand (KS-G8), you can use the screw holes on the bottom of the RD-300NX to attach a CD drive (sold separately).
You can use a CD drive to play back audio tracks from a music CD, or SMF music data and audio les from a CD-ROM.
MEMO
For information on turning on/o your CD drive and how to insert or remove a CD, refer to the owner’s manual that came with your CD drive.
1. Connect the USB cable included with the CD drive to the RD-300NX’s USB MEMORY connector.
Rear Panel
NOTE
When connecting the USB cable, make sure that it is oriented correctly, and push it rmly all the way into the connector. Do not use excessive force.
2. Switch on power to the connected CD drive.
3. Switch on the RD-300NX’s power.
NOTE
• Use a CD drive sold by Roland. We cannot guarantee operation if any other CD drive is used.
• CDs that contain both music tracks and data will not play correctly.
• The RD-300NX is capable of playing back only commercial CDs that conform the ocial standards-those that carry the “COMPACT disc DIGITAL
AUDIO” logo.
• The usability and sound quality of audio discs that incorporate copyright protection technology and other nonstandard CDs cannot be guaranteed.
• For details on music discs that incorporate copyright protection technology, please contact the disc manufacturer.
• You cannot save songs to CDs, and you cannot delete songs recorded to CDs. Furthermore, you cannot format CDs.
 Loading...