41
Using the Convenient Functions in Performances
Storing Settings to Live Sets
If you want to use the changed content as a new Live Set, use the following procedure to save the settings to user bank.
You can store 60 Live Sets on the RD-300NX.
You can also change the name of a Live Set.
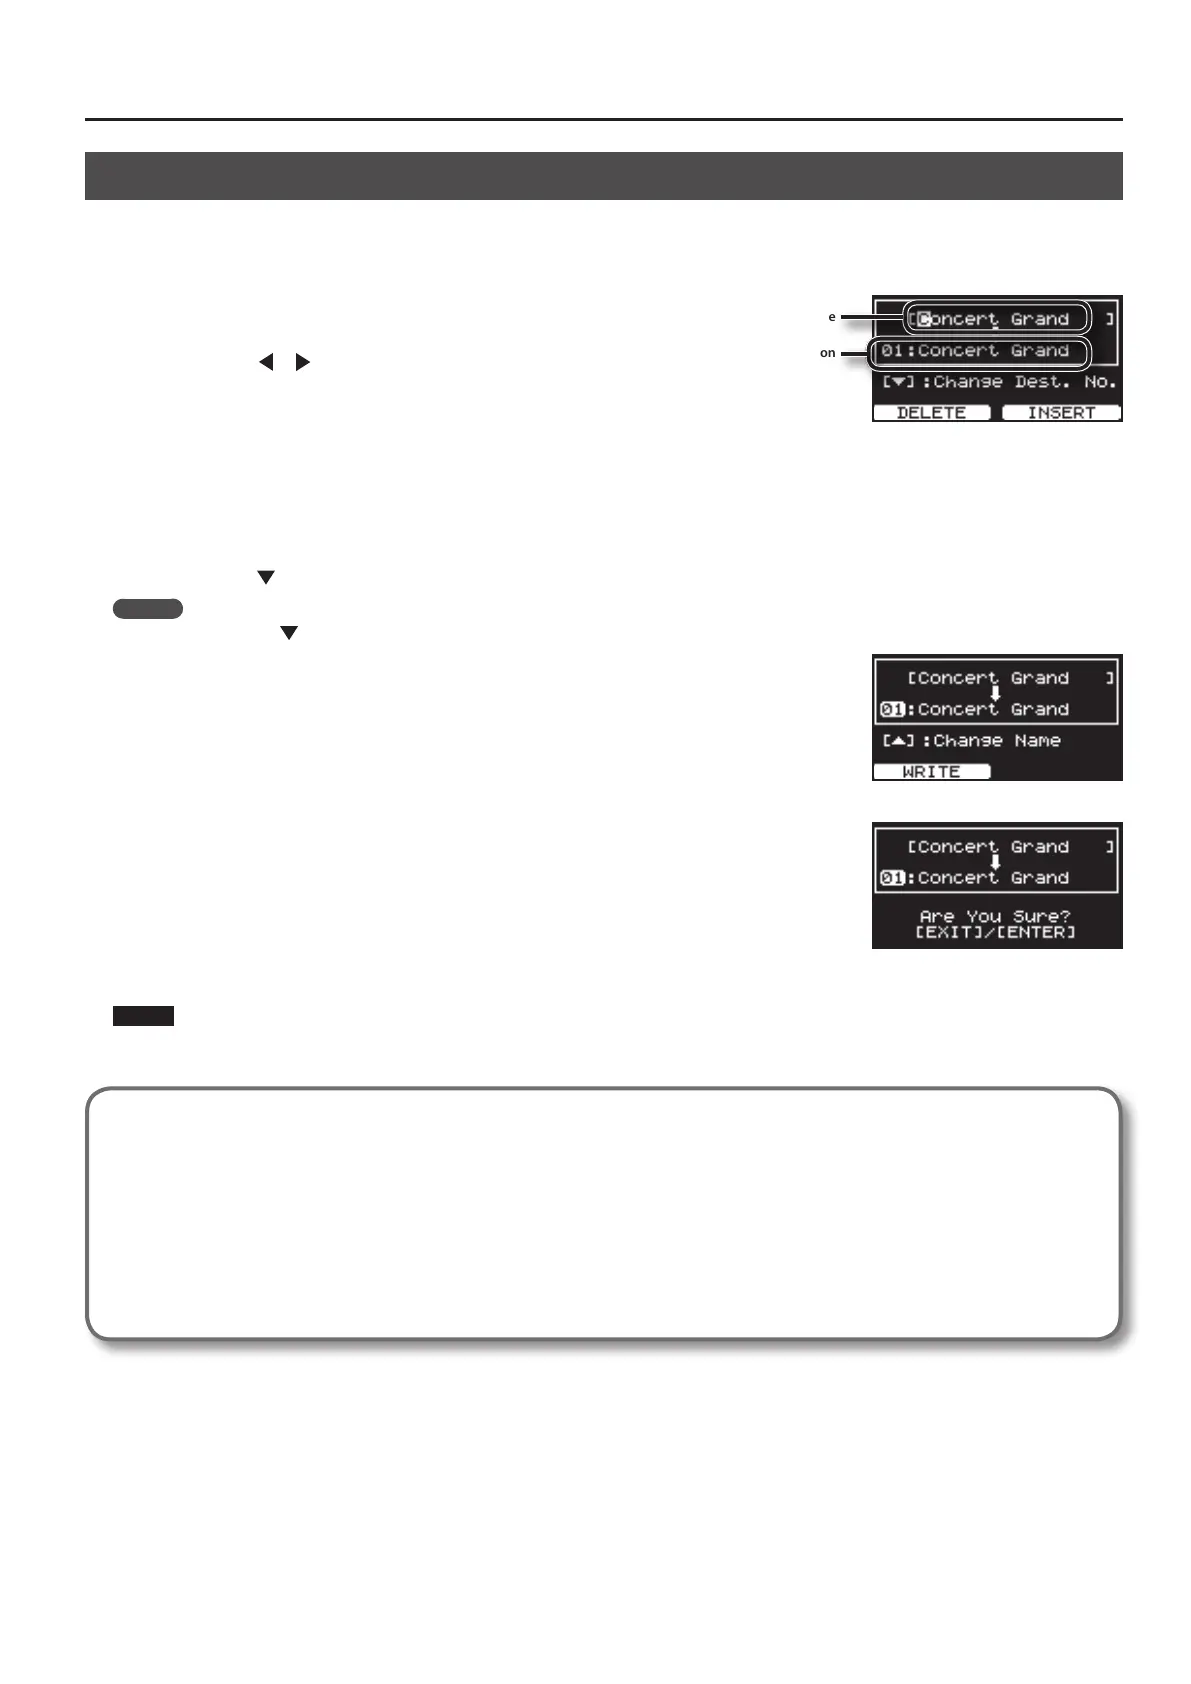
1. Press the [WRITE] button, getting the indicator to light.
As shown on the right screen appears.
2. Press the Cursor [ ] [ ] buttons to move the cursor to the positions
where the characters are to be input.
3. Use the [DEC] [INC] buttons to enter the characters.
The following characters are available.
space, ! “ # $ % & ‘ ( ) * + , - . / 0–9 : ; < = > ? @ A–Z [ \ ] ^ _ ` a–z { | } ~
When the [TONE EDIT] (DELETE) button is pressed, one character is deleted; pressing the [TONE EDIT] (INSERT) button to insert a single-character blank
space.
4. Repeat steps 2–3 to input the name.
5. Press the Cursor [
] button to move the cursor to the destination Live Set number.
MEMO
Pressing the Cursor [ ] button, even while inputting the name, moves the cursor to the save-destination Live Set number.
6. Select the save-destination Live Set number, either by using the [DEC] [INC] buttons.
7. When you have nished determining the save destination and the name for the new Live Set,
press the [ENTER] button or the [LAYER EDIT] (WRITE) button.
The [ENTER] button’s indicator is ashing, and the conrmation message appears.
If you do not want to save the Live Set, press the [EXIT/SHIFT] button or [WRITE] button.
8. When the [ENTER] button is pressed, saving of the Live Set begins.
When you have nished saving the Live Set, the [WRITE] button’s indicator goes out and you are returned to
the Live Set screen.
NOTE
Never switch o the power while “Executing...” appears in the display.
Settings Not Saved in a Live Set
The following settings cannot be saved to a Live Set.
• System Settings (p. 59)
• Compressor Settings (p. 67)
• V-LINK Settings (p. 74)
• Settings for Play Mode, Transpose, Center Cancel, and Part Switch under Song Function. (p. 75)
• Rec Setting (p. 77)
Pressing the [LAYER EDIT] (WRITE) button in the EDIT screen saves the System, and V-LINK settings.
New Live Set Name
Destination
 Loading...