22
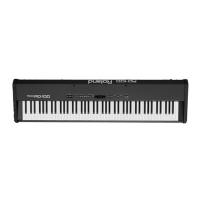
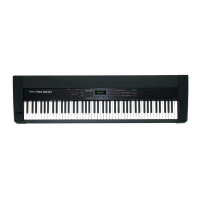
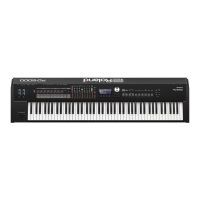
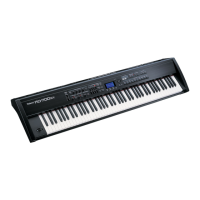
Overview of the RD-300NX
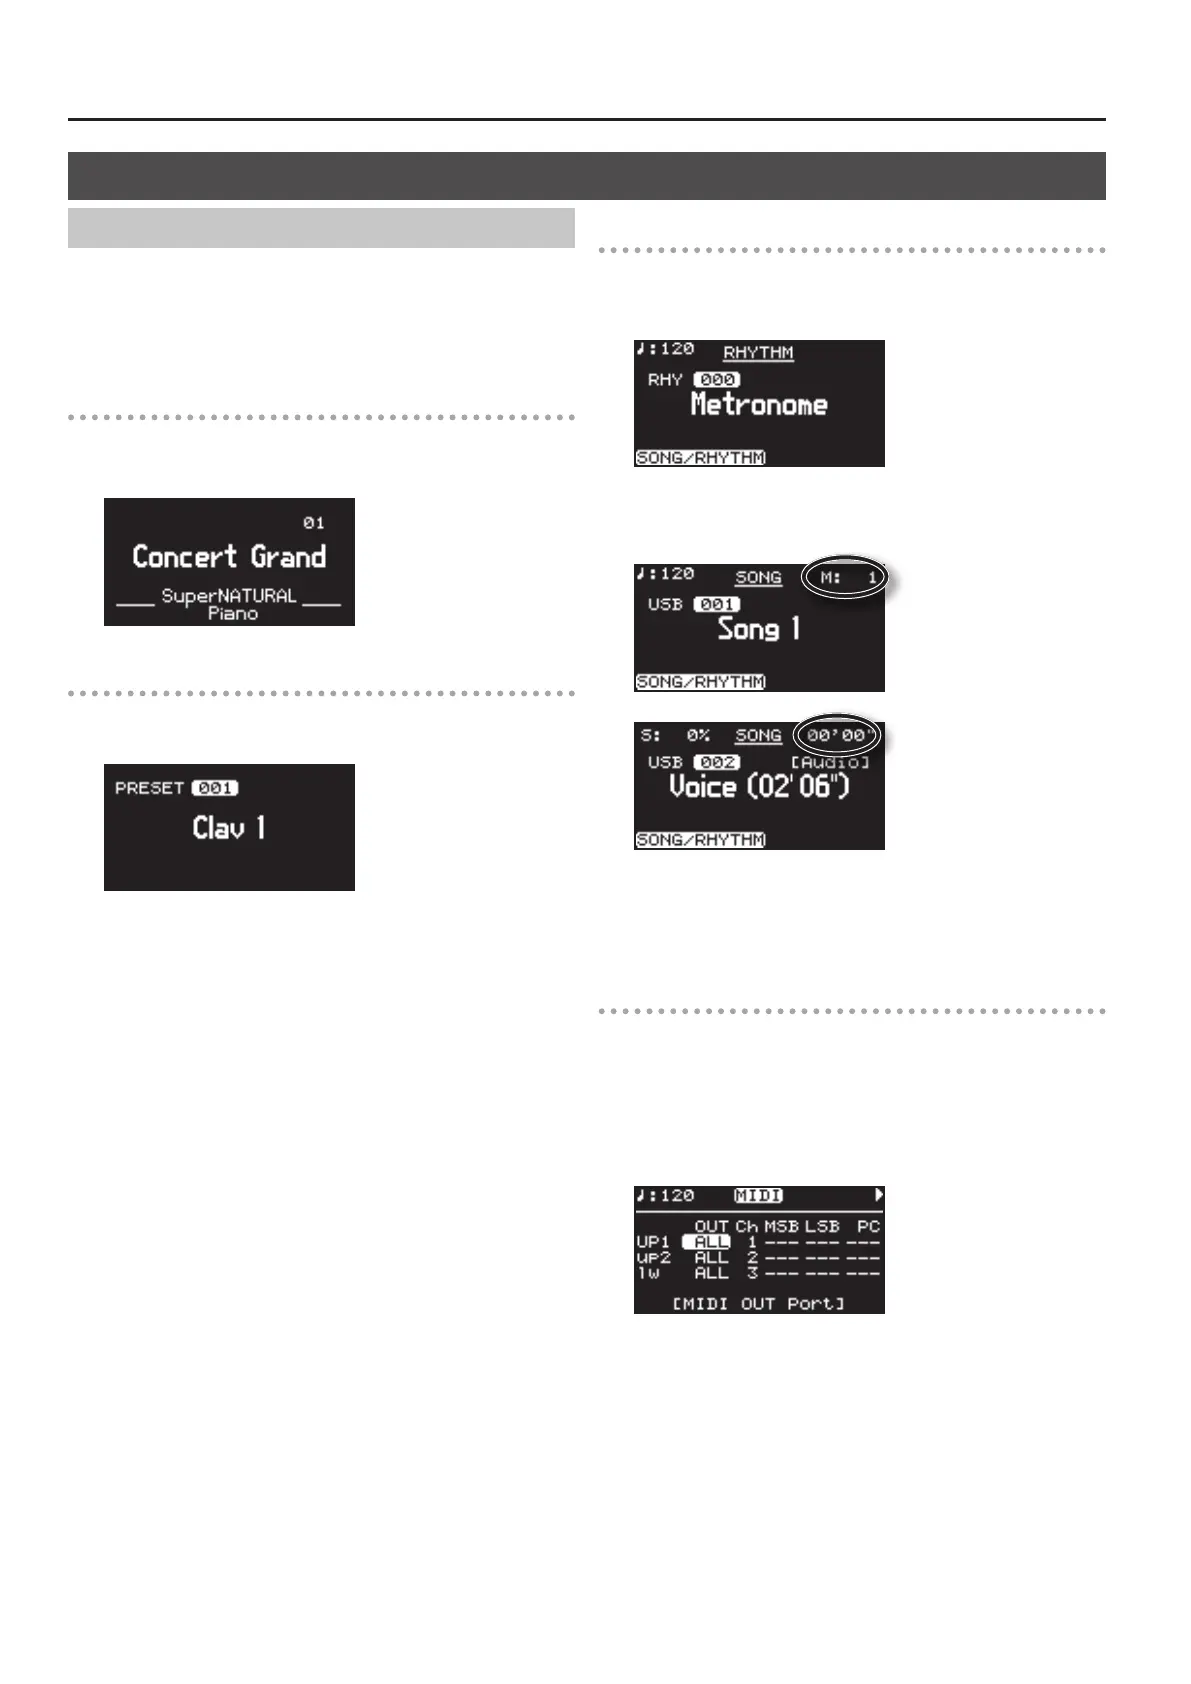
Main Screens
The explanations in this manual include illustrations that depict what
should typically be shown by the display. Note, however, that your
unit may incorporate a newer, enhanced version of the system (e.g.,
includes newer sounds), so what you actually see in the display may
not always match what appears in the manual.
One Touch Screen
When the [PIANO] button or [E. PIANO] button is pressed, setting the
RD-300NX to the optimal status for Piano or E. Piano performances,
this screen is displayed (p. 26).
Live Set Screen (Basic Screen)
The currently selected Live Set is displayed (p. 27).
You can edit this Live Set.
Song/Rhythm Screen
When the SONG/RHYTHM [SELECT] button is pressed, this screen is
displayed.
You can change Rhythm patterns, Songs, and the tempo (p. 36, p. 37).
You can also connect USB memory (sold separately) to the USB
MEMORY connector and play SMF music les or audio les that you’ve
saved in the USB memory.
If SMF music le is selected, the measure number is shown in the
upper right of the screen. If an audio le is selected, the playing time is
shown in the upper right of the screen.
Press the [EXIT] button to return to the Live Set screen.
MIDI Screen
When the [MIDI] button is pressed, and the RD-300NX switches to the
mode enabling it to control an external MIDI sound generator (p. 51).
The status of this button determines whether the RD-300NX’s buttons
are used to control the INTERNAL Layer, or to control the EXTERNAL
Layer.
In addition, you can make detailed settings for the MIDI messages to
be transmitted to the external sound generator (p. 53).
985
Basic Operation
 Loading...