10
Preparations
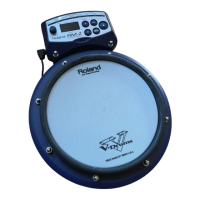
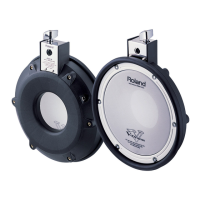
Mounting the Sound Module on the Pad
1.
Use the screws provided to mount the sound module (the RM-2) on the pad (the RP-2) as
shown below.
fig.
If the RM-2 and RP-2 are purchased as a set, they are already attached together with
the screws.
2.
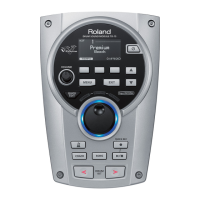
Use the included cable to connect the RP-2’s OUTPUT jack to the RM-2’s Trigger Input 1.
When you strike the pad, the Trigger 1 indicator flashes, indicating the pad is played.
926
Using a connection cable that contains a resistor can cause the sound level to be low.
Use a connection cable that does not contain a resistor.
3.
When connecting two RP-2 pads, connect the OUTPUT jack of the second RP-2 to the RM-2’s
Trigger Input 2 (p. 15).
When you strike the pad, the Trigger 2 indicator flashes, indicating the pad is played.
Turning the Power On and Off
941
•Once the connections have been completed, turn on power to your various devices
in the order specified. By turning on devices in the wrong order, you risk causing
malfunction and/or damage to speakers and other devices.
•Be sure to connect your headphone after turning on the power. Turning on the
device in the wrong order can cause malfunction and/or damage to headphones
and other devices.
943
•Always make sure to have the volume level turned down before switching on
power. Even with the volume all the way down, you may still hear some sound
when the power is switched on, but this is normal, and does not indicate a
malfunction.
1.
Turn the [VOLUME] knob completely to the left to lower the volume to the minimum level.
2.
Turn down the volume control on the connected amp or audio system.
3.
Turn on the [POWER] switch.
4.
Connect the headphone or amp.
5.
Turn on the power of the connected amp or audio system.
6.
Listen to the sound while striking the pad, and gradually rotate the [VOLUME] knob to
adjust the volume level.
When connecting to an amp or audio system, first adjust the volume to an appropriate level.