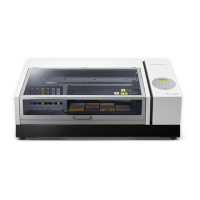
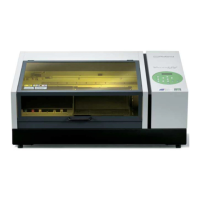
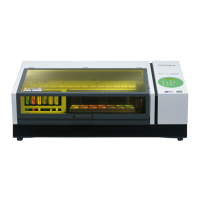
Replacing the Filter
This secon explains how to replace the lter used for the mist fan that adjusts scaering of ink mist.
When the screen displays a message like the one shown, it means the item needs to be replaced. Replace with
new items.
CAUTION
Be sure to perform operaons as specied by the instrucons, and never touch any area
not specied in the instrucons.
Otherwise sudden movement of the machine may cause injury.
IMPORTANT
• A warning beep sounds 10 minutes aer operaon starts. Stop work and close the front cover. Press [ENTER] to exit the wiper
replacement menu. Aer that, restart the procedure from the beginning.
• Be sure to hold the handle of the front cover and open and close it gently.
Procedure
1. Press [ENTER] when the following screen appears.
2. Remove the object to be printed on.
3. Press [MENU].
4. Press [▼] several mes to display the screen shown below.
5. Press [▶] once, and then press [▼] several mes to display the screen shown below.
6. Press [▶] once, and then press [▼] several mes to display the screen shown below.
MAINTENANCE
REPLACE FILTER
7. Press [MENU].
Aer "NOW PROCESSING.." is displayed and the operaon for lter replacement is performed, the screen
shown below appears.
MEMO
Refresh the heads if the following message is displayed.
8. Open the front cover.
The screen shown below appears.
REPLACE CARRIAGE
FAN FILTER
9. Open the maintenance cover.
How to Replace Consumable Parts
4. Replacing Consumable Parts and Products 227
 Loading...