Step 2: Start Prinng
1. Aach the object to be printed on.
With the LEF2-300D, height detecon is not possible if the spacer table is not used and an object to be printed on
with a thickness of 100 mm (3.94 in.) or less is loaded. For objects to be printed on with a thickness of 100 mm
(3.94 in.) or less, use the spacer table.
MEMO
This secon assumes that you are prinng for the rst me or immediately aer changing the object to be printed on. Therefore, "SET
AT SETUP" is set to "ENABLE." When repeatedly prinng in the same posion on objects to be printed on that have the same shape,
we recommend that you set "SET AT SETUP" to "DISABLE" (Oming the Seng of the Print Area(P. 104)).
Procedure
1. Check that the following screen is displayed.
If this screen is not displayed, check that nothing has been placed on top of the at table, and then hold
down [SETUP] for 1 second or more.
[SETUP] turns o, and the at table comes forward.
The above screen appears, and the object to be printed on can be set up.
2. Open the front cover.
IMPORTANT
Be sure to hold the handle of the front cover and open and close it gently.
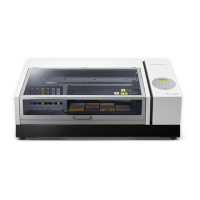
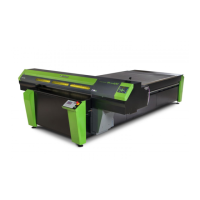
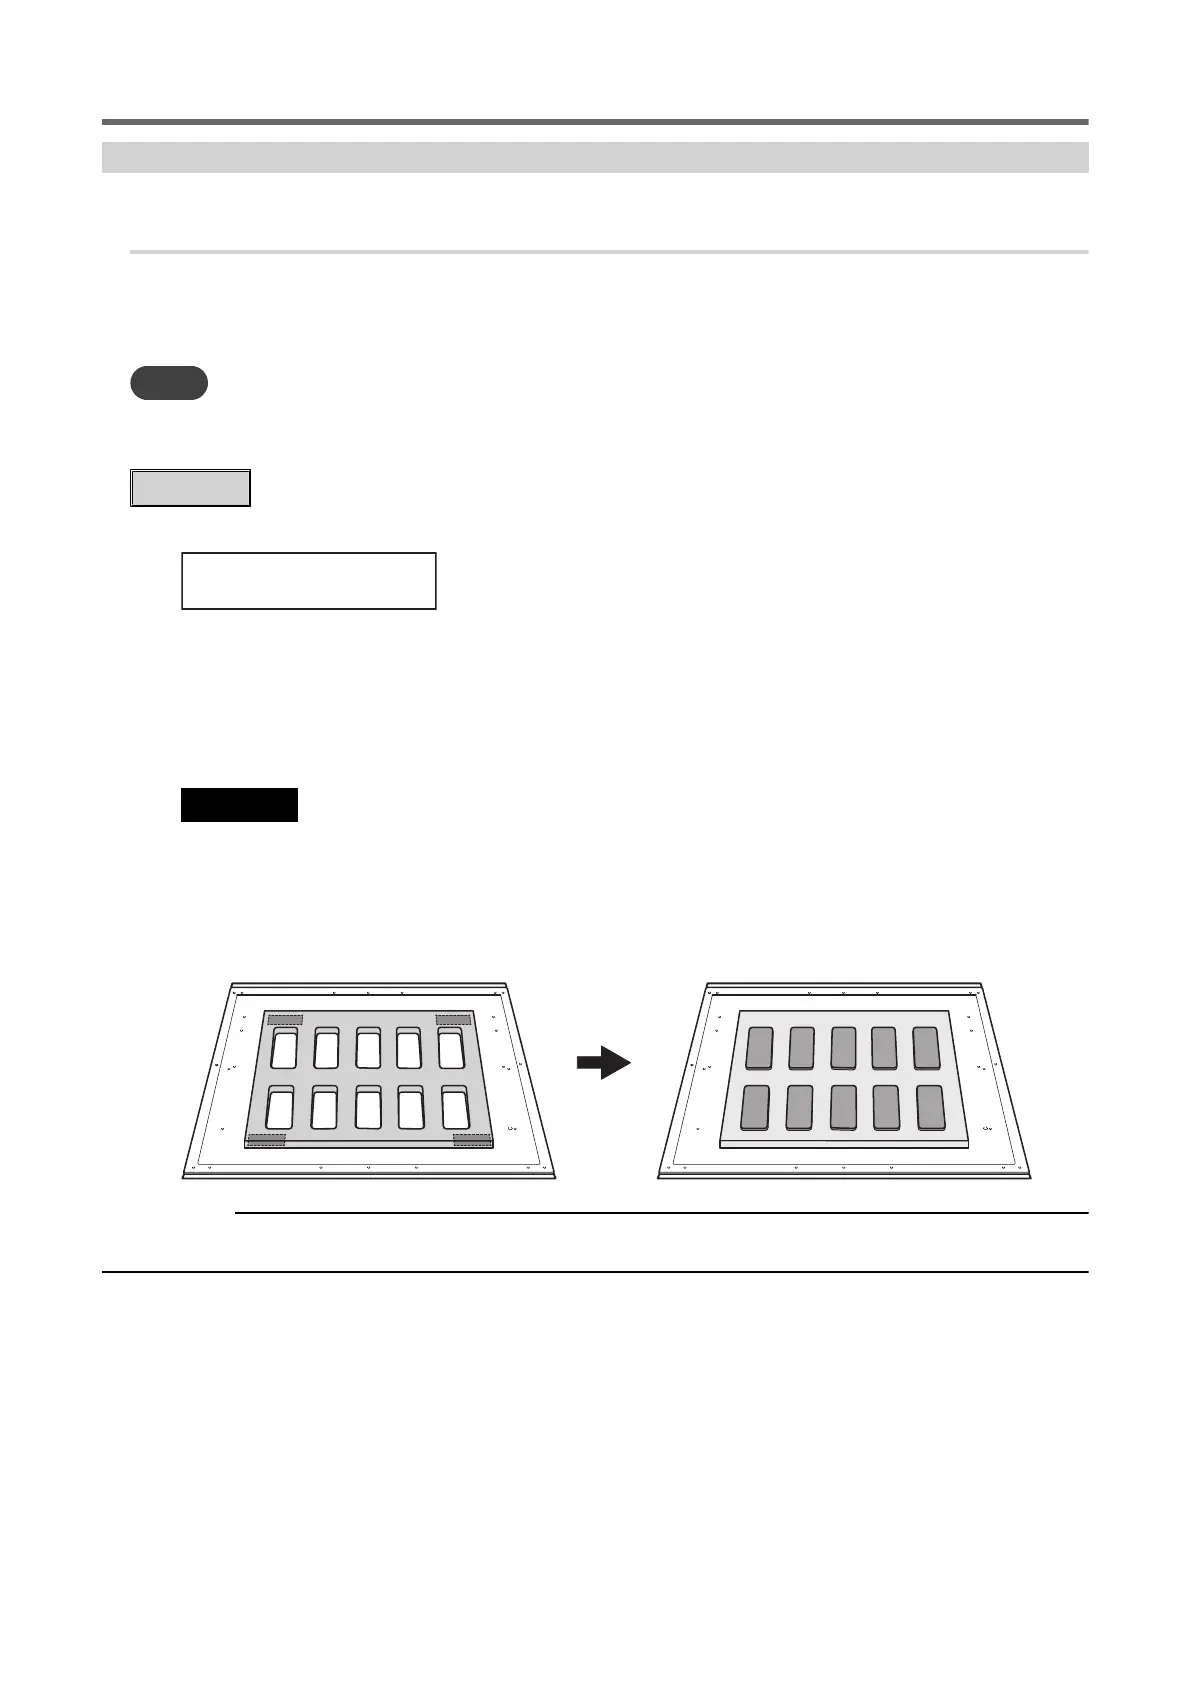
3. Secure the object to be printed on.
A jig might be required according to the shape of the object to be printed on.
The following gure shows an example of using jigs to t the shape of the object to be printed on. The jigs
are secured by double-sided tape aached to the boom side.
RELATED LINKS
・ P. 42 "Three Checks before Prinng"
Printing method
1. Printing Operations 57
 Loading...