32
Installation & Maintenance Instructions
7.0 Basic Setup
7.10 Set Deadband
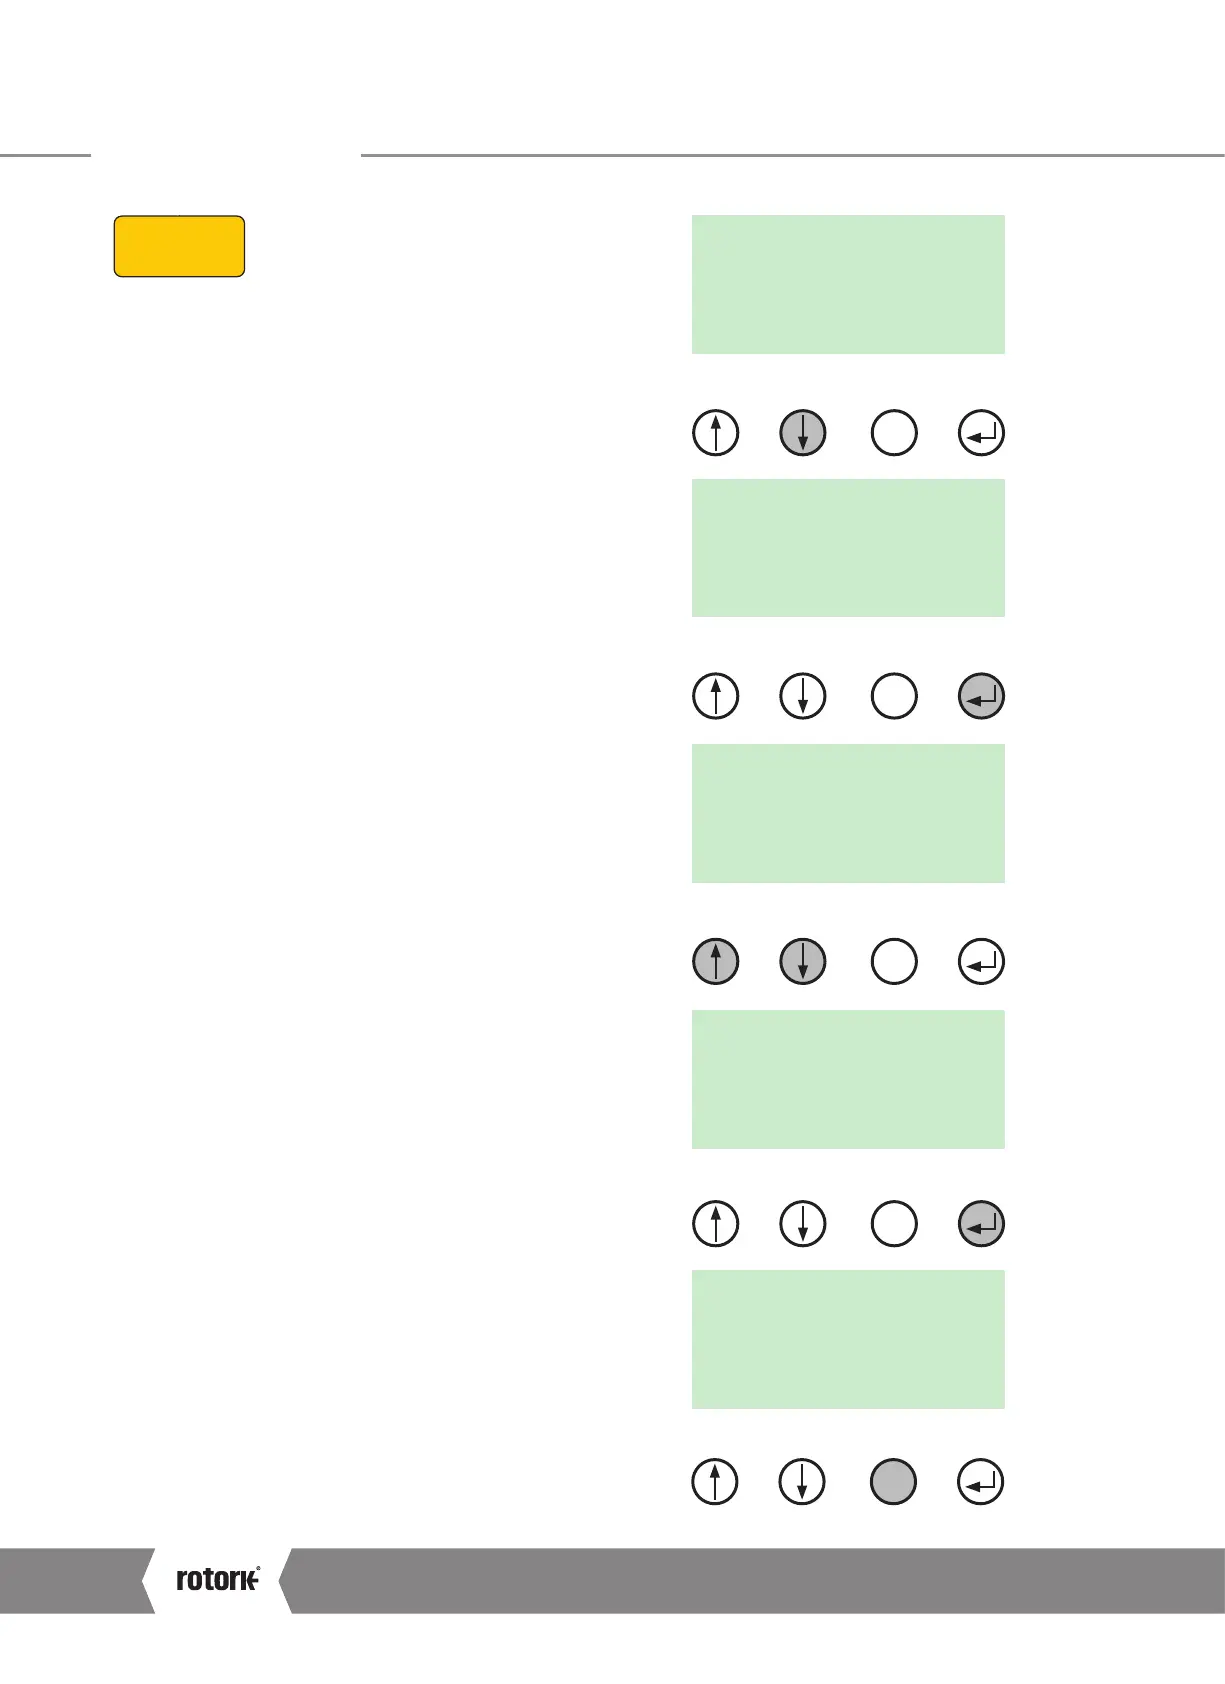
Press the DOWN arrow until the DBAND menu is displayed.
Press ENTER until ‘EDIT’ is displayed.
Screen shows the Deadband set to 0.1%.
Deadband is adjustable between 0 to 10% of the Analogue
signal.
Use the UP/DOWN buttons to select the desired Deadband.
Select the value of Deadband that gives the required control
response.
It may be necessary to increase the deadband if the actuator
'Hunts' or overshoots the command setpoint giving spurious
operation.
Press ENTER to save the current Deadband Value.
Press CANCEL to go back to top level menu.
STEP 1
SELECT LOCAL
OPERATION
STEP 2
SET OUTPUT
THRUST
STEP 4
SET CLOSE LIMIT
OF TRAVEL
STEP 5
SET OPEN LIMIT
OF TRAVEL
STEP 6
CALIBRATE COMMAND
SIGNAL ZERO SETPOINT
STEP 7
CALIBRATE COMMAND
SIGNAL SPAN SETPOINT
STEP 3
SELECT ACTION AT END
OF TRAVEL (LIMIT OR FORCE)
STEP 8
DEADBAND
LOCAL
DBAND
X
X
X
X
EDIT
LOCAL
POS
I
T
LOCAL
EDIT
DB 0.10
%
LOCAL
EDIT
SAVED
LOCAL
EDIT
DB 0.14
%
X
Fig 7.43 Default display
Fig 7.44 Deadband setting
Fig 7.45 Edit deadband value
Fig 7.46 Edit deadband value
Fig 7.47 Save new value
A4US
US
A4
US A4
US
A4

 Loading...