6
2. Montage:
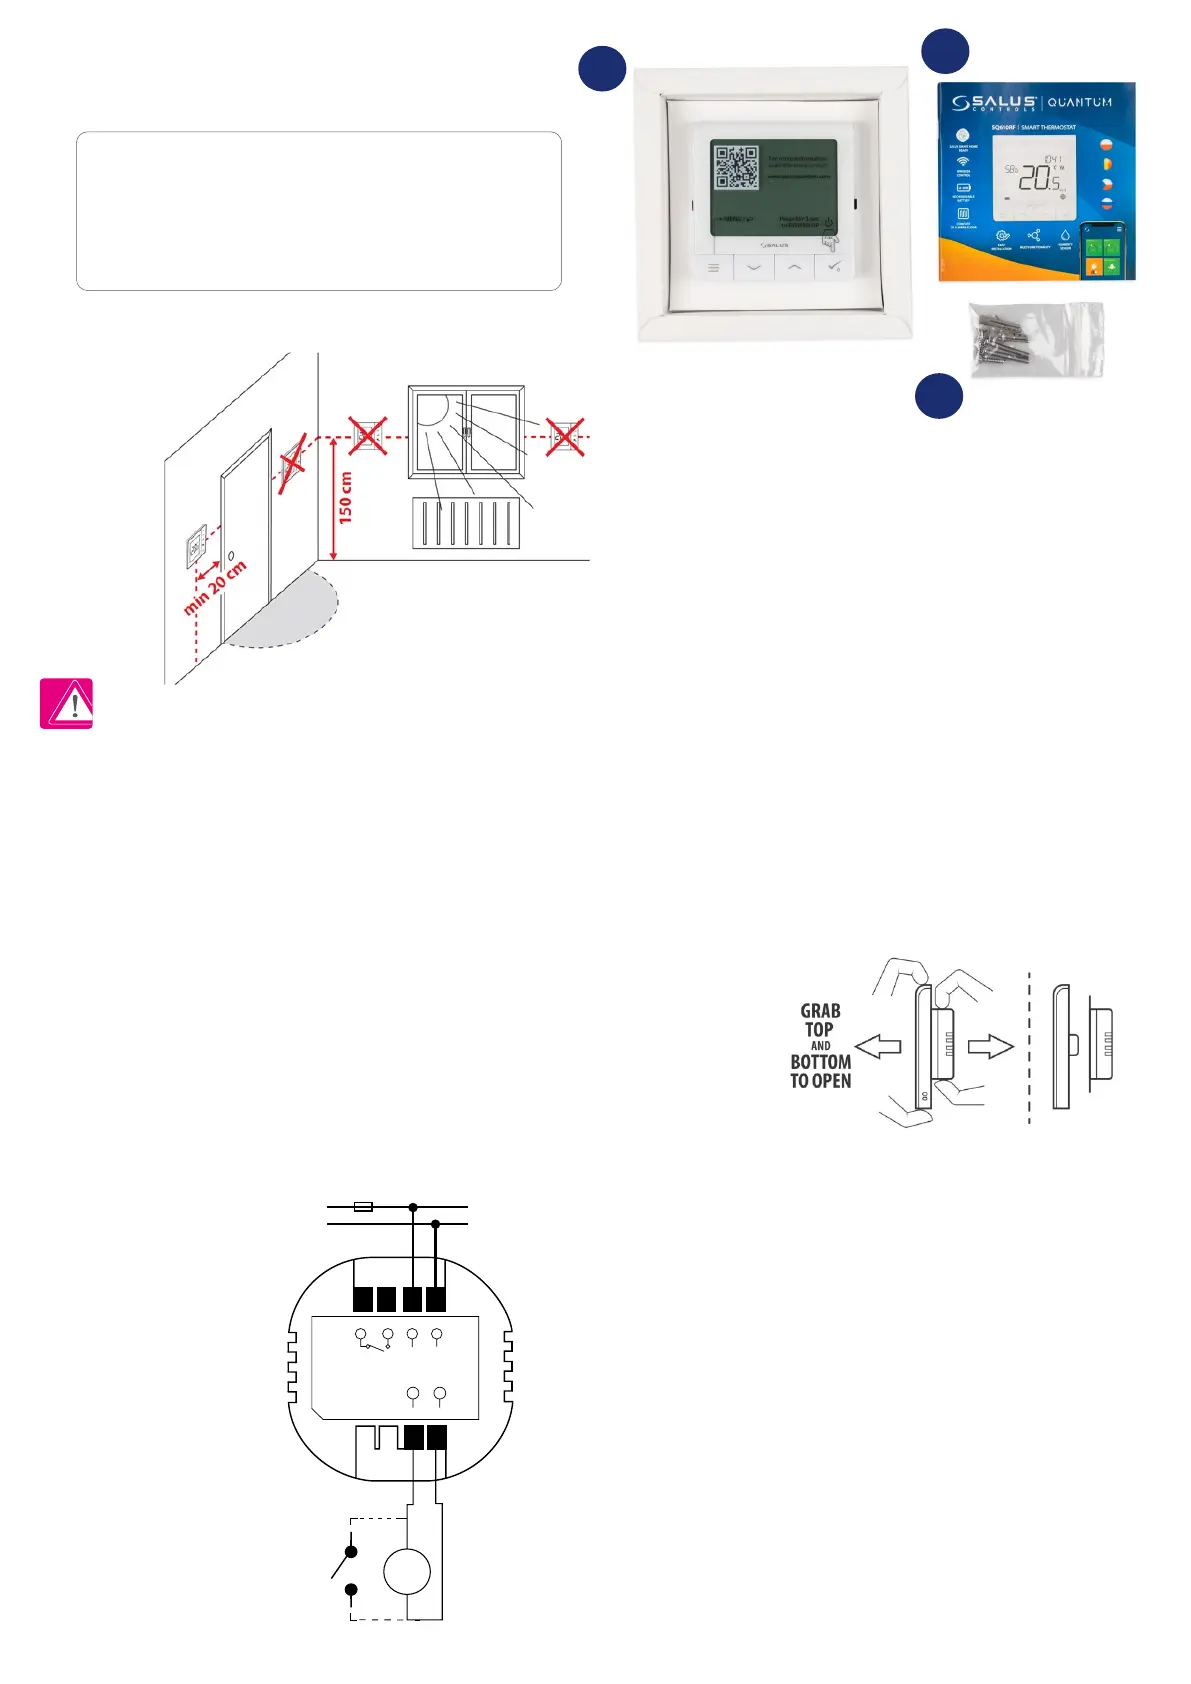
2.1 Package Content:
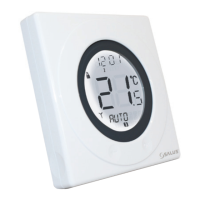
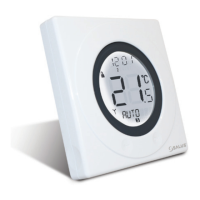
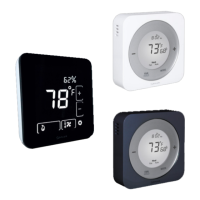
1) SQ610 Quantum thermostat
2) Mounting screws
3) Manual instruction
4) Jumper wire
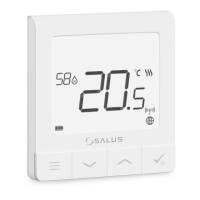
2.2 Proper thermostat location
Please note:
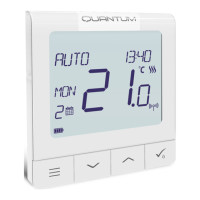
Wall Mounting
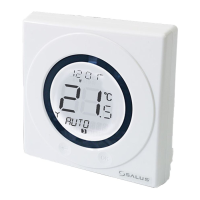
2.3 Wiring diagram (SQ610 Quantum thermostat)
Mounting: to mount thermostat you can use included accessories (mounting screws). Remove
plate from the back to mount it to the wall. After that just put thermostat on the plate. Look at
the picture to see how to remove back plate from the SQ610 Quantum.
The ideal position to thermostat mounting is about 1,5m under oor level far from heating or cooling sources.
Thermostat can’t be exposed to sunlight or any extreme conditions like for example draft.
Because of re and explosion risk there is not allowed to use thermostat in atmosphere of explosive gases and ammable liquids (eg coal dust). In case
if any of listed dangers occur you have to use additional protection measures – anti-dust and explosive gases (tight cover) or prevent their formation.
Furthermore, thermostat can’t be used in condensation of water vapor conditions and be exposed to water action.
COM
SQ610
NO L
L
230V~,50Hz
S1 S2
N
N
S
AC 230V
Symbols explanation:
S - volt-free contact
T - temperature sensor
L, N - 230V AC power supply
COM, NO - Voltage free output
S1,S2 terminals:
- air or oor temperature sensor
- external volt-free contact to connect any ON/
OFF switch or occupancy sensor (hotel card)
1
2
3