-25-
Optical Adjustments
[Before Adjustment]
- Input a 100% of black raster signal.
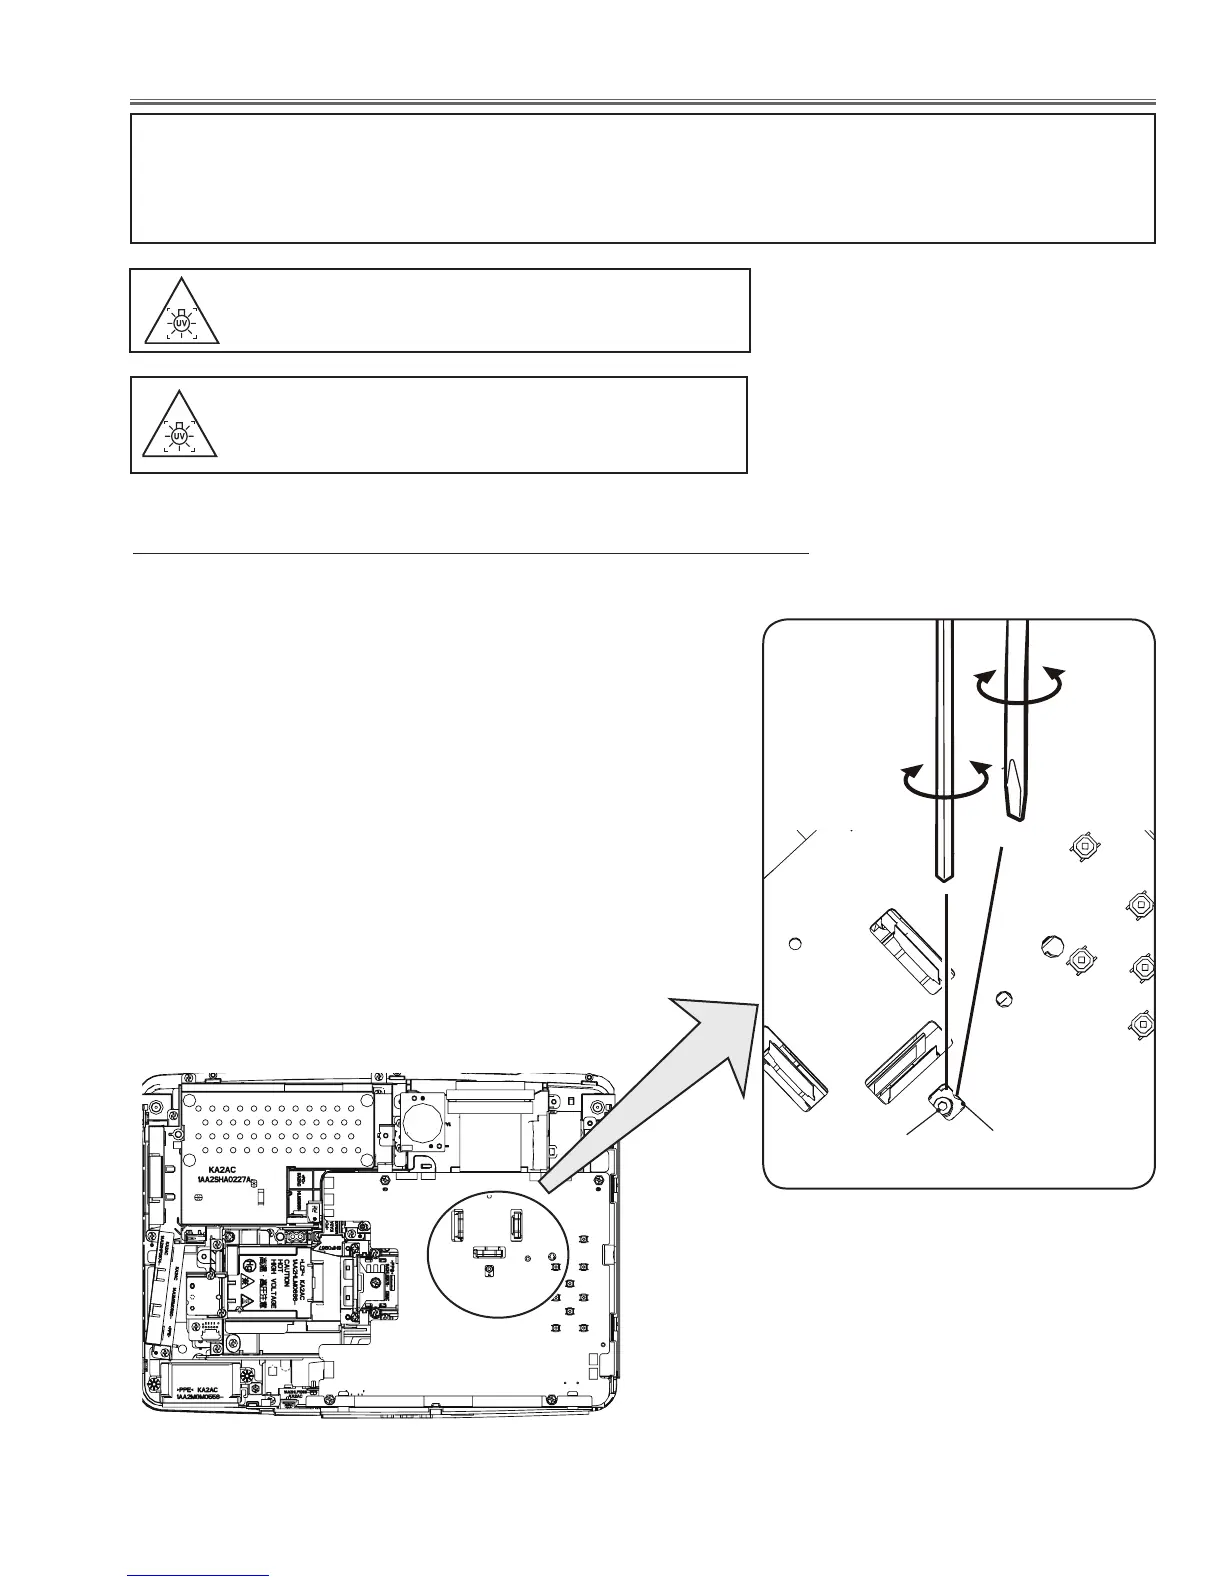
1 Loosen a screw A (Fig.1) on the G-polarized glass mounting
base.
2 Adjust the slot B to obtain the darkest brightness on the screen by
using a hex screwdriver.
3 Tighten the screw A to fix the polarized glass mounting base.
- This adjustment should be performed in the darkest room to improve
the precision of adjustment.
Contrast adjustment
Before taking optical adjustments below, remove the Cabinet Top following to the “Mechanical Disassembly”.
Adjustments require a 2.0mm hex wrench and a slot screwdriver.
Note: Do not disconnect connectors on the main board, because the projector cannot turn on due to operate the
power failure protection.
WARNING : USE UV RADIATION EYE AND SKIN PRO-
TECTION DURING SERVICING
Fig.1
CAUTION: To prevent suffer of UV radiation, those
adjustment must be completed within 25
minutes.
 Loading...