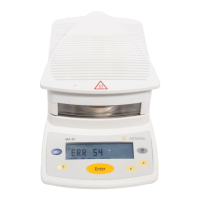
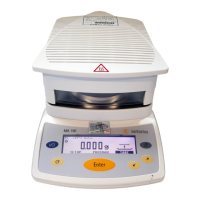
Assembly
The analyzer does not come fully
assembled� The control and heater
modules are placed next to each other
and may be placed on either side of
each other� Assemble the modules and
individual components in the following
order:
1� Open the heater hood using the handle
and install the pan shield so that the
center hole fits over the center ring of
the cavity base plate�
2� Next, place the stem of the pan sup-
port through the center ring of the base
plate and into the hole of pan receiver�
3� Remove the foam from the heater
chamber�
4� Connect the power module cable
between the control module and the
heater module, observing the pin orien-
tation�
5� Connect the inter-module cable
between the control module (MOD
COMM 1 connector) and the heater
module, observing the connector orien-
tation�
Only for model LMA100P:
6� Open the printer cavity cover and,
if necessary, place the roll of paper
with spool and two end caps into place
(see page 20, Internal Printer)� Once the
power is turned on, you will be able to
automatically feed the paper�
7� If multiple heater modules are used,
install the additional inter-module
cables from each heater module to the
control module inter-module cable
receptacles (MOD COM’s)� Refer to the
chapter in this manual on multi-mode
operation for instructions specific to
operating multiple heater modules�
12
 Loading...
