14
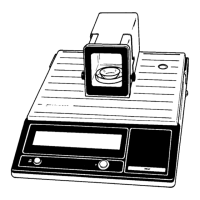
RC-B-03.TIF
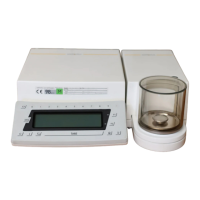
RC-A-01/02/09.TIF
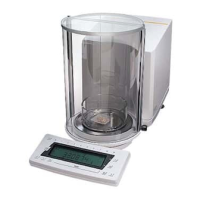
RC-F-02.TIF
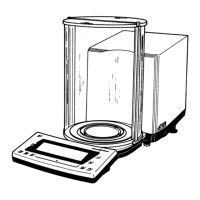
RC-A-02/02/02.TIF
BPI Mode (RC Models):
– Open the balance housing (see page 23).
– Connect the balance to AC power, turn on the balance by pressing the
key and wait for the balance self-test to finish; 0.0000 g will be dis-
played (depending on the type of balance) at the end of the test.
– Afterwards remove the jumper (located on the digital PCB (204) close to
the AOC (IC107)) and plug it into the next position.
– This bridges the 12 V and the MC1 processor, thereby disabling the
write function of the EEPROM.
– The full-segment check readout now flashes in periodical sequence.
– Wait for at least 3 cycles until the balance is in the BPI mode.
– Now plug the jumper back into its original position and the balance will
automatically return to the weighing display.
– Disconnect the balance from AC power.
– Close the balance housing (see page 24).
– Connect the balance to AC power and turn the balance back on by press-
ing the key.
– Now the balance is ready to work in the BPI mode with the MC1 SERVER
or the SARTOCAS program for PCs.
Important note: Before you start to adjust, the balance has to warm up again (refer to the
warm up time).
BPI Mode (MC Models)
On the rear panel of the balance, between the AC jack (C) and the menu
access switch (A) there is a small hole (B). Use a suitable object, such as a
match, and press it down on the switch inside the hole.
– The full-segment check readout now flashes in periodical sequence.
– Wait for at least 3 cycles until the balance is in the BPI mode.
RC-A-10/02/09.TIF

 Loading...
