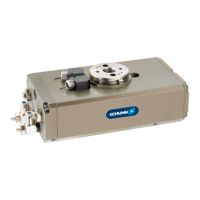
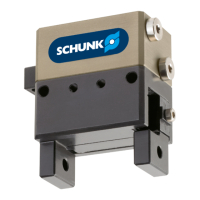
Assembly and settings
34 03.00 | OSE | Assembly and Operating Manual | en | 1373804
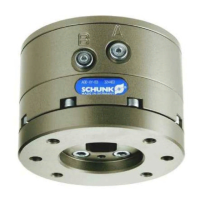
4.6.2.3 OSE 45 - 57
variant A and B:
1. Adjust the sleeves (32) in a way that they have a distance of
appr. 0.5 mm to the swivelling control cams (23).
2. Slightly jam the sleeve with the set-screw (83).
3. Loosen the set-screw (23-3) with appr. a 1/2 turn at the control
cam (23) until the cam can be offset.
4. Actuate connection A until the product has reached its end
position.
5. Move the control cam now until the switch is actuated at B.
6. Turn the pinion and tighten the set-screw (23-3).
variant C:
1. A screw (78) and a cam supporting segment (28) are screwed
on the cam ring (18). The switching cam is fastened in its
groove.
2. For adjustment of the control cam see version A and B.
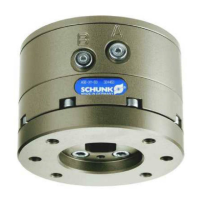
4.6.2.4 OSE 63
1. Adjust the sleeves (32) in a way that they have a distance of
appr. 0.5 mm to the swivelling control cams (94).
2. Slightly jam the sleeve with the set-screw (93).
3. Loosen the set-screw (94-3) with appr. a 1/2 turn at the control
cam (94) until the cam can be offset.
4. Actuate connection A until the product has reached its end
position.
5. Move the control cam now until the switch is actuated at B.
6. Turn the pinion and tighten the set-screw (94-3).
Adjustment of the other end position is done the same way.