Rostock MAX v2 User's Guide
Now you can click on the Upload icon to send the firmware to the RAMBo!
Depending on the speed of your computer, this could take up to a few minutes to accomplish.
Be patient and wait for the “Done uploading.” status to appear just like it did when you uploaded the
“eeprom_clear” program.
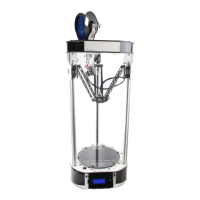
You may see a warning similar to the one shown below. This is strictly an advisory message
and won't affect how the firmware works with your Rostock MAX.
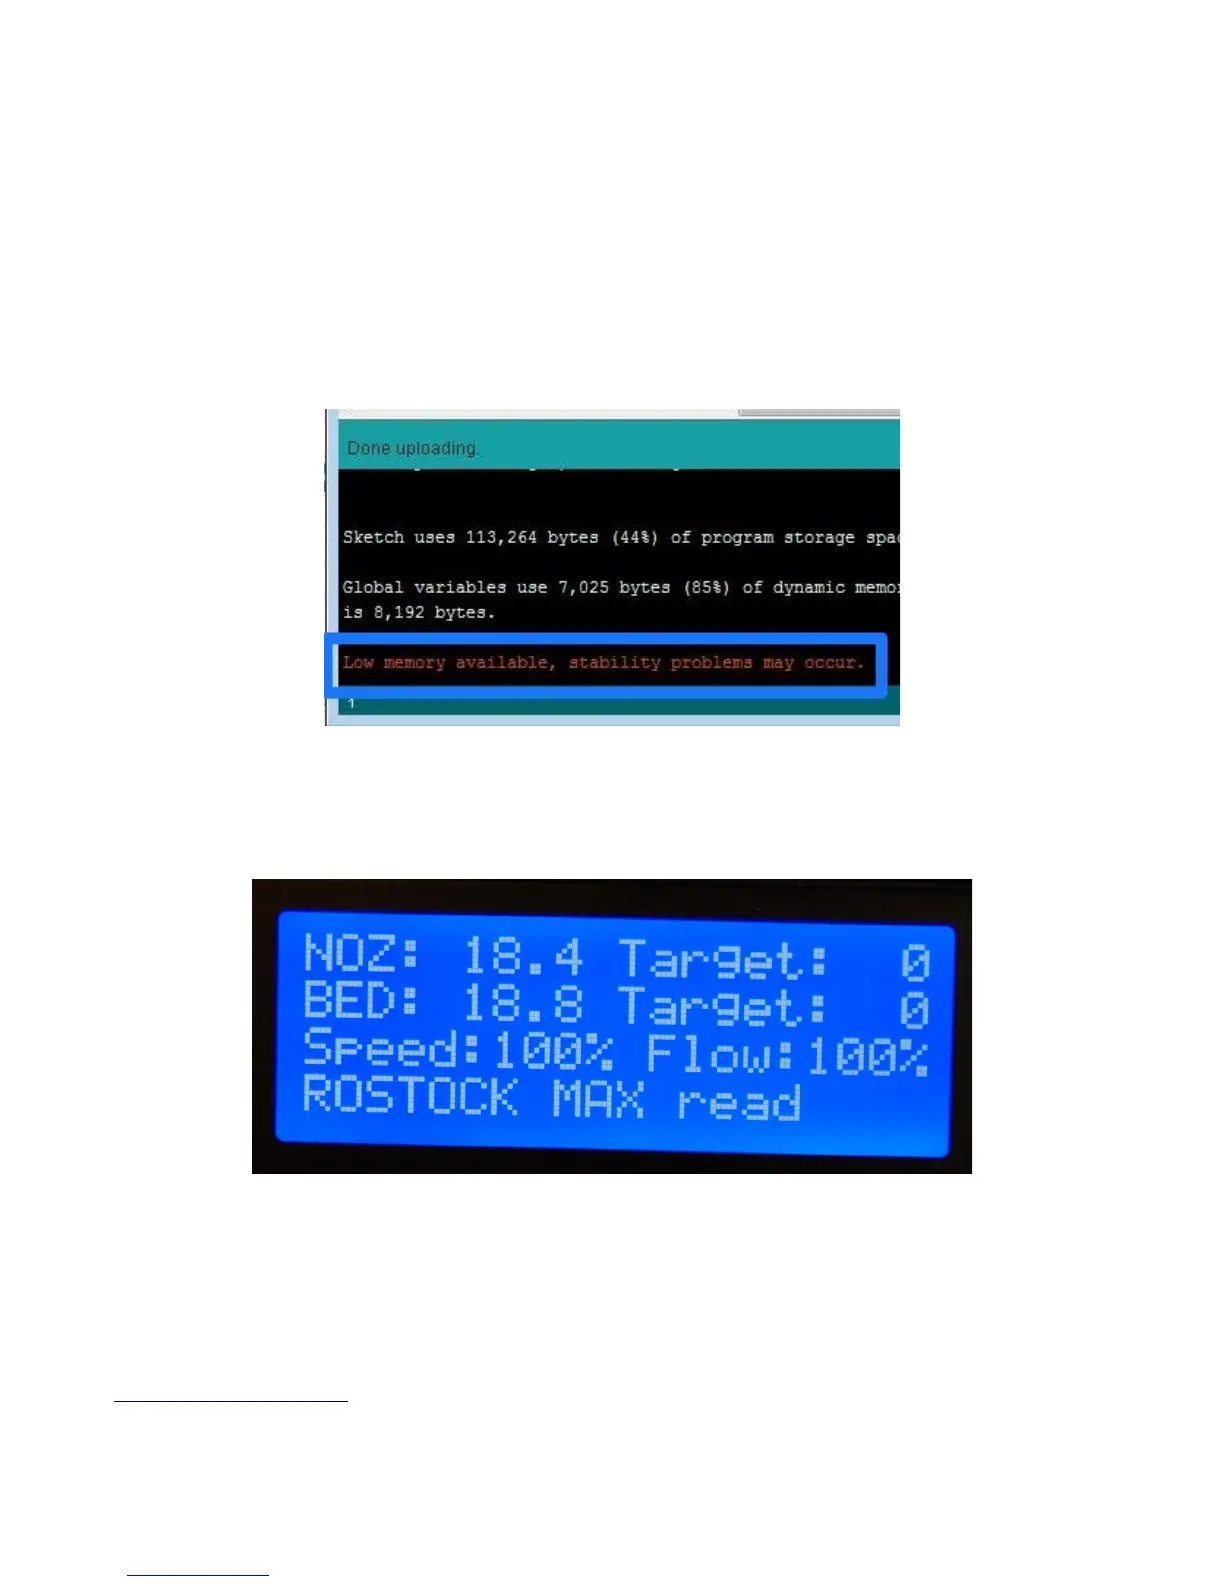
When the upload has finished the RAMBo will restart and you should see the following display
on the LCD:
Congrats again! You've got a living, breathing (hey, work with me here!) 3D printer that you've
built yourself. If for some weird, inexplicable reason you do NOT see that display (or something very,
very similar!), carefully retrace your steps. Start back at the beginning with the eeprom_clear test and
go from there. If you still don't get a working display please check Appendix A, or contact
support@seemecnc.com!
1 – Driver and Software Installation - 12
Fig. 1.5-5: It's ALIVE!
Fig. 1.5-5: Compiler advisory message.