Rostock MAX v2 User's Guide
3.5 – Printing the PEEK Fan Shroud
Check on the Slice Settings pane to make sure that you've got “MatterSlice” chosen for the
slice engine, “STANDARD” chosen for Quality, and “ABS” chosen for Material. Make sure that the
filament you have loaded in your printer IS ABS! Running PLA at ABS temperatures without the
PEEK fan installed will cause the hot end to jam!
Now that you've gotten everything loaded and prepped, starting the print is as simple as clicking
on the “Print” button.
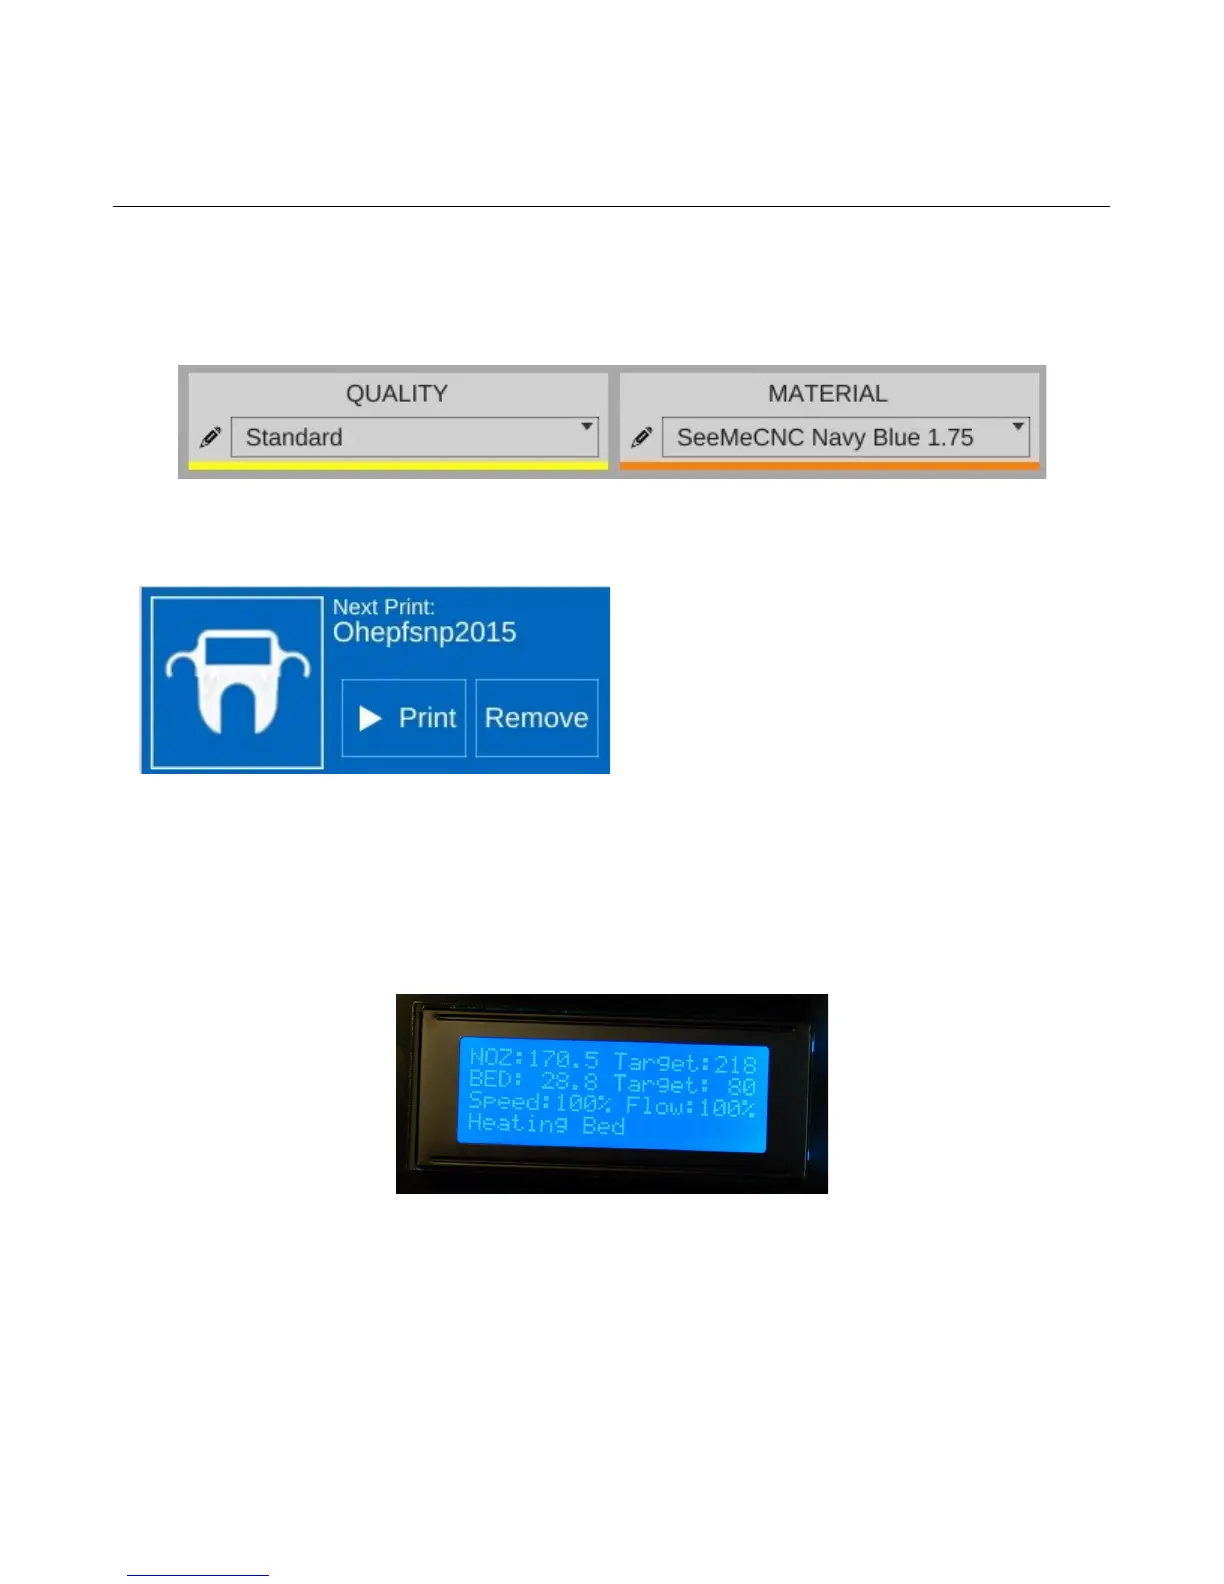
When you click the Print button, the hot end and the heated bed will begin to heat. The hot end
will reach its target temperature first because it has much less mass to heat than the heated bed. The
heated bed can take up to 10 minutes or so to reach its target temperature.
Once both the bed and hot end are hot, the printer will home and the print job will begin!
3 – First Print: PEEK Fan Shroud - 39
Fig. 3.5-2: Starting the print job.
Fig. 3.5-3: Heating up!
Fig. 3.5-1: Correct slice settings.