Rostock MAX v2 User's Guide
Right before the printer begins to print, the RAMBo controller will “chirp” the LCD speaker
and you'll see a text warning on the LCD controller to keep your hands away. There will be a short
delay after this and the print job will begin!
The print will take roughly an hour to complete. When the job finishes, MatterControl will
issue a bell sound and the machine will home itself. (It's actually more of a “Hey! YOUR TOAST IS
DONE!” dinging sound, but you get the idea...)
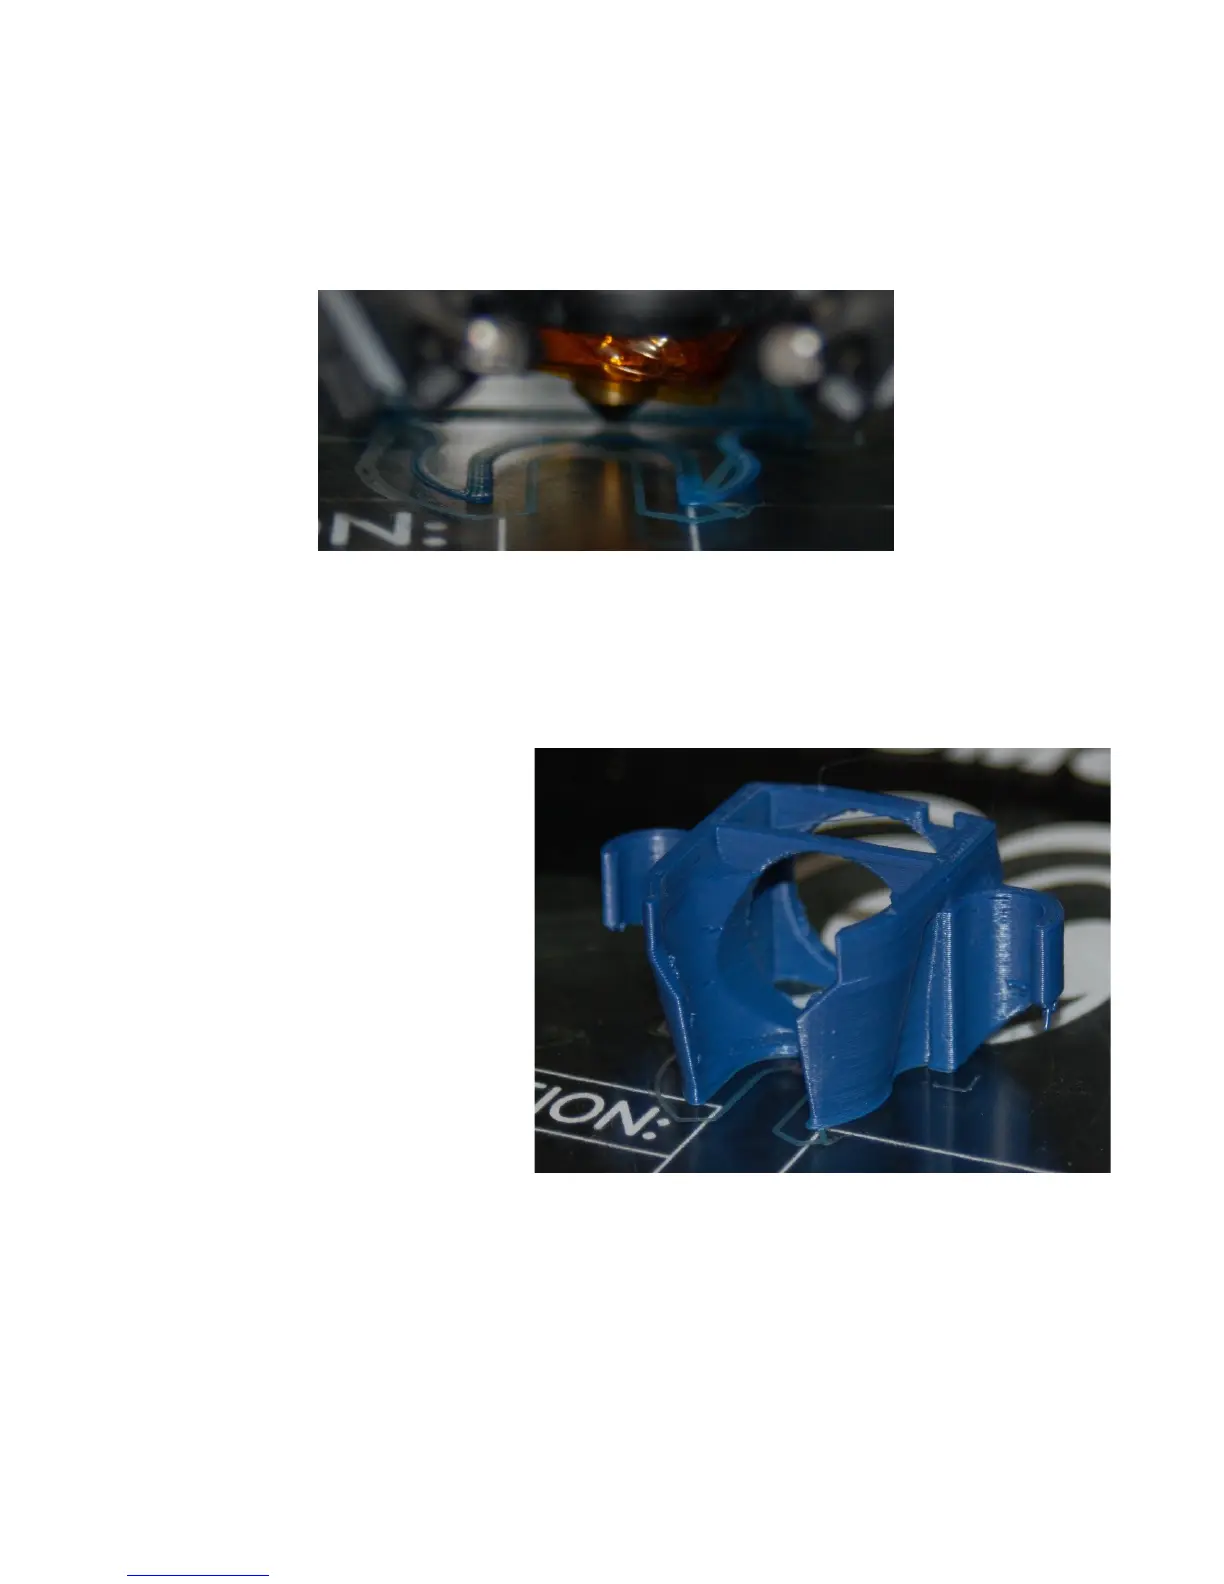
To the left is a photo of the PEEK
fan shroud I printed. It's got a few defects,
mostly due to a slight amount of over-
extrusion. As you get more familiar with
the Rostock MAX v2 and 3D printing in
general, you'll learn how to fix issues like
this to get excellent prints!
After the print job is complete, the
power to the hot end and the heated bed
will be turned off. When the heated bed
reaches around 40C, you'll probably hear a
cracking sound as the part separates from
the bed.
Even if you don't hear this sound, the part should come free of the bed pretty easily after the bed
has had a chance to cool.
3 – First Print: PEEK Fan Shroud - 40
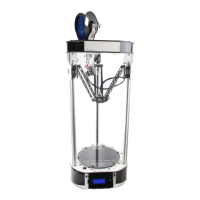
Fig. 3.5-4: The first layer.
Fig. 3.5-5: Completed PEEK Fan Shroud.