Rostock MAX v2 User's Guide
After doing this, you will see any changes where one tower may be higher than the other. If this
is the case, go back and re-adjust the end stop screws.
It can typically take anywhere from 5-10 iterations of the calibration process in order to get the
gap to remain the same at all three pause points compared to the center point. Once the gap is the same
at each tower compared to the center, the machine is calibrated and ready to print.
2.5 – Verifying Extruder Stepper Operation
Go to the CONTROLS pane in MatterControl and click the “PLA” button that's in the
“Extruder Temperature Override” box. The hot end needs to be heated in order to perform this next
test. The reason for this is that the firmware is designed such that it will not permit extrusion if the hot
end is cold.
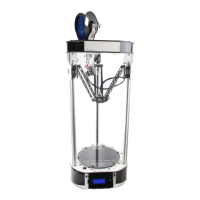
Once the hot end has reached the target temp (190C in this case), click the “E+” button to
extrude some filament.
Watch the knob on the extruder when you click that button. You
should see the knob slowly turn counter-clockwise. If it's turning
clockwise, you'll have to make a change in the firmware. It's a very
simple change and you shouldn't have any problem at all doing it.
If you've got backwards-running stepper motor, you'll need to
open the Arduino IDE and make a single change in Configuration.h.
Look for the following line:
#define EXT0_INVERSE true
You'll find it on or close to line #195 in the file. Whatever the value is set to, invert it. If it's
true, change it to “false”. If it's false, change it to “true”. Save your changes and then upload the
firmware to the RAMBo. Make sure you've got MatterControl disconnected or the Arduino IDE won't
be able to talk to the board.
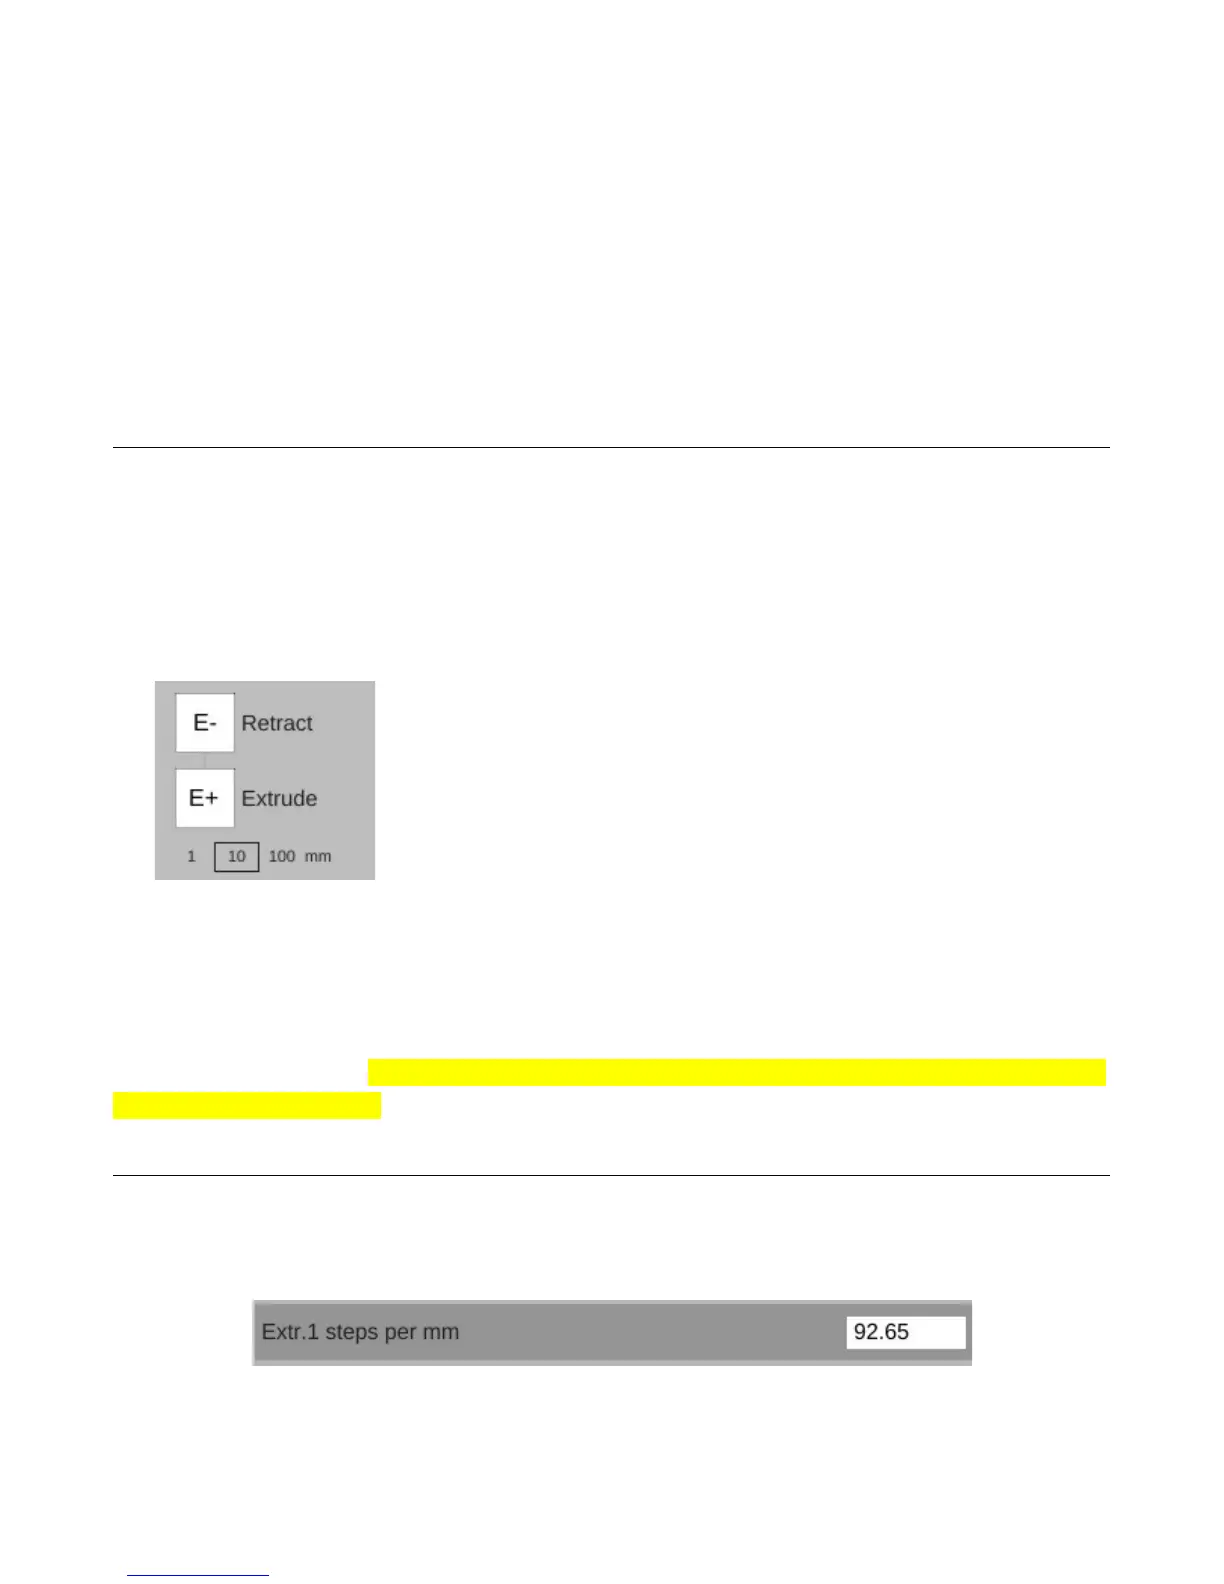
2.6 – Extruder Calibration
The last task you'll need to perform before you can load plastic in to the machine is to correctly
set the steps per mm (“E-Steps”) for the extruder. Open up the EEPROM configuration editor and look
for the label shown below. Your default starting point should be 92.65.
2 – Installing MatterControl and Calibrating the Printer - 32
Fig. 2.6-1: Extruder steps per mm.
Fig. 2.5-1: Extrude Filament
control.
 Loading...