Rostock MAX v2 User's Guide
3.6 – Installing the PEEK Fan and Shroud
Before you can install the PEEK fan shroud, you're going to have to wait for the hot end to cool
to room temperature. You don't want to burn yourself while installing the shroud.
While you're waiting for the hot end to cool down, go ahead and install the 25x25x10mm fan
into the shroud. I'll warn you right now – it's going to be a VERY tight fit. The issue is that the fan is
manufactured to a bit of a larger size than it's nominal 25x25x10 size indicates. One of the issues this
presents is that the thin walls of the fan frame can deform and prevent the fan blades from moving.
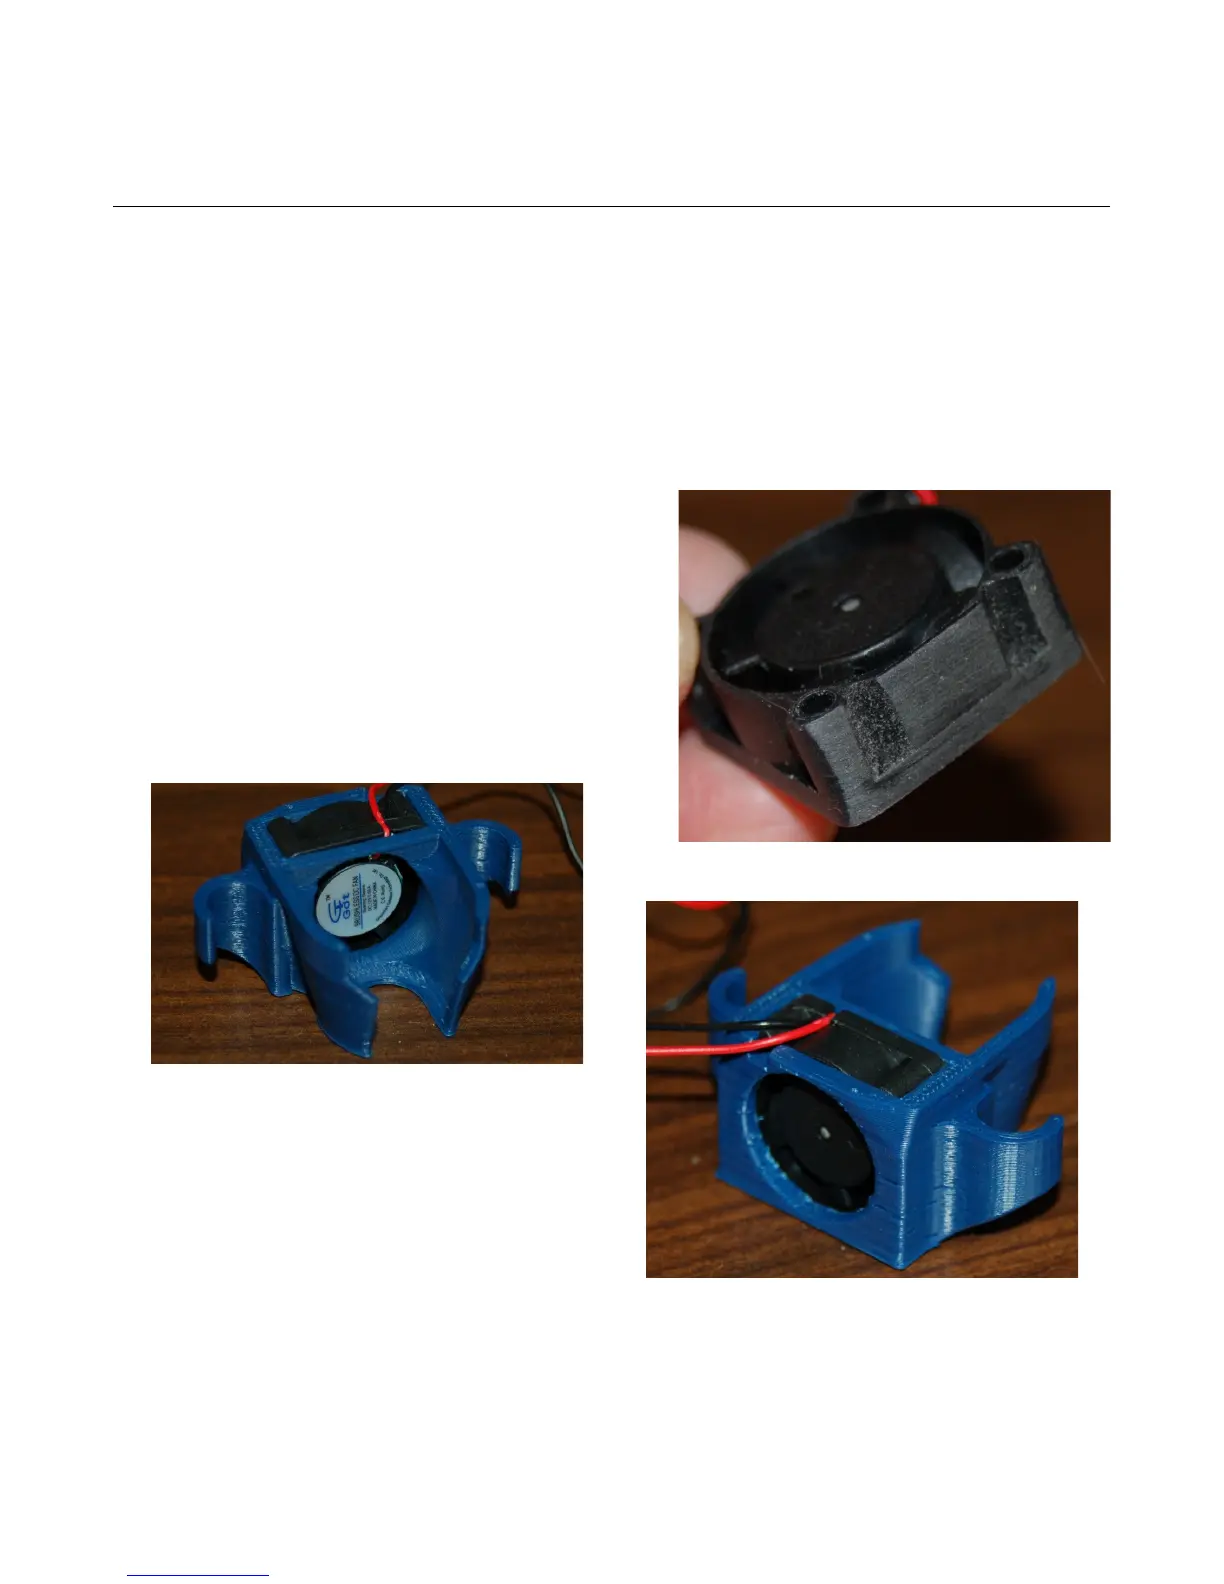
This can be solved by sanding just a tiny amount from the sides of the fan as shown below.
It looks like I removed a lot of material, but it's
really only about 0.25mm.
Take a little off at a time and check for fit each
time. You'll eventually reach a point where you can blow
on the fan blades and they'll spin without striking the
inside wall of the fan frame itself. Take care not to
remove too much at one time – you don't want the fan to
be loose in the shroud.
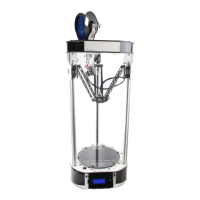
Make sure you've got the fan oriented exactly
as shown. You want the label of the fan facing the
space where the hot end will be. The power wires for
the fan should rest in the notch provided.
You also want to make sure that the fan is fully
seated. The fan shroud fits between the effector
platform and the hot end mount.
3 – First Print: PEEK Fan Shroud - 41
Fig. 3.6-1: Thinning down the fan.
Fig. 3.6-2: Fan installed, inside view.
Fig. 3.6-3:Fan installed, outside view.