Rostock MAX v2 User's Guide
3 – First Print: PEEK Fan Shroud
For your first (and second!) prints, you're going to need to have ABS filament handy. This is
because the PEEK and Layer fan shrouds can be exposed to temperatures that would turn PLA shrouds
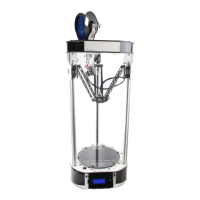
into a gooey mess. You're also going to need the 25x25x10mm PEEK fan itself.
3.1 – Configuring the Slicer
The process of converting a 3D model into something you can print is called “slicing”. The
software used for this process is typically called a “slicer”. Essentially a slicer cuts up your 3D model
into hundreds (sometimes thousands!) of tiny slices that are then converted into code that the printer
controller can understand. MatterControl contains three slicing “engines”: Slic3r, CuraEngine and
MatterSlice. I'm only going to cover the MatterSlice engine configuration for right now.
Before you can begin your first print, you're going to customize your first material profile!
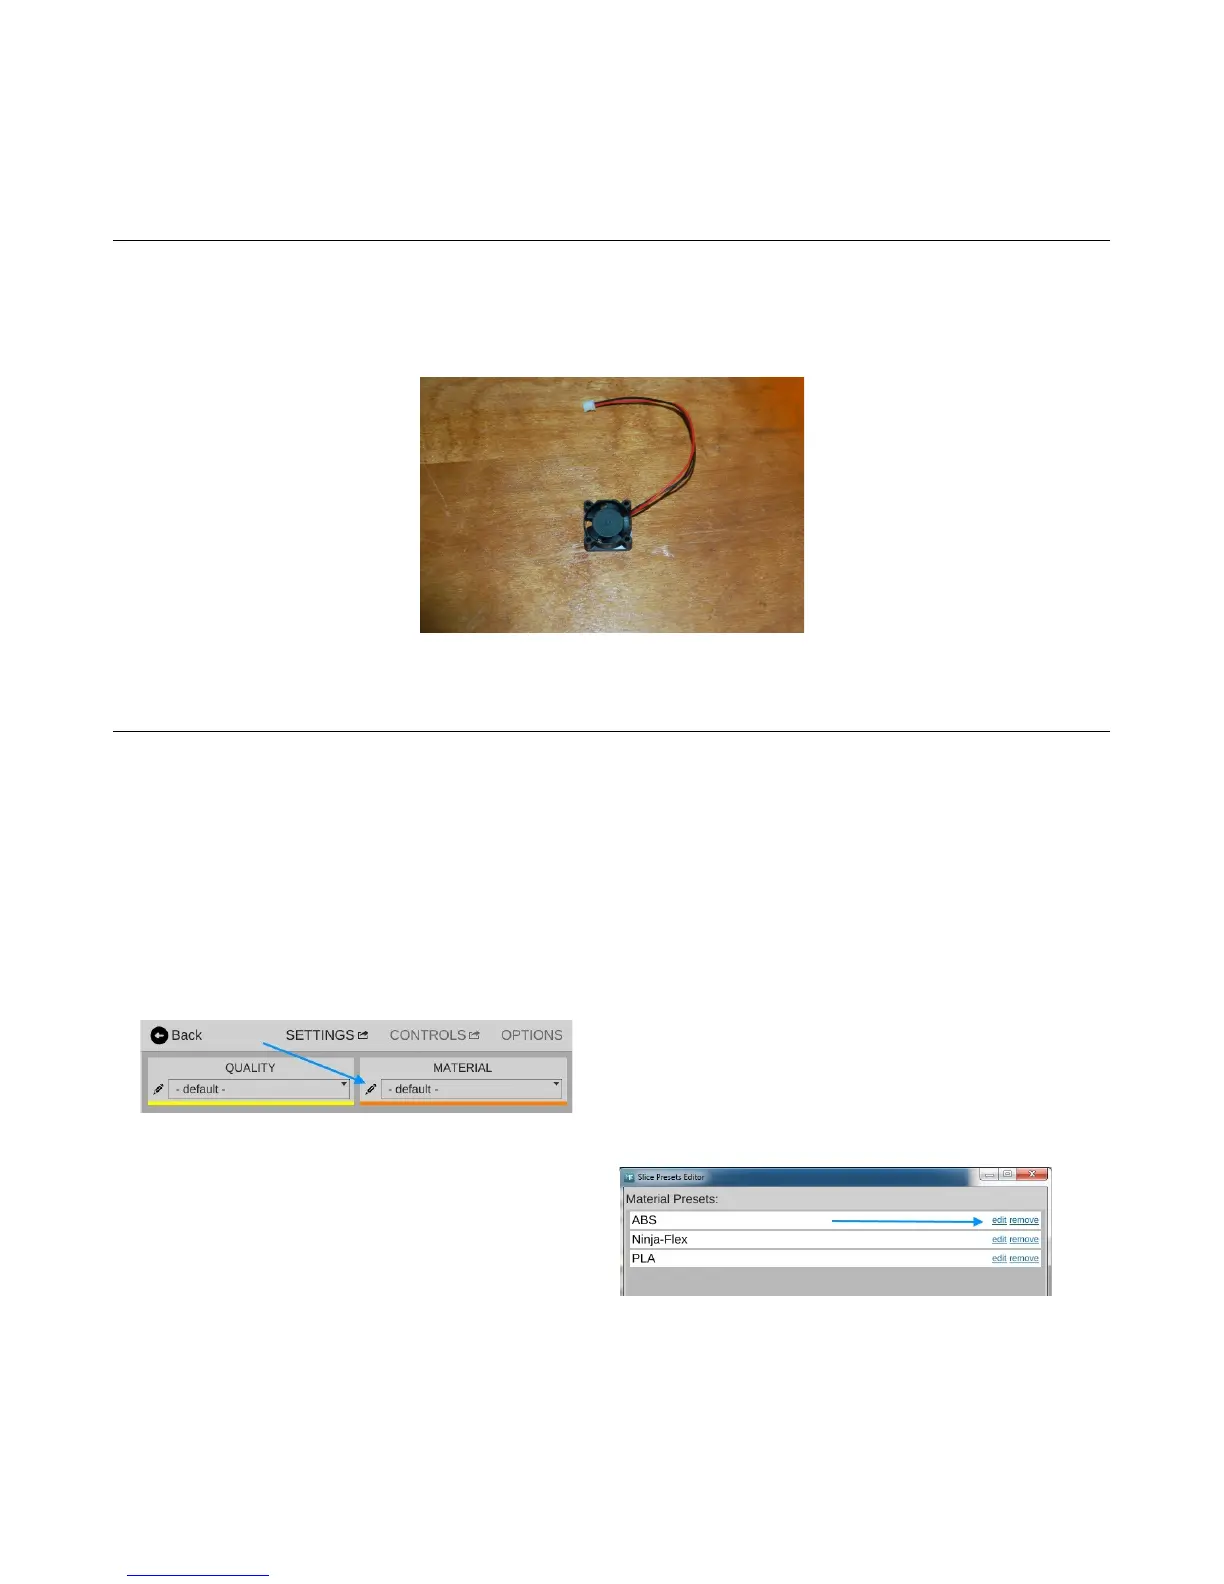
Click on the SETTINGS button. This will bring up the materials pane.
Click on the Toolbox icon pointed to by the arrow.
This will open a list of your currently configured
materials.
Click the edit field for the ABS
configuration. When the Presets Editor window
appears, click on “Duplicate”. This will create a
new preset called “ABS (copy)”.
3 – First Print: PEEK Fan Shroud - 34
PEEK Cooling Fan.
Fig. 3.1-1: Materials pane.
Fig. 3.1-2: Material presets.