Rostock MAX v2 User's Guide
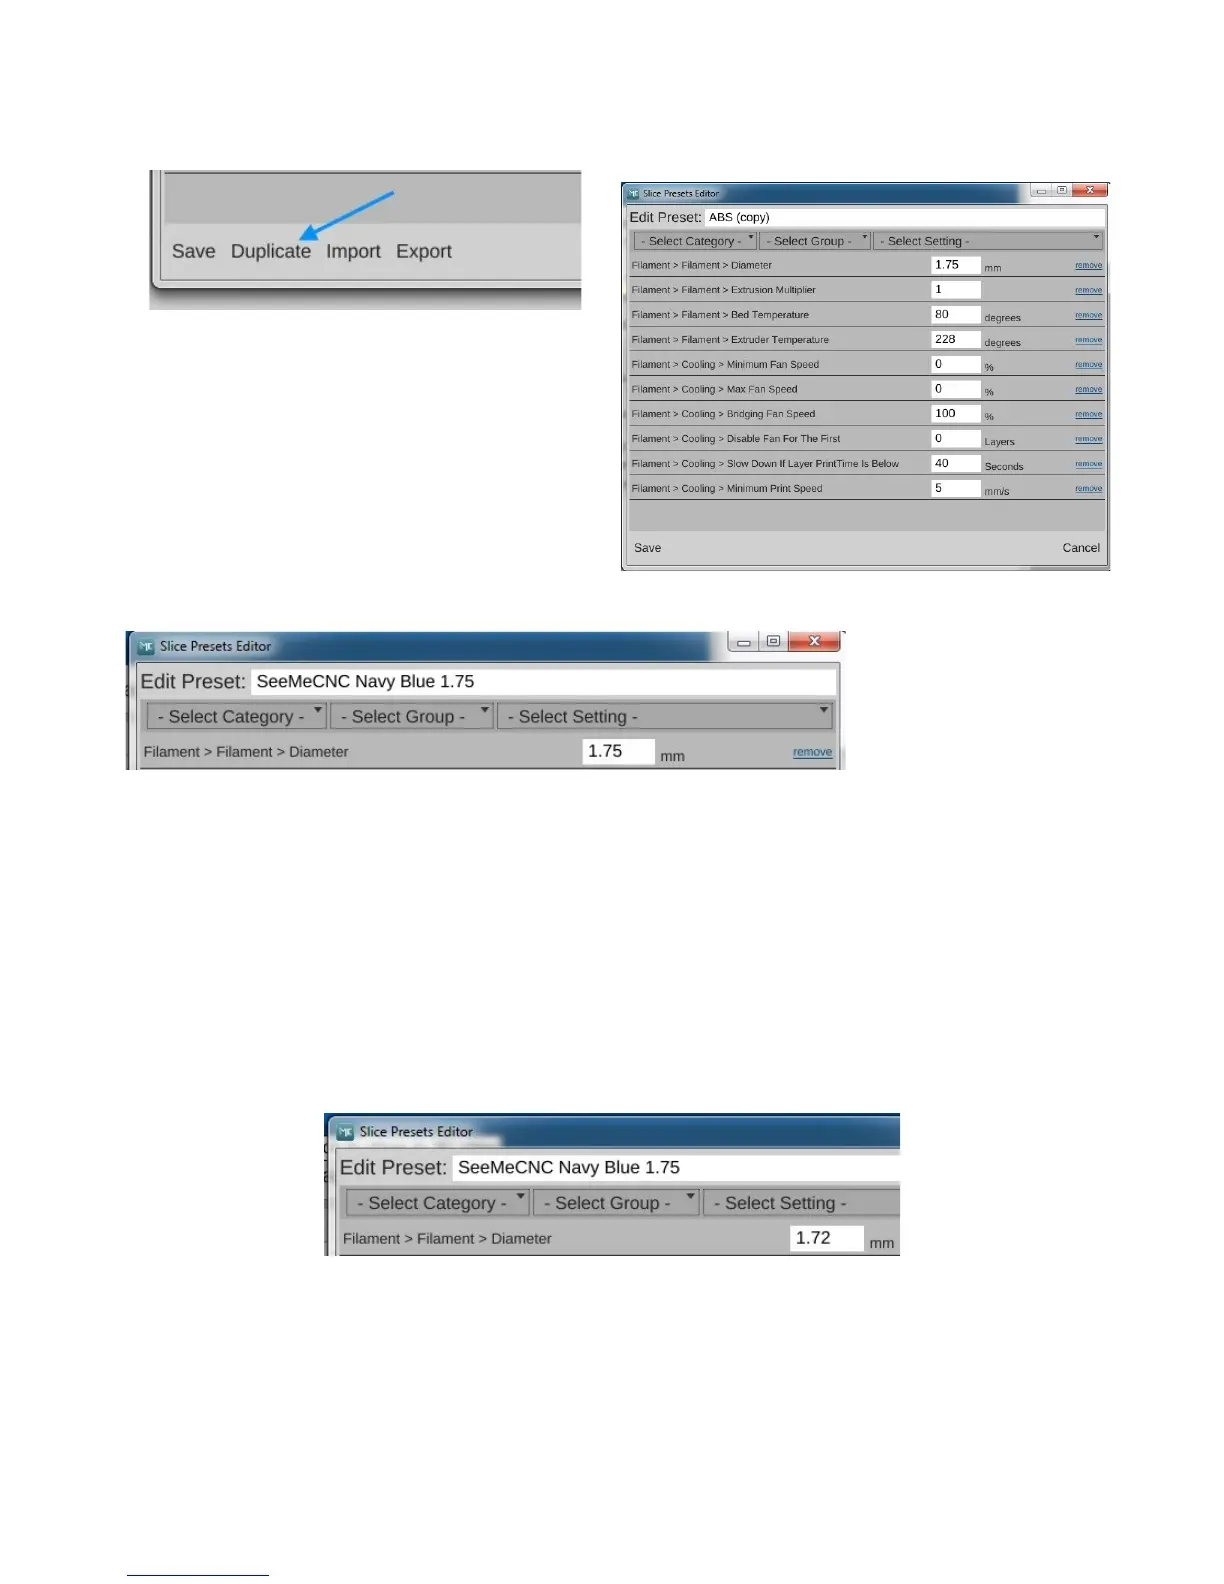
Click in the box that holds the name of the
profile and change it to something that's descriptive
of the material. Since I'm using a navy blue ABS
filament I got from SeeMeCNC, I'm naming this
preset “SeeMeCNC Navy Blue ABS 1.75”
Now before you can save your new preset, you need to get a good idea of the actual diameter of
your filament. This is important to know in order to get good print results.
I want you to cut off about 2 meters of filament from the spool you're going to use to print the
fan shroud. Using your digital caliper, take 5 measurements along the length and record each one.
When you're done, calculate the average filament diameter and put that figure into the Diameter size
field. It may be less than 1.75mm, but shouldn't be any more than 1.8mm. If you have any
measurements of 1.8mm or greater on your filament, it may bind in the hot end. In my case, the
filament average was 1.72, so that's what I entered.
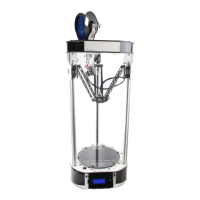
After you've updated the filament diameter, click Save to commit your changes. When the
editor window is dismissed, you'll see your new material preset in the list!
3 – First Print: PEEK Fan Shroud - 35
Fig. 3.1-3: Duplicating a preset.
Fig. 3.1-4: Copied preset.
Fig. 3.1-5: A new material preset!
Fig. 3.1-6: Updated filament diameter.