Rostock MAX v2 User's Guide
4 – Second Print: Layer Fan Shroud
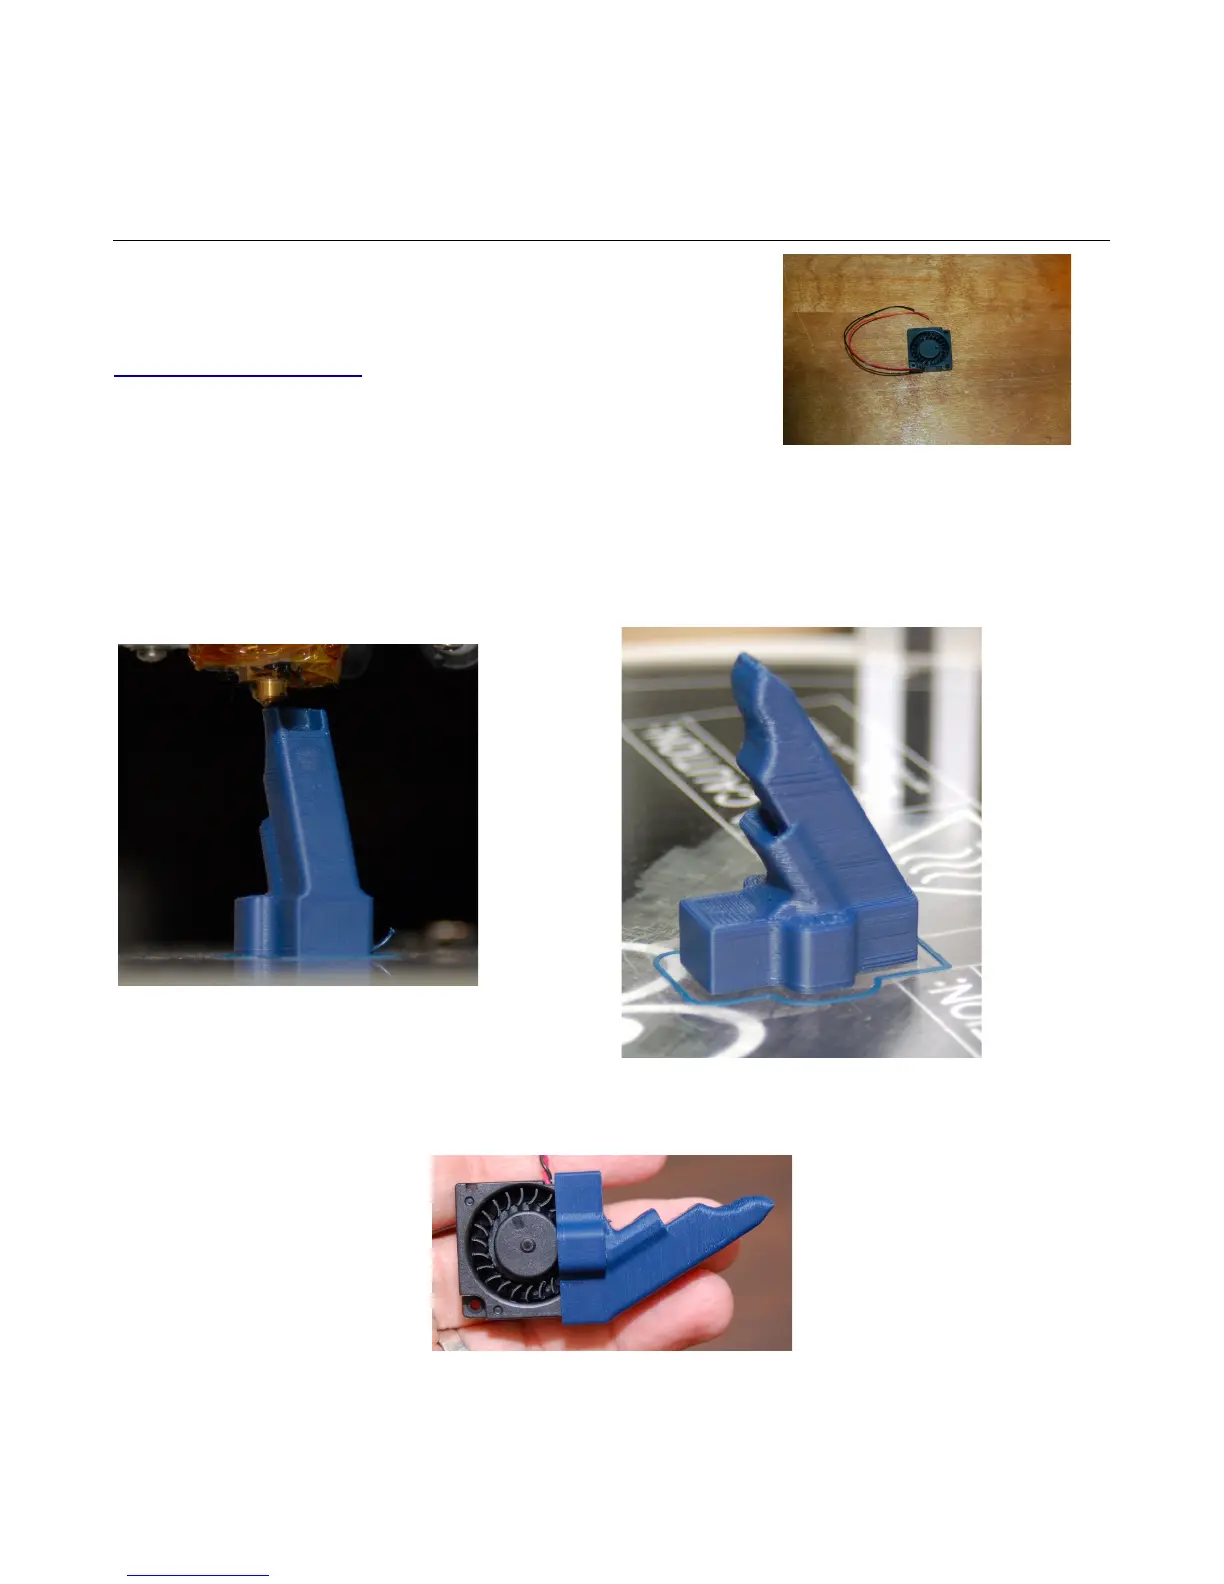
If you plan on printing in PLA or other materials that can
benefit from a cooling fan (NOT ABS!), you'll want to print the layer
fan shroud. The layer fan model can be downloaded from Repables,
http://repables.com/r/621/.
It's specifically designed to mount on the effector platform
and uses the included 30mm squirrel cage fan.
Download, extract and load the layer fan model into MatterControl, just as you did for the
PEEK fan. The printing parameters are the same. Make sure you've got the same slicing configuration
you used as last time and hit the Print button!
When you're able to remove the part from
the print bed, insert the tiny squirrel cage fan into the shroud as shown below.
4 – Second Print: Layer Fan Shroud - 44
The Layer Fan.
Fig. 4.1-1: Almost done!
Fig. 4.1-2: Completed fan duct.
Fig. 4.1-3: Fan installed in the duct.