Rostock MAX v2 User's Guide
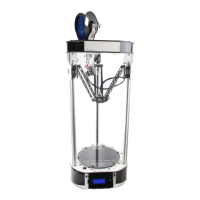
Once you have all the arms on, you can wire up the fan.
The PEEK fan wires are the pair you knotted. Un-knot and
strip about 1/2” of insulation. Cut off the connector on the
25mm fan (if present) and strip those as well. I recommend
against shortening the wires – you may want to install a
connector on them that will allow you to remove the hot end
or fan without cutting wires. Splice the wires as you did with
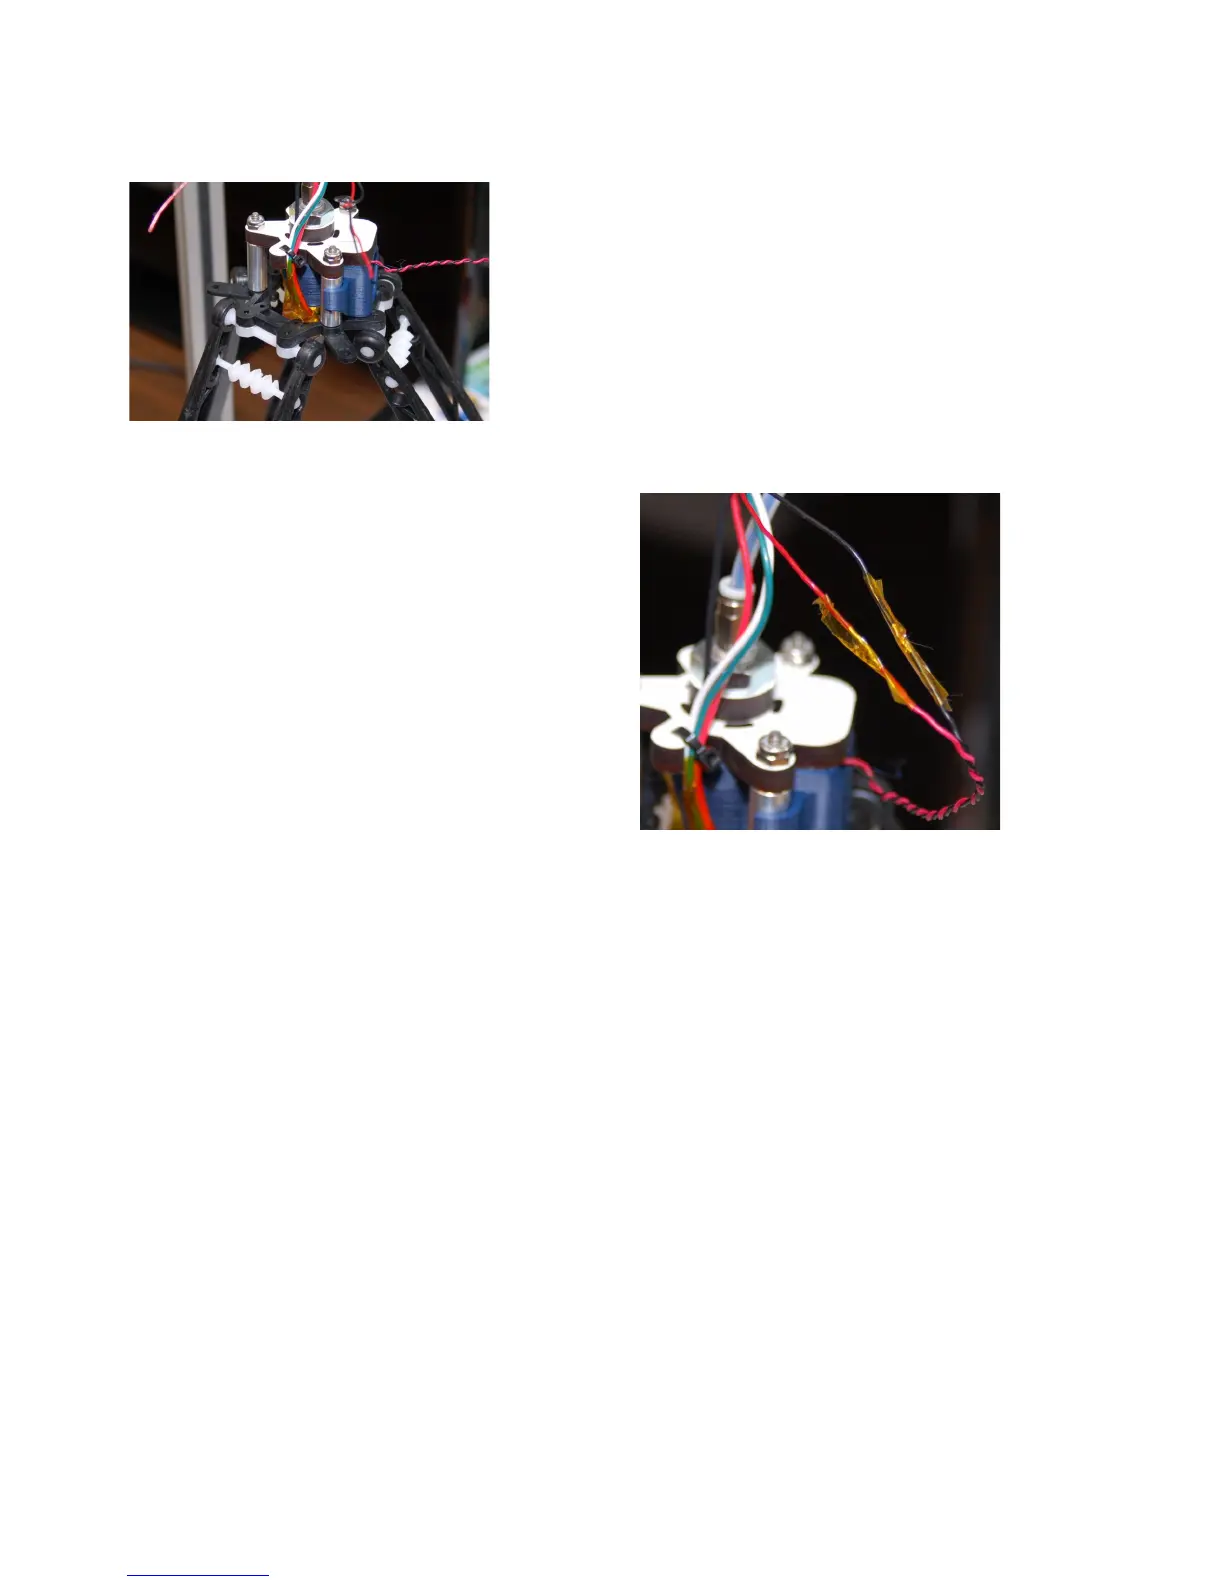
the extruder motor wiring and cover the joint with Kapton
tape as shown.
Move the arms one at a time back to their
normal position. Note that you don't want to move
the carriages quickly. The stepper motors can
generate power and damage the RAMBo if they're
moved too quickly.
The PEEK fan shroud is “virtually” linked to
the hot end power. You should be able to see the fan
running as soon as you start heating the hot end.
Do that now to make sure the fan operates.
When you run a print job, the PEEK fan will
continue to run even after power has been removed
from the hot end. It will continue to run until the hot end temperature falls below 50C.
3 – First Print: PEEK Fan Shroud - 43
Fig. 3.6-8: Ready to wire!
Fig. 3.6-9: All done.