Rostock MAX v2 User's Guide
The effector platform provides three mounting locations for the layer fan. Yes, you can install
three of them if you really want. :)
With the machine powered off, slide each Cheapskate
down to the base of the tower so that your hot end is at the top
of a pyramid formed by the three arms. Lay a washcloth or
towel on your heated bed to protect it while you're working on
the hot end.
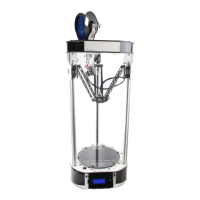
Choose a mounting point and test fit the shroud. It
should be a snug fit, but if it won't fit at all, you may need to
clean out the tab pocket with a razor knife.
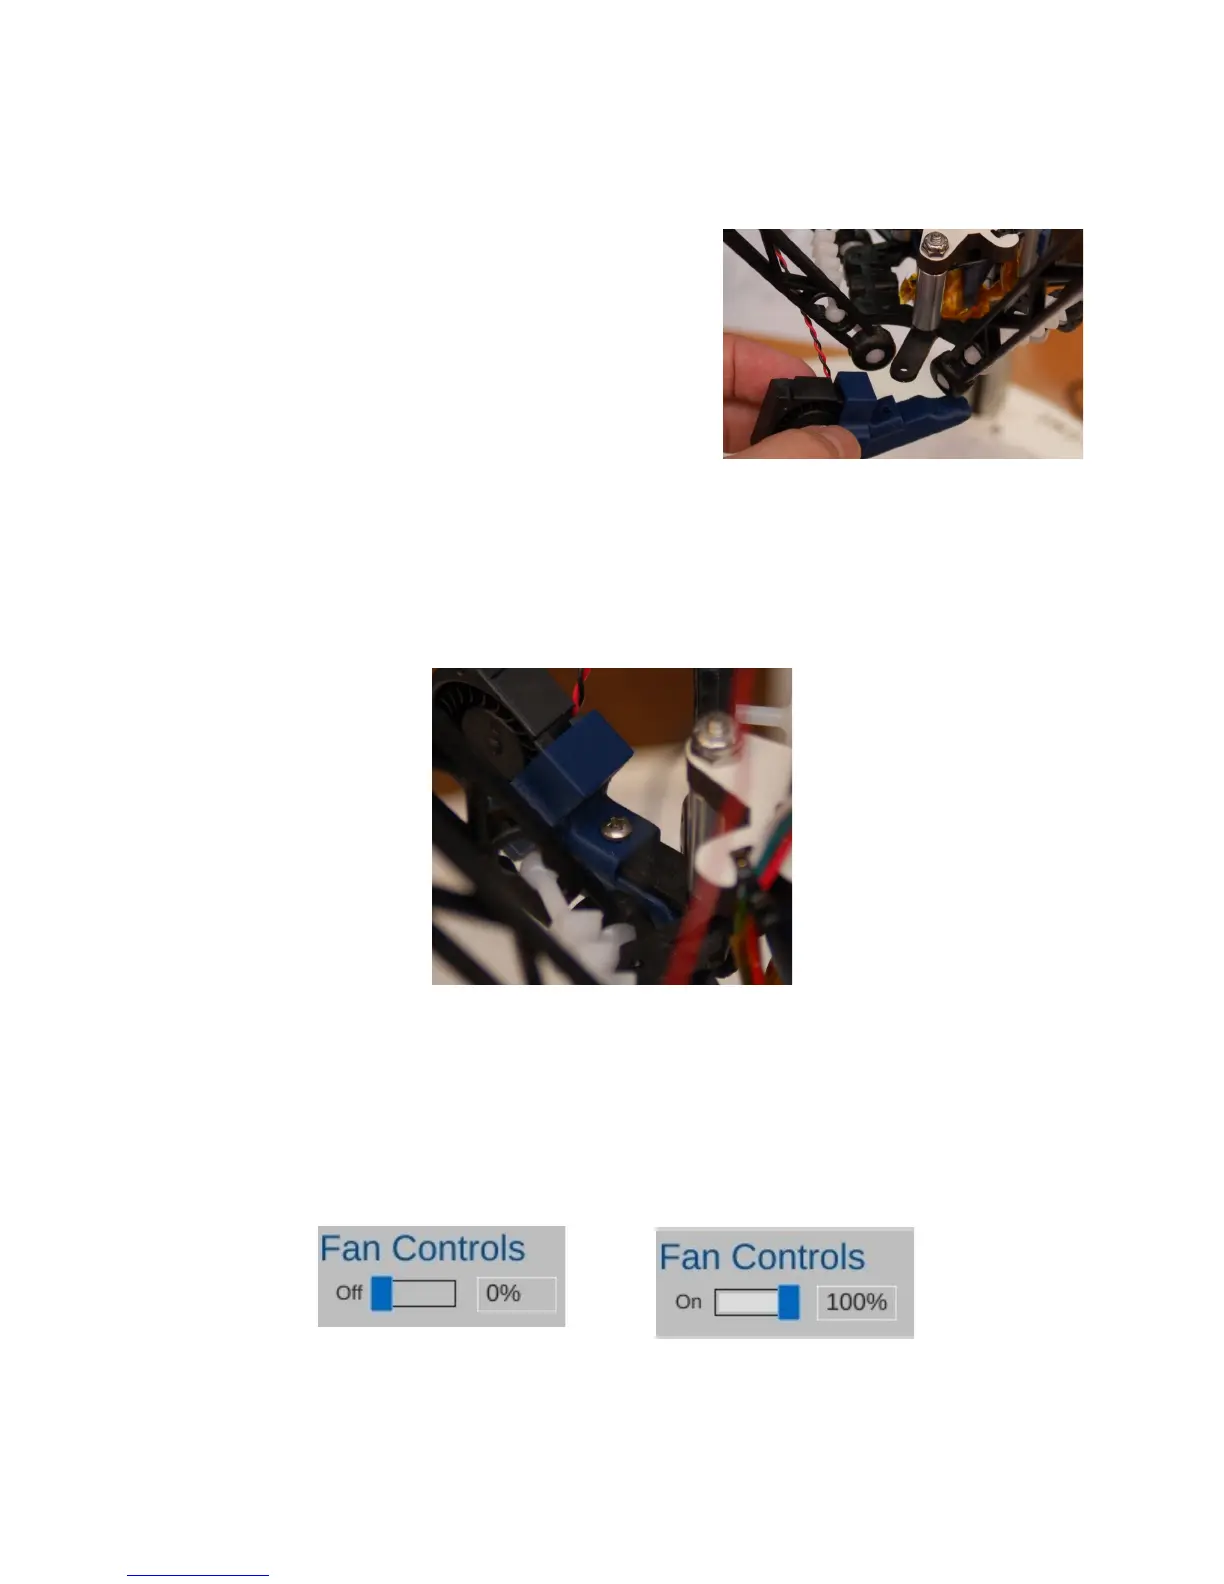
Leave the fan sitting at the position you chose and solder the fan leads to the last remaining
26ga wire pair coming out of the mesh loom. Cover the solder joints with Kapton tape and use a #4
machine screw to fix the fan shroud into place.
Before you return the hot end to its operating position, turn on the printer and connect
MatterControl to it. You're going to test the fan to make sure it works and the fan blades don't rub on
the shroud. DO NOT HOME THE MACHINE WITH THE ARMS INVERTED!
Click on the Controls pane and then set the fan speed to 100% by clicking on “switch” indicted
by the arrow in the image below. Once you do this the fan should start at it's default speed of 100%.
4 – Second Print: Layer Fan Shroud - 45
Fig. 4.1-6:Starting the layer fan.
Fig. 4.1-7:Fan running.
Fig. 4.1-4: Mounting tab.
Fig. 4.1-5: Done!