Rostock MAX v2 User's Guide
When it finishes, the layer view will display the first layer of your print job.
You'll notice right off the skirt that I covered previously. It's important to make sure that the hot
end is primed by the time it begins to print your part!
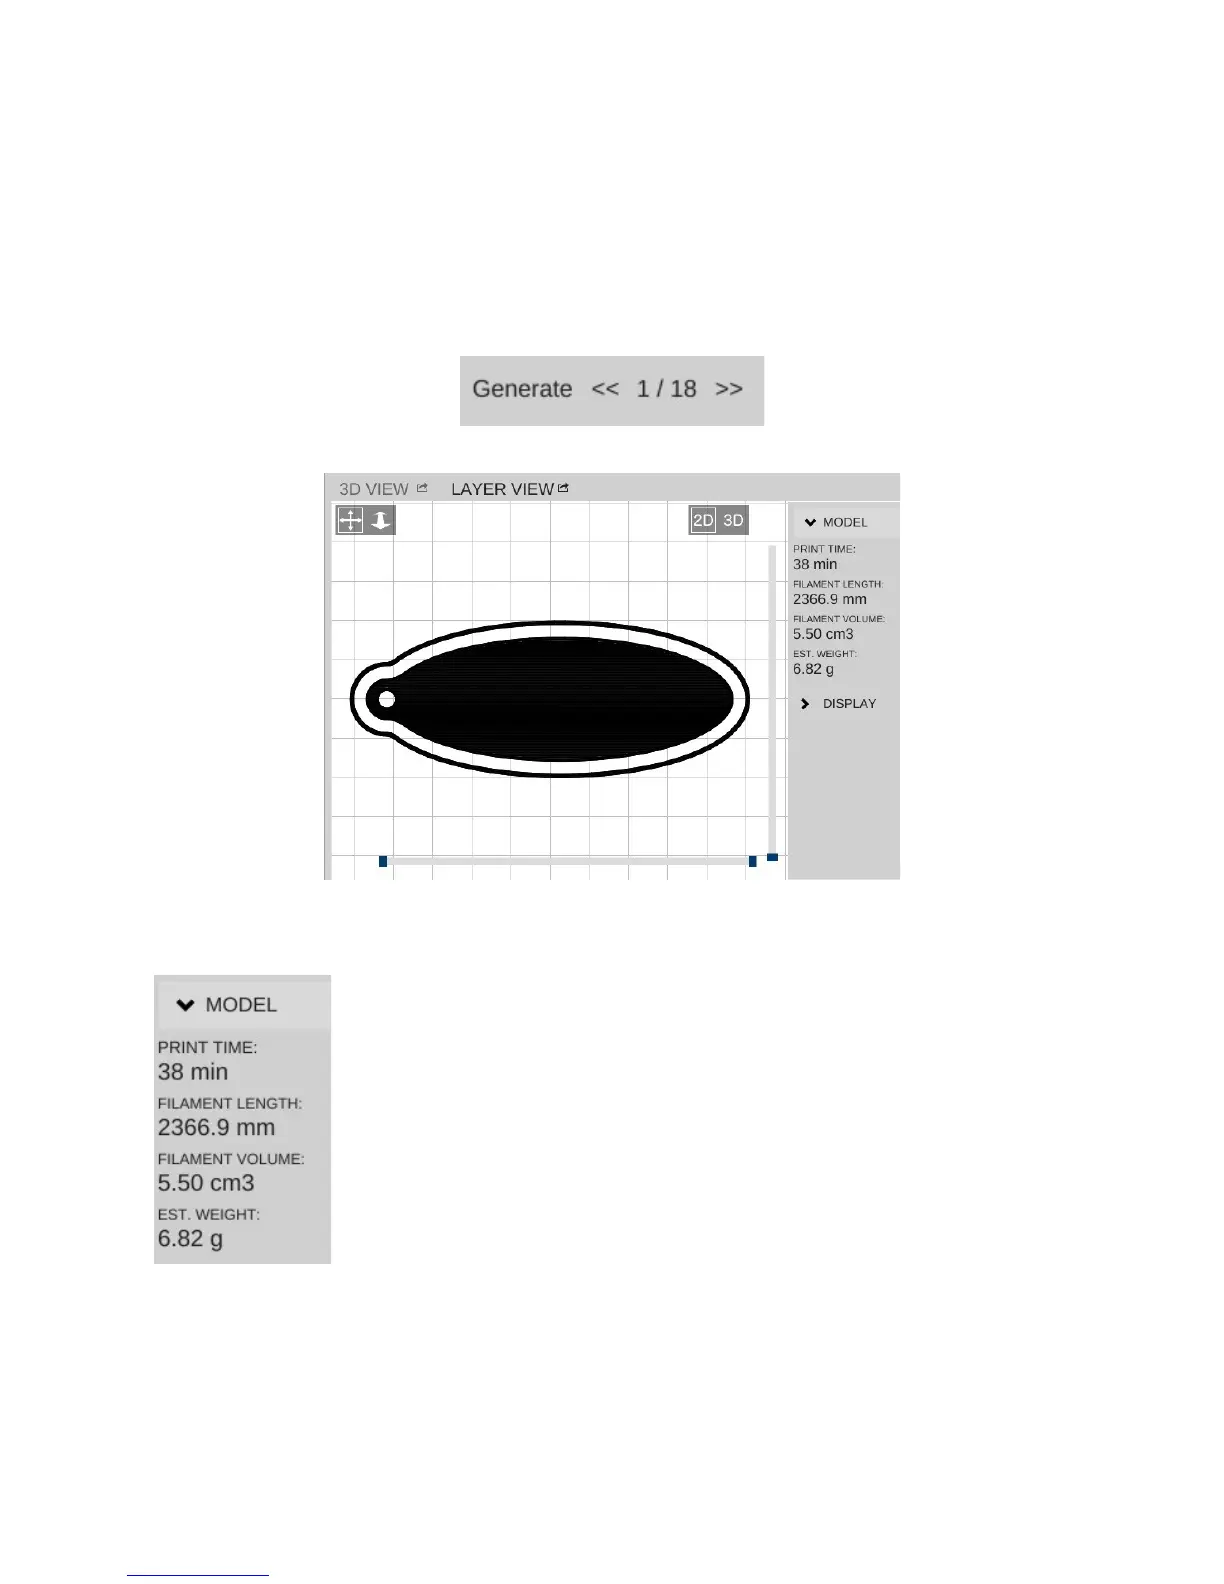
At the bottom of the window you'll see some controls that will allow you to either re-slice the
object (Generate) or view the individual print layers.
The controls will show you how many layers are on this object as well as
what the layer number is that you're currently viewing. You can navigate
forward and backward through the layers by using the >> and << buttons. If
you want to jump to a specific layer, you can enter it in to the box and click
Go.
After slicing the object, MatterControl will display a few statistics about
the current print in the Layer View window. This can be handy information
if you're selling your services and need to know how much a particular part
is going to consume in both time and materials.
Go ahead and click the Print button and get your object printing!
6 – MatterControl Basics: Loading and Printing Objects - 65
Fig. 6.1-6: First Layer.
Fig. 6.1-7: Model Stats.