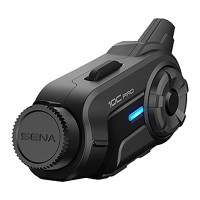
20S
12
3.4 Earbuds
If you want to wear your own earbuds, connect the earbuds to the
earbud port on the left side of the clamp. You can connect your
earbuds to the clamp while having the speakers connected to the
clamp. The sound of the earbuds will be active while the sound of the
outer speakers becomes inactive.
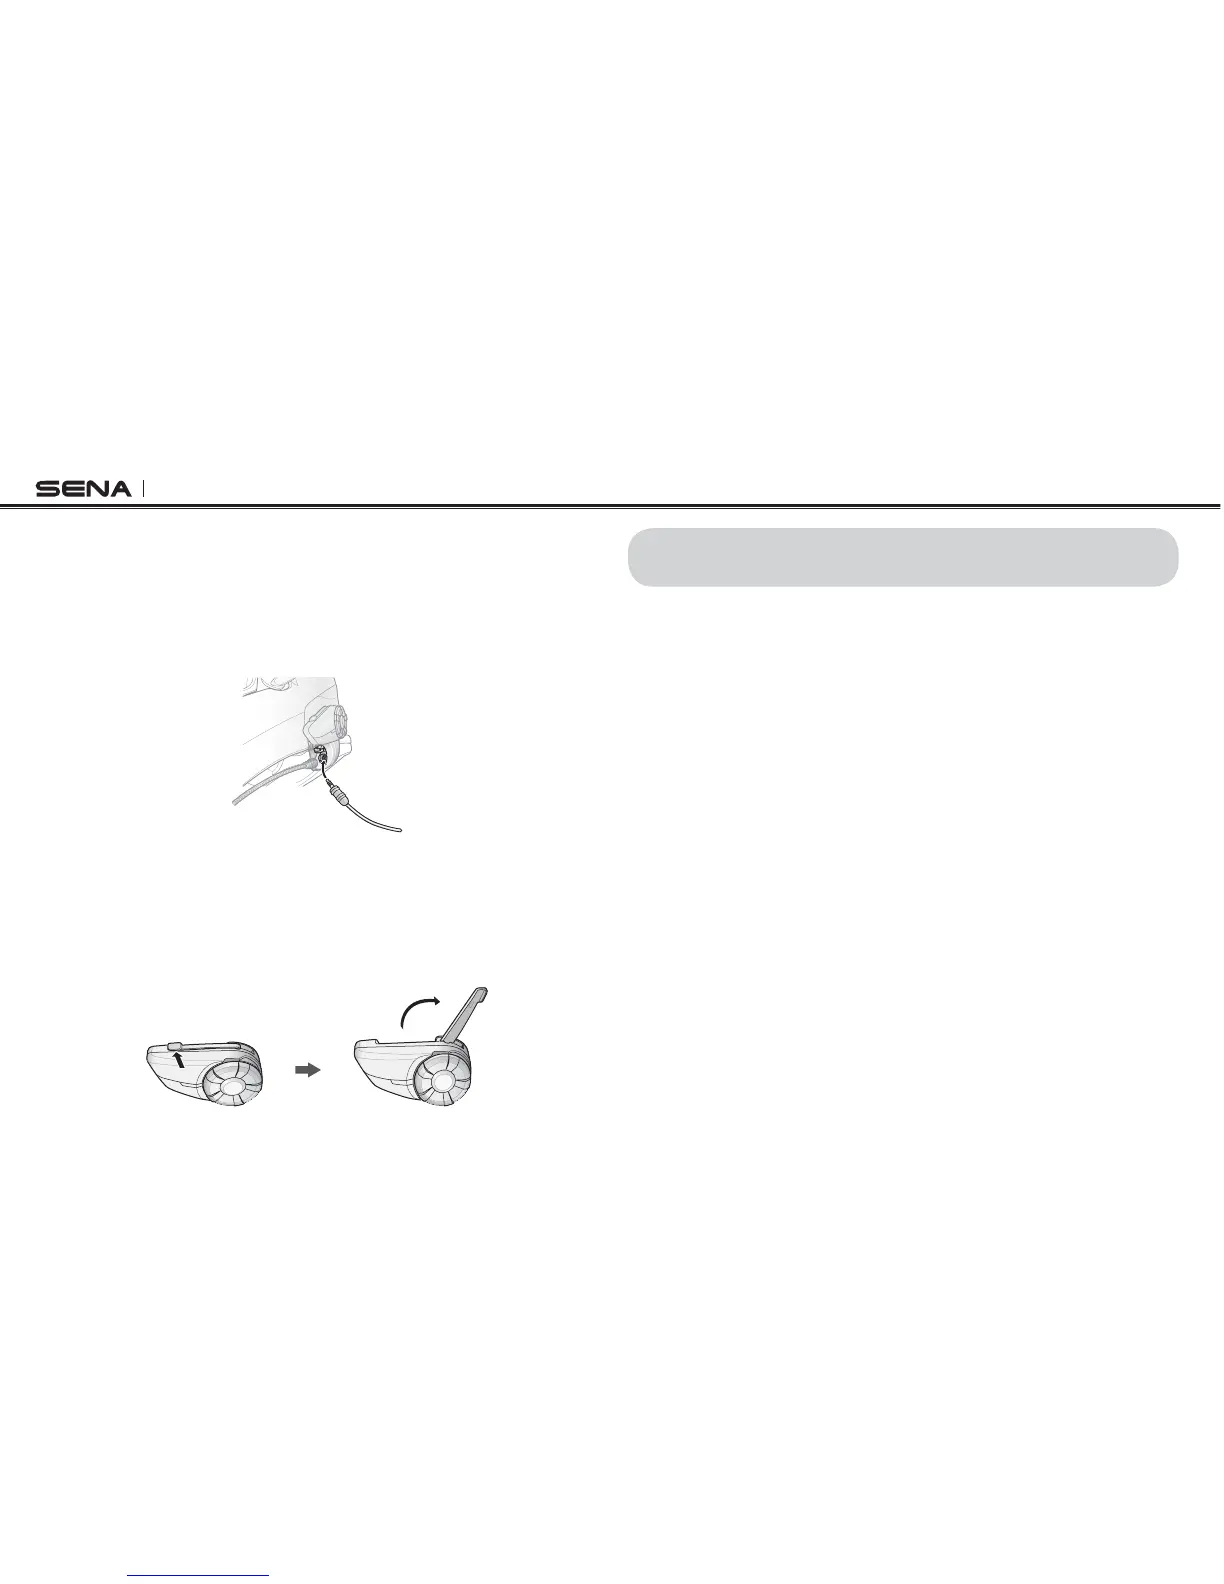
3.5 External Antenna
To extend the intercom distance, you may unfold the external antenna
from the main unit. Push the antenna towards the helmet slightly and
ITWILL mIPUPWARDS4HE ANTENNAWORKS MOSTEFFECTIVELYWHEN FACING
towards the sky.
4 GETTING STARTED
4.1 Charging
You can charge the 20S by connecting the supplied USB power & data
cable into a computer USB port or USB wall charger. You can use any
standard micro-USB cable to charge the 20S. The LED turns red while
the headset is charging and turns blue when it is fully charged. It takes
about 2.5 hours to be completely charged.
4.2 Low Battery Warning
When the battery is low, the blinking blue LED in stand-by mode turns
to red and you will hear three, mid-toned beeps and a voice prompt
saying “Low Battery”.
4.3 Checking the Battery Level
You can check the battery level in two different ways when the headset
is powering on.