Enter the measured half underbust girth and the patient data in the area of ScoutView (Figure
6-7) to select the thorax and lung model (9.1) best fitting the individual patient. Enter actual (not lean or ideal)
body weight.
Connect the LuMon Connector to the LuMon Belt to initiate monitoring.
WARNING
To reduce the possibility of patient entanglement or strangulation, properly route and fix cables. Do not leave
unapplied belts in reach of the patient.
WARNING
The LuMon generates a small amount of heat and its surface can reach several °C
above ambient temperature. Failure to adhere to the following points increases the risk of local skin burn:
1) Place the ControlBox in a way to prevent any skin contact with the patient.
2) Where possible do not cover the ControlBox with linens or bed covers to avoid possible heating of the
skin.
On ScoutView, verify that the size of the connected LuMon Belt matches the recommended size (Figure 6-6,
Figure 6-7). In case of a mismatch verify the measured half underbust girth. If necessary, either adjust the
respective entry on the monitor or select a belt of recommended size.
Check proper setup (8.4) and select an
Analysis Mode
hing pattern (8.5)
initially and at least every 8 hours while monitoring the patient (9).
WARNING
Data quality may be impaired, measurements incorrect and thus results may be misinterpreted if
1) the size of the connected belt does not match the recommended size
2) the belt is not applied and positioned as recommended
3)
rotation
and
inclination
displayed by the LuMon Monitor do not reflect the pat position.
4) patient data or half underbust girth are not determined and entered correctly. Notice that these settings
are reset to their defaults when starting up the monitor. You therefore must re-enter these settings after
each restart of the monitor
5) an inadequate
Analysis Mode
is selected
8.3 LuMon Belt Neo application and initiating monitoring for neonates and infants
To initiate monitoring for neonates and infants, perform the following steps by referring to the figures in this
sub-section. For quick recall, the Quick Reference Guide for Neonates/Infants (14.1) provides a condensed
version of the information provided in this sub-section and the instructions included in the packaging of the
LuMon Belts (14.1) provide the same figures without explanatory text.
Before initiating monitoring for a new patient, ensure the patient meets the criteria for EIT monitoring (3, 4.4)
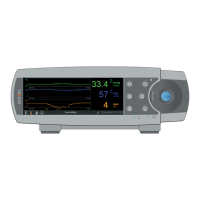
and obtain a LuMon Monitor Neo (5.1) and a LuMon Connector (5.2.2) to perform the preoperational
check including the verification of the monitor date/time (7.4).
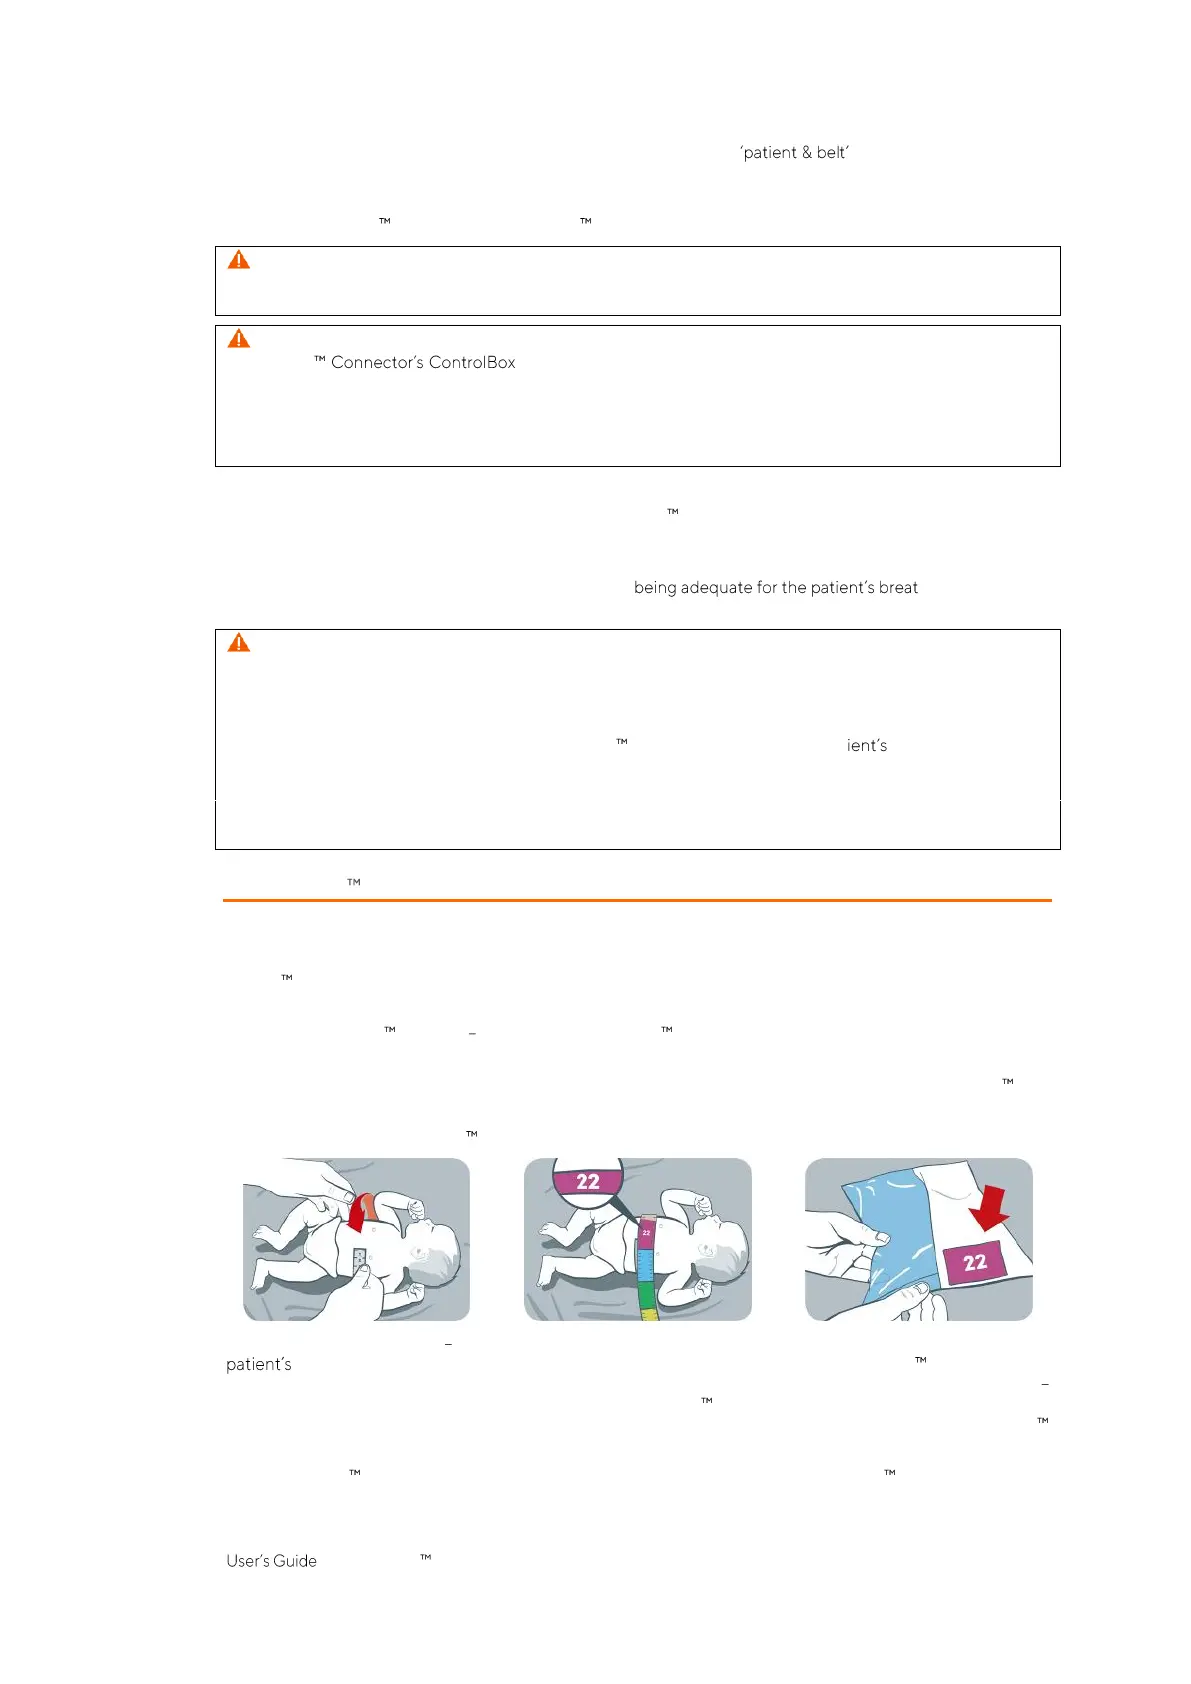
Remove all material and wipe away any fluids around the thorax where the striped fabric of the LuMon Belt
(Figure 5-7) will be placed.
Figure 8-7: Selecting the LuMon Belt size for neonates and infants
By using a Measuring tape Neonates/Infants (5.5.2) included in the NeoContactAgent Kit measure the
full underbust girth just below the breast line and determine the size of the LuMon Belt (5.3.3) best
fitting the patient as shown in Figure 8-7. Predefined colored full underbust ranges on the Measuring tape
Neonates/Infants indicate the size of the recommended LuMon Belt. To assist size selection, packaging labels
of correspondingly sized belts exhibit an area with the same color. Refer to Table 13-14 for available LuMon
Belts sizes.
Obtain a LuMon Belt of the recommended size, open its package and place the LuMon Belt with the striped
fabric embedding the electrodes (Figure 5-7) facing upwards onto a flat surface.
 Loading...