5-32
SCANNER/INTERNET FAX
CHANGING THE SUBJECT, FILE NAME, REPLY-TO,
AND BODY TEXT*
The subject, file name, reply-to, and body text can be changed when performing a scan transmission. Preset items can
be selected or text can be directly entered.
* The productivity kit is required.
• When performing Scan to FTP, Scan to Desktop, or Scan to Network Folder, only the file name is used.
• If the subject and file name are not changed, the settings in the Web page are used.
• If the sender name is not changed, the name set in "Default Sender Set" in the system settings is used. If this is not
configured, the reply address in [Network Settings] - [Services Settings] - [SMTP Settings] in the Web pages is used.
(Administrator rights are required.)
• Selections for the subject, file name, and body text are configured by clicking [Application Settings] and then [Network
Scanner Settings] in the Web page menu.
• For the procedure for entering text, see "ENTERING TEXT" (page 1-71) in "1. BEFORE USING THE MACHINE".
1
Touch the [Send Settings] key in the base screen.
+
BASE SCREEN (page 5-9)
If you are sending to a Scan to FTP, Scan to Desktop, or Scan to Network Folder destination, go to step 4.
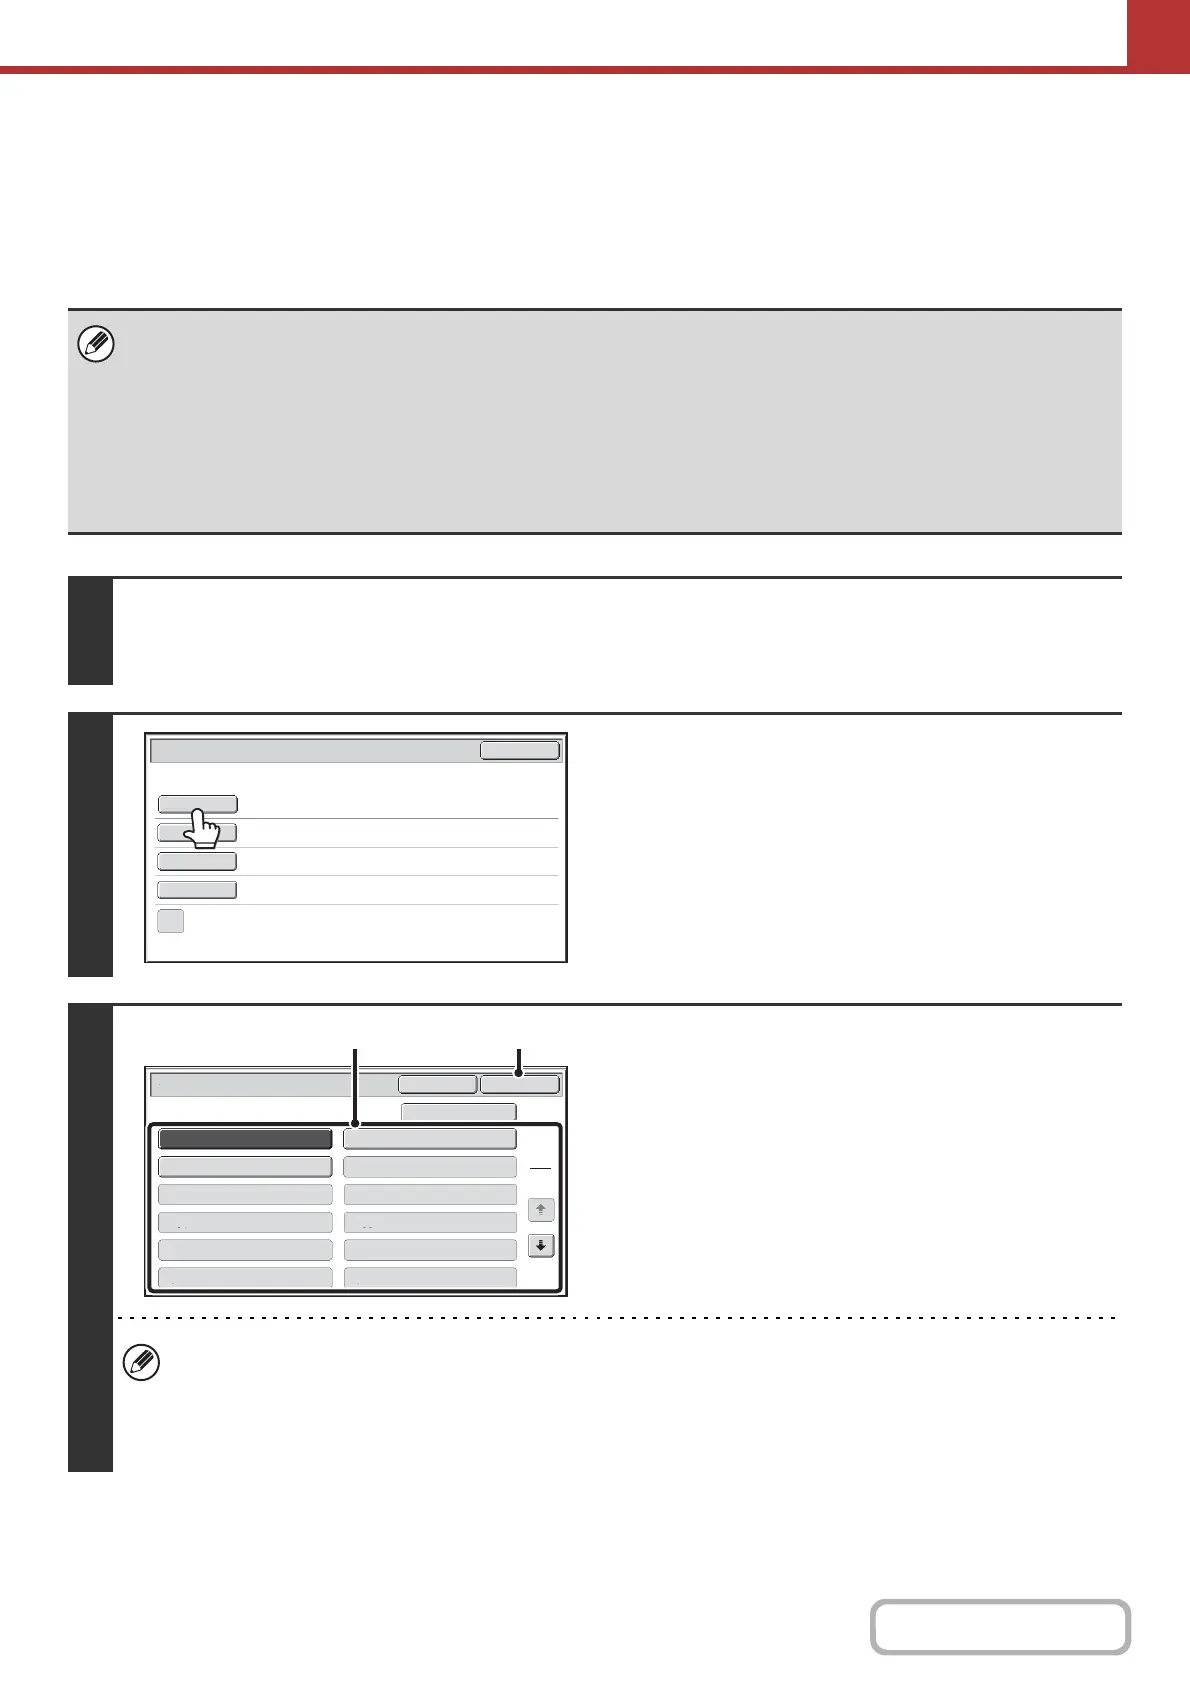
2
To change the subject, touch the
[Subject] key.
3
Enter the subject.
(1) Touch a Pre-Set text key.
(2) Touch the [OK] key.
• If you wish to directly enter the text, touch the [Direct Entry] key to open the text entry screen. Enter the text and
touch the [OK] key.
• The text in a pre-set text key can be edited by touching the pre-set text key and then the [Direct Entry] key. The text
entry screen will appear with the selected pre-set text entered. (When a destination is stored using the Web pages,
up to 80 characters can be entered. However, only 54 characters can be entered in the touch panel.)
Send Settings
OK
Subject
File Name
Reply-To
Body Text
Add 'Reply to' to Cc
No.01 Sub: Schedule coordination
No.02 Sub: Monthly Schedule
No.04
No.06No.05
No.08No.07
No.10No.09
No.12No.11
No.03 Sub: Minutes of planning m
Subject
OK
Cancel
Direct Entry
1
5
(2)(1)