5-119
SCANNER/INTERNET FAX
(The productivity kit is required.)
BASIC SCANNING PROCEDURE
You can install the scanner driver on your computer from the CD-ROM that accompanies the machine, and use a
TWAIN* compliant application to scan an image using your computer.
Scanning from your computer is most useful for scanning a single original such as a photo, particularly when you want to
adjust scan settings as you scan. By contrast, scanning at the machine is most useful for continuous scanning of
multiple originals.
* An interface standard used for scanners and other image input devices. When the scanner driver is installed on your
computer, you can use any TWAIN-compliant application to scan an image.
As an example, the procedure for scanning from the "Sharpdesk" application that accompanies the machine is
explained below.
[At the machine]
SCANNING FROM A COMPUTER
(PC Scan Mode)
• Scanning in PC scan mode is only possible when the scanner driver has been installed from the "Software CD-ROM"
using the integrated installer. For the procedures for installing the scanner driver and configuring settings, see the
Software Setup Guide.
•
This function cannot be used when it has been disabled using "Disable Scan Function" in the system settings (administrator).
• The procedures for selecting the scanner driver and starting scanning vary depending on the TWAIN-compliant
application. For more information, see the manual for the application or Help.
• When a large image is scanned at high resolution, the amount of data will be very large and scanning will take a long time.
Be sure to select appropriate scan settings for the original (text, photo, etc.).
1
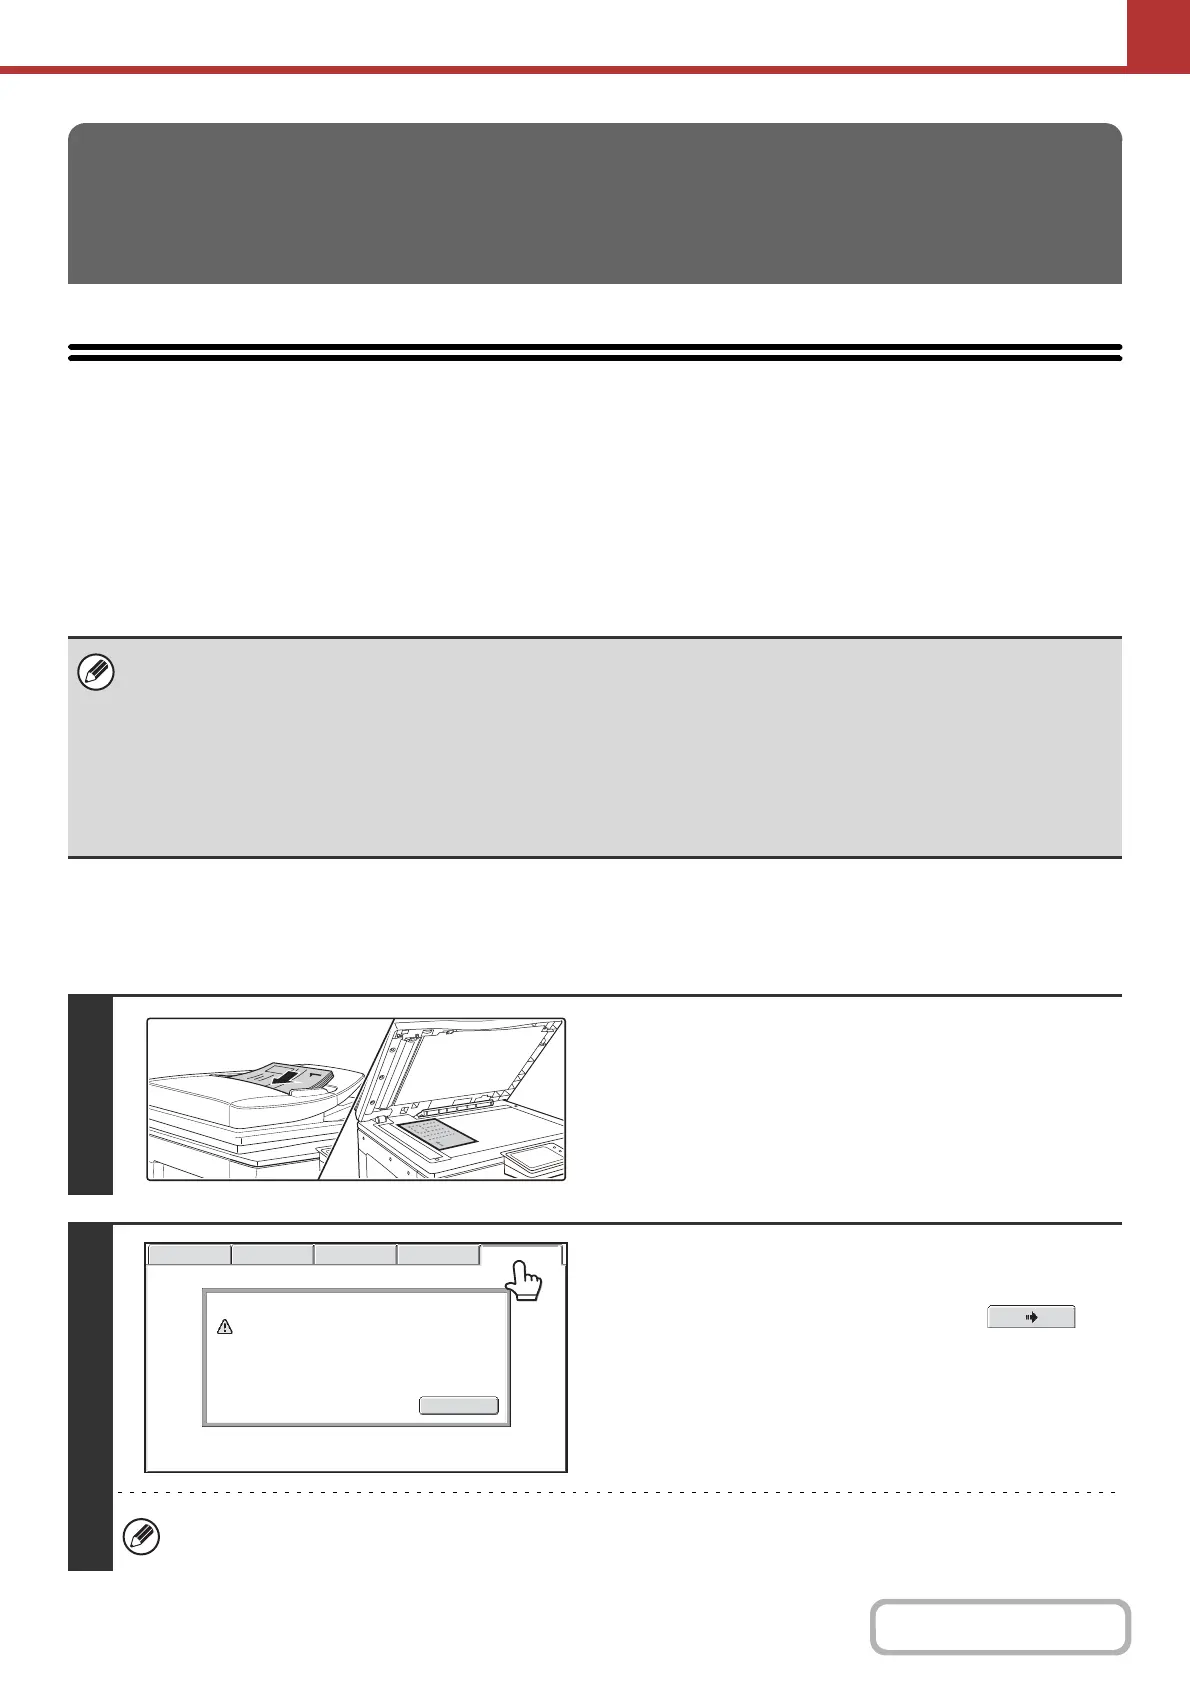
Place the original.
Place the original face up in the document feeder tray, or face
down on the document glass.
2
Touch the [PC Scan] tab to switch to PC
Scan mode.
If the [PC Scan] tab does not appear, touch the tab
to move the screen.
When PC scan mode is selected, only the [Exit] key displayed in the touch panel can be used on the machine; no
other keys can be used.
Exit
This machine is in the PC scan mode.
Do not remove the original.
Scanner IP address:250.160.102.106
USB Mem. ScanFaxInternet Fax PC Scan
Scan