128
SCANNER FUNCTIONS
SELECTING A DESTINATION (USING THE [ADDRESS]
KEY)
A destination can be selected using one of three methods: Selecting from "ADDRESS BOOK", using "ADDRESS
ENTRY", or "ADDRESS SEARCH".
ADDRESS BOOK
1
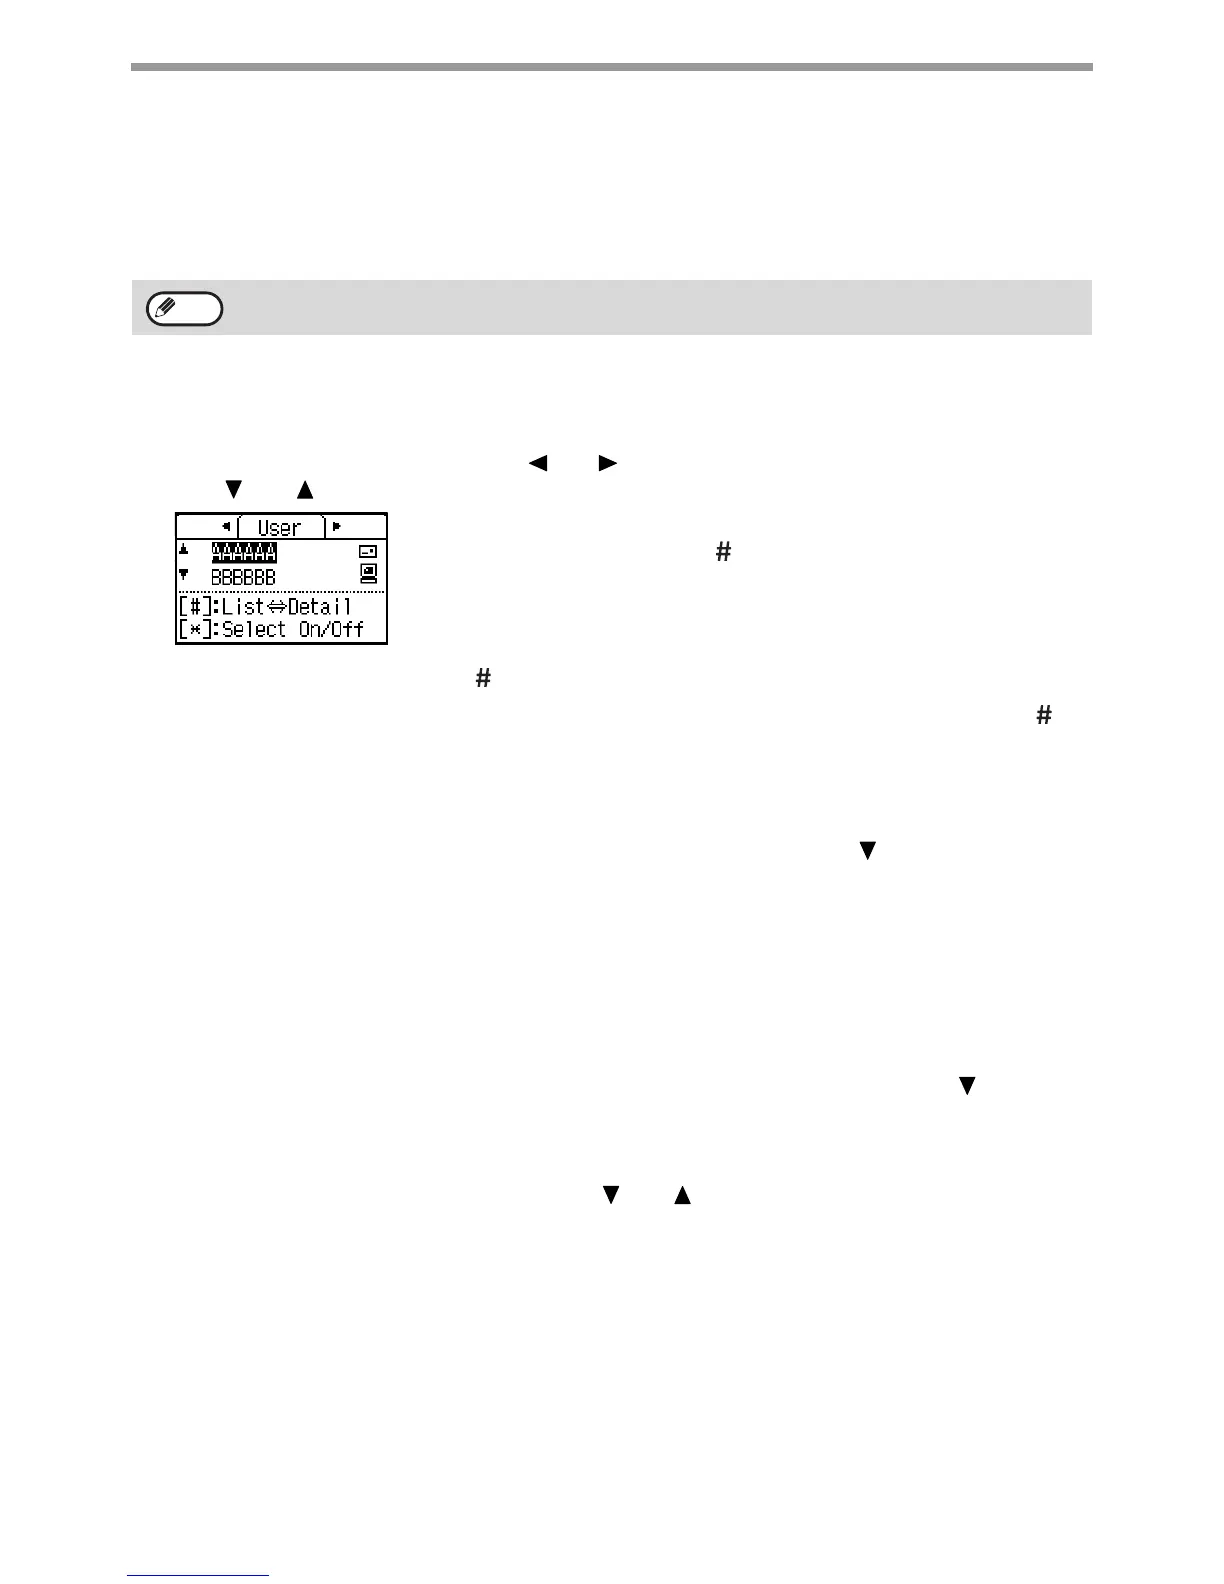
Press the [ADDRESS] key, and select the "Address Book".
2
Change tabs as needed with the [ ] or [ ] key and select the desired destination with
the [ ] or [ ] key.
You can switch between information on the selected destination and the destination
list by pressing the [READ-END] key
().
3
Press the [READ-END] key ().
A checkmark appears by the selected destination. To cancel the selection, press the [READ-END] key ()
once again to remove the checkmark. To select multiple destinations, repeat steps.
ADDRESS ENTRY
1
Press the [ADDRESS] key, and select "Address Entry" with the [ ] key, and press the
[OK] key.
2
Enter the destination address.
3
Press the [OK] key.
ADDRESS SEARCH
1
Press the [ADDRESS] key, and select "Global Address Search" with the [ ] key, and
press the [OK] key.
2
Enter the search characters.
3
Select the desired destination with the [ ] or [ ] key.
4
Press the [OK] key.
• Multiple destination scan be selected for a Scan to E-mail transmission. (Maximum of 20.)
• Only one destination can be selected for a Scan to Network, Scan to FTP or Scan to Desktop transmission.
Note